Over the last couple of weeks, I have taken care of the last few little tasks that I wanted done before the airworthiness inspection of my Bede BD-4C airplane. Some were truly required for airworthiness (like installation of a magnetic compass) and some where in the “it’s time” category (like swapping the over-sized tires for rubber of the right size). Join me on a photo tour of the last two weeks of work.
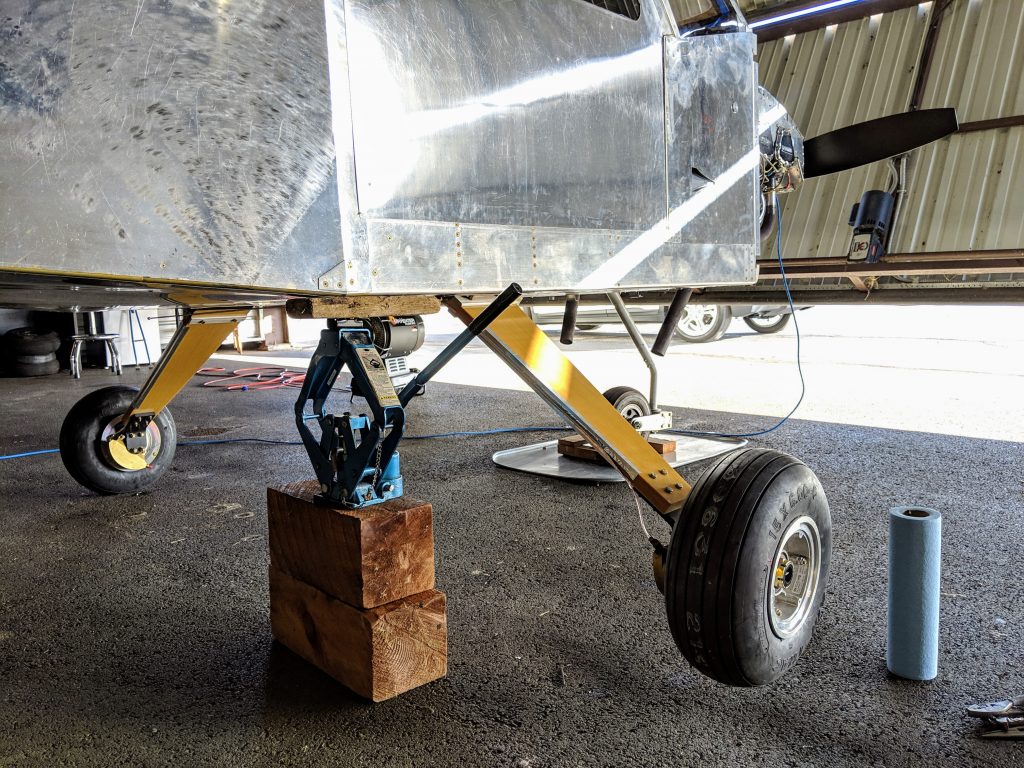
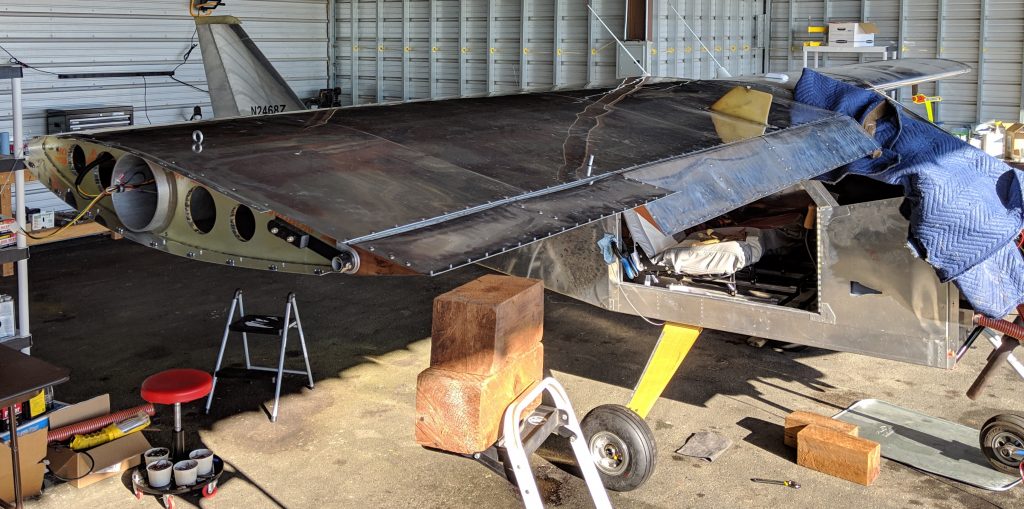
Jacking a BD-4C is easy, since the bottom of the cabin is flat and there are major structural components at the corners. I had some 6×6 and a scissors jack sitting around so this did the trick.
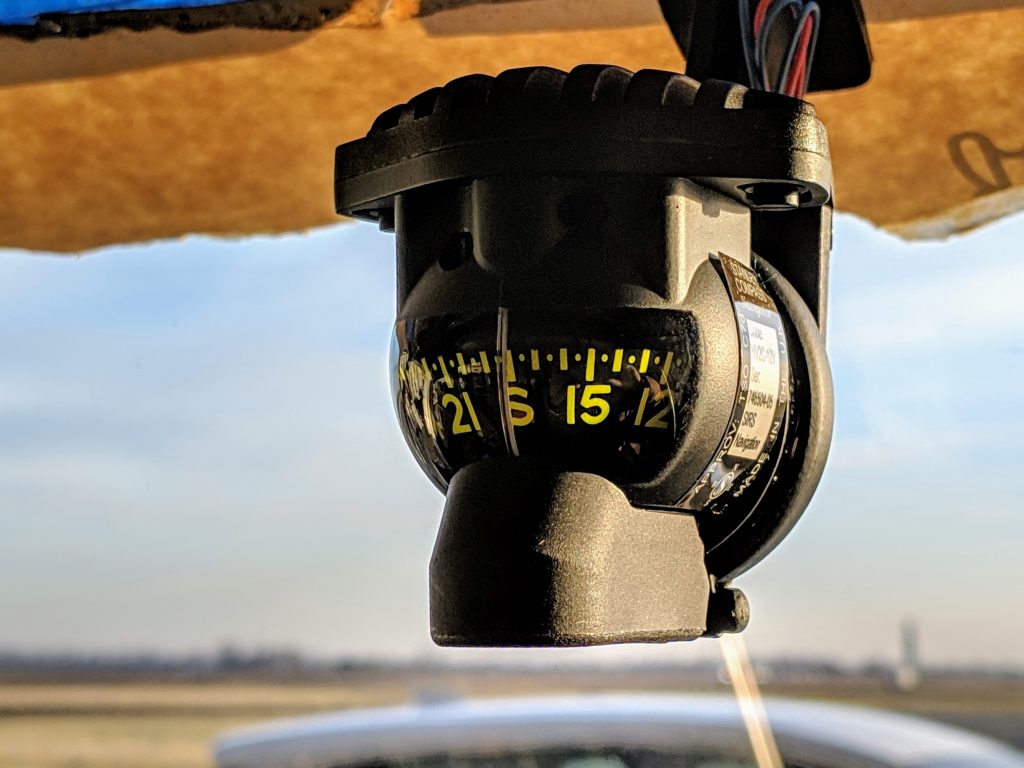
The FARs (federal aviation regulations) require an airplane to have a magnetic compass. There is some debate about whether or not the solid state AHRS (attitude heading reference system) box which is part glass screens on my instrument panel constitute a magnetic compass. I decide to play it safe, both legally and from the perspective of having a backup instrument, and install a plane ol’ magnetic compass. It sticks to the windshield with the same super double-stick tape that comes with GoPro camera mounts.
I had been having recurring problems with the right brake. I kept getting air in the line, which was easy to spot because the brake line is clear plastic. I finally took the time to chase the problem down and discovered a cracked compression fitting.
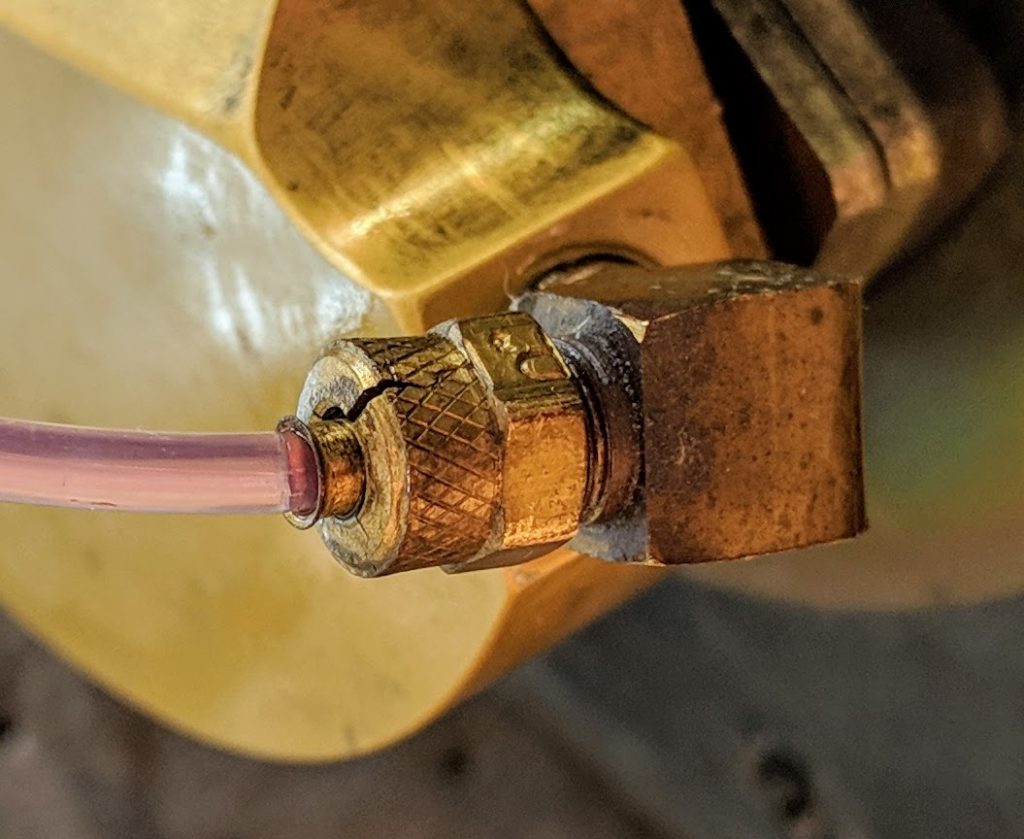
This is one of those super annoying parts. It costs less than a dollar but cannot be sourced locally; I had to mail order it.
Pretty much every airplane has a radio called a “transponder.” Newer planes have “mode S” transponders which are connected to a GPS. The mode S transponder sends a signal to air traffic control which
- identifies the airplane,
- includes the airplane’s altitude, and
- includes the airplane’s location (latitude and longitude).
My transponder was connected to its GPS but it was not getting the location. I took apart the wiring harness, looking for a wire that I had hooked up wrong. I found several wires which had been improperly crimped by the manufacturer. The wires pulled right out of the pins in the connector. In this photo, you can see that the black wire, which was typical of all of the problematic wires, had only about 1 mm of insulation stripped. This was nowhere near enough.
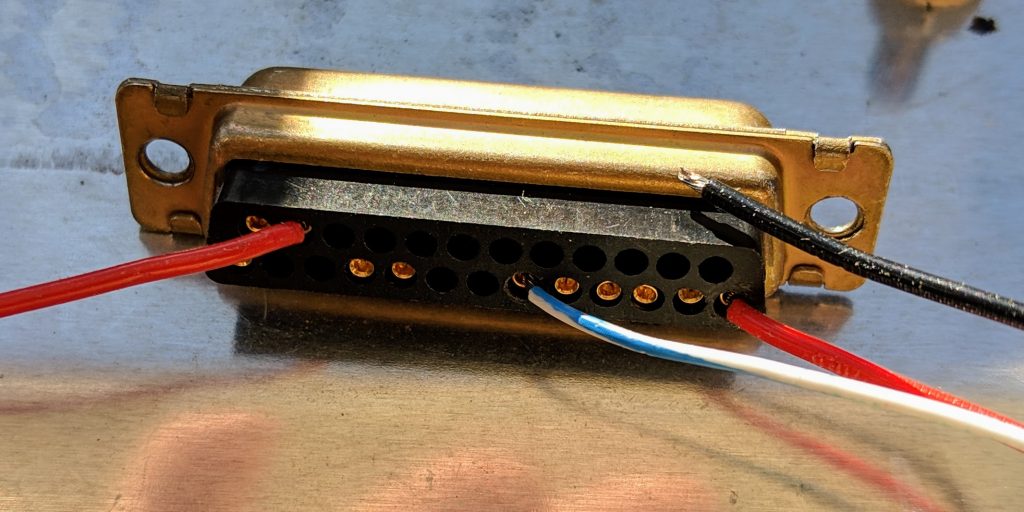
Crimping new pins on is easy, so this was only slightly annoying. The real pisser was that I only had one pin. Again, I had to mail order them.
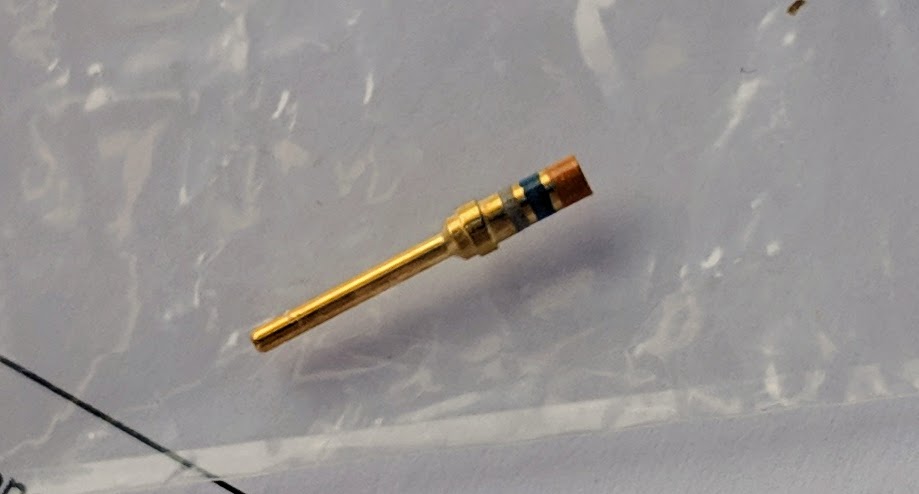
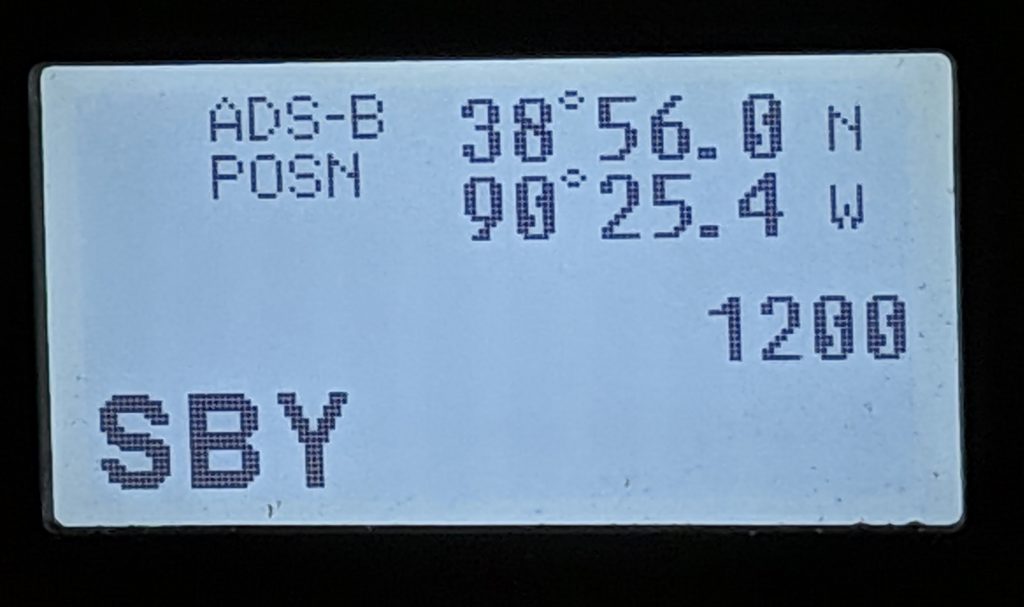
Eventually, the pins arrive and I rebuilt the faulty connector. It took a little bit of futzing with the transponder’s configuration menu but I was rewarded with this diagnostic screen, showing the correct GPS position for my airplane..
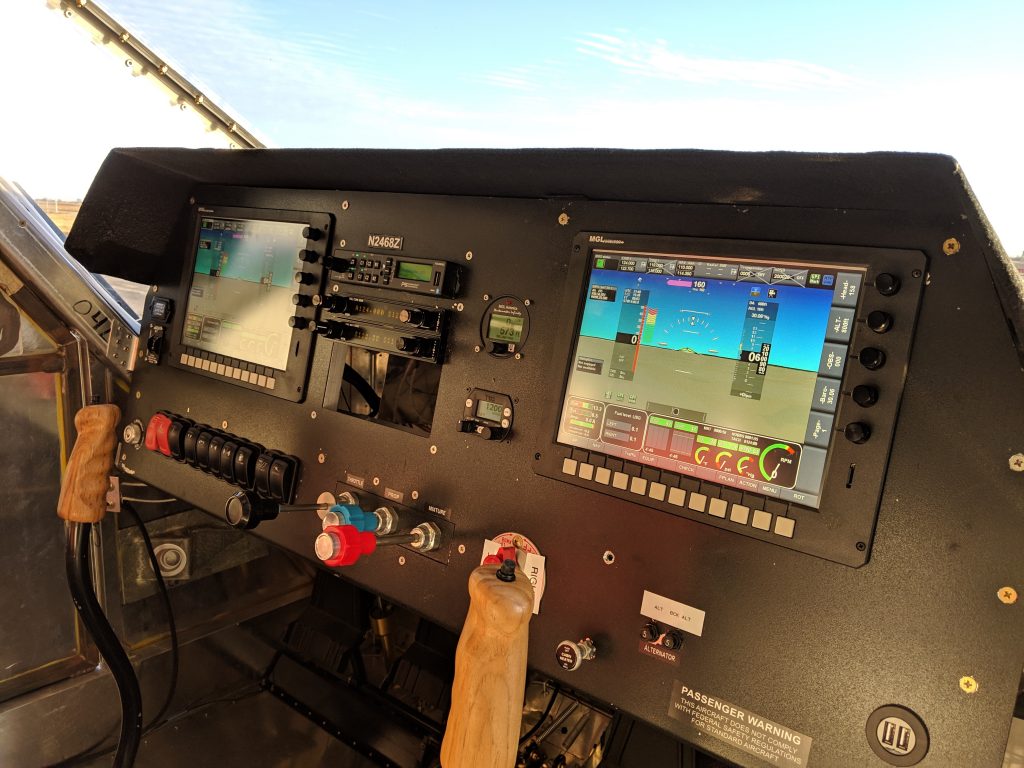
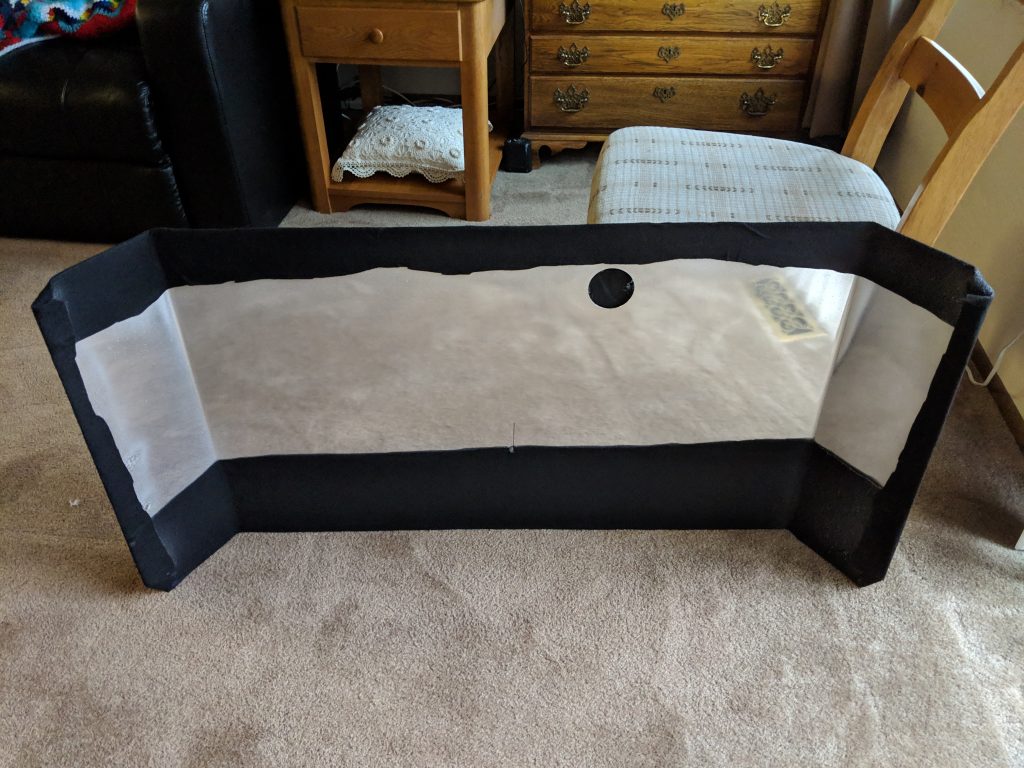
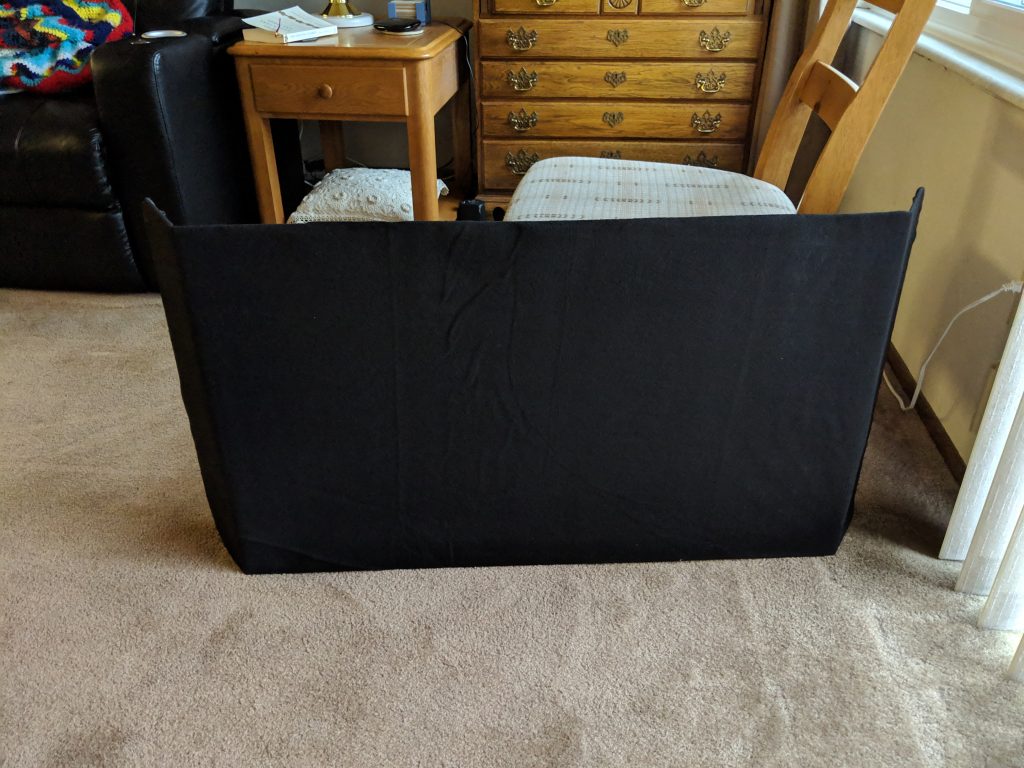
While I was struggling with parts that kept breaking and required stuff to be mail ordered, Candy conquered felt and made a glare shield which will actually shield the instruments from glare instead of being a four foot wide polished aluminum mirror.
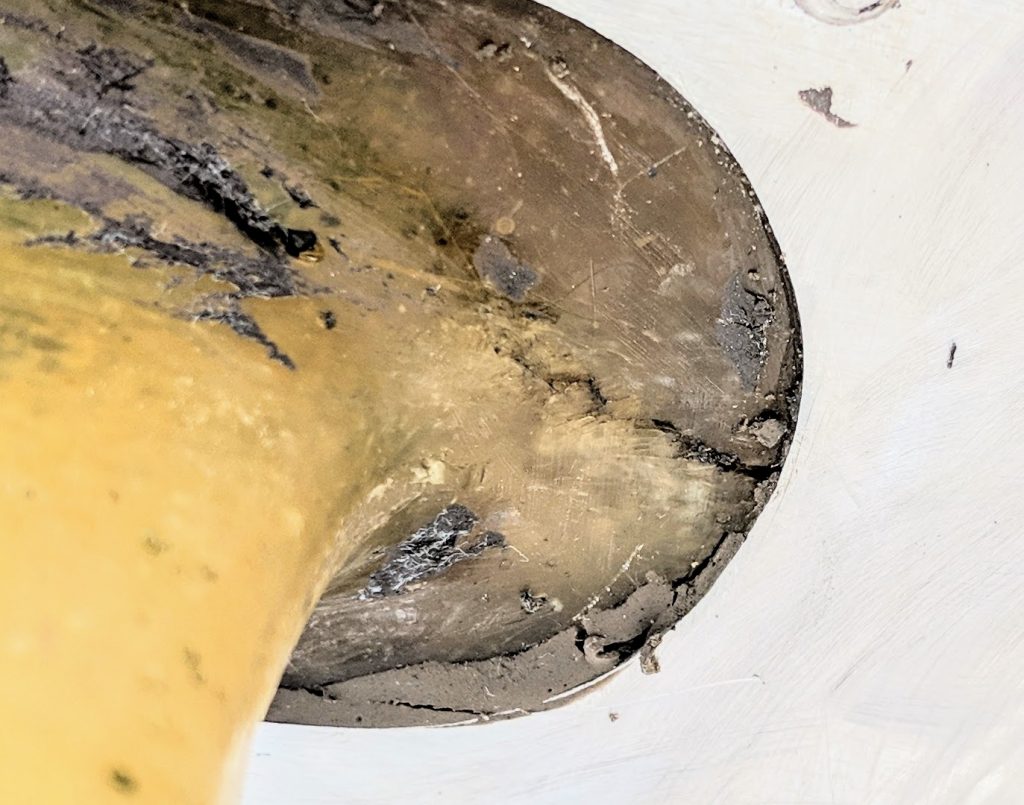
I had been battling a small fuel leak from the fuel tank in the right wing, more like just some fuel seeping out. There is a fin which sticks down from the fuel tank in the wing and is the low point in the tank. When I dropped the right wing, it landed on this fin. Here is a close up of the back end of that fin, where it is connected to the wing. You can see a hairline crack.
This was my first time doing any fiberglass work and it turned out to be pretty easy. I had been overly fearful of a simple process. It is basically paper mache (remember that from grammar school art class?) except it stinks and gets glass hard when it dries.
One of the nice things about the Bede BD-4C airplane is the round wing spar. That makes it easy to flip the wing over, so that I could, essentially, work on a table instead of over my head.
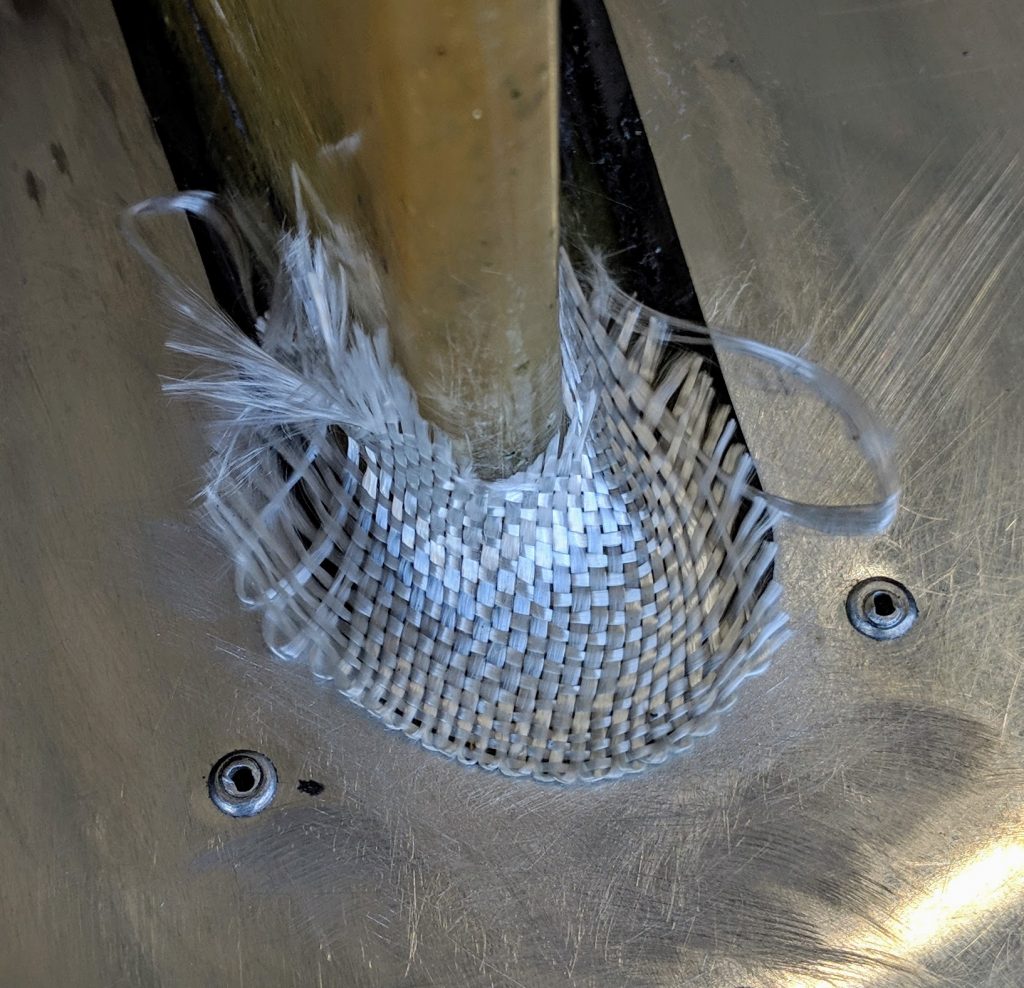
I had materials and advice from Dave in my local EAA chapter and long distance coaching from Steve. Without those, there is no way that I could have done this simple job. I stated by cleaning up the fiberglass with sandpaper and acetone. Then I fashioned a small patch like this, just a bit more than an inch on a side.
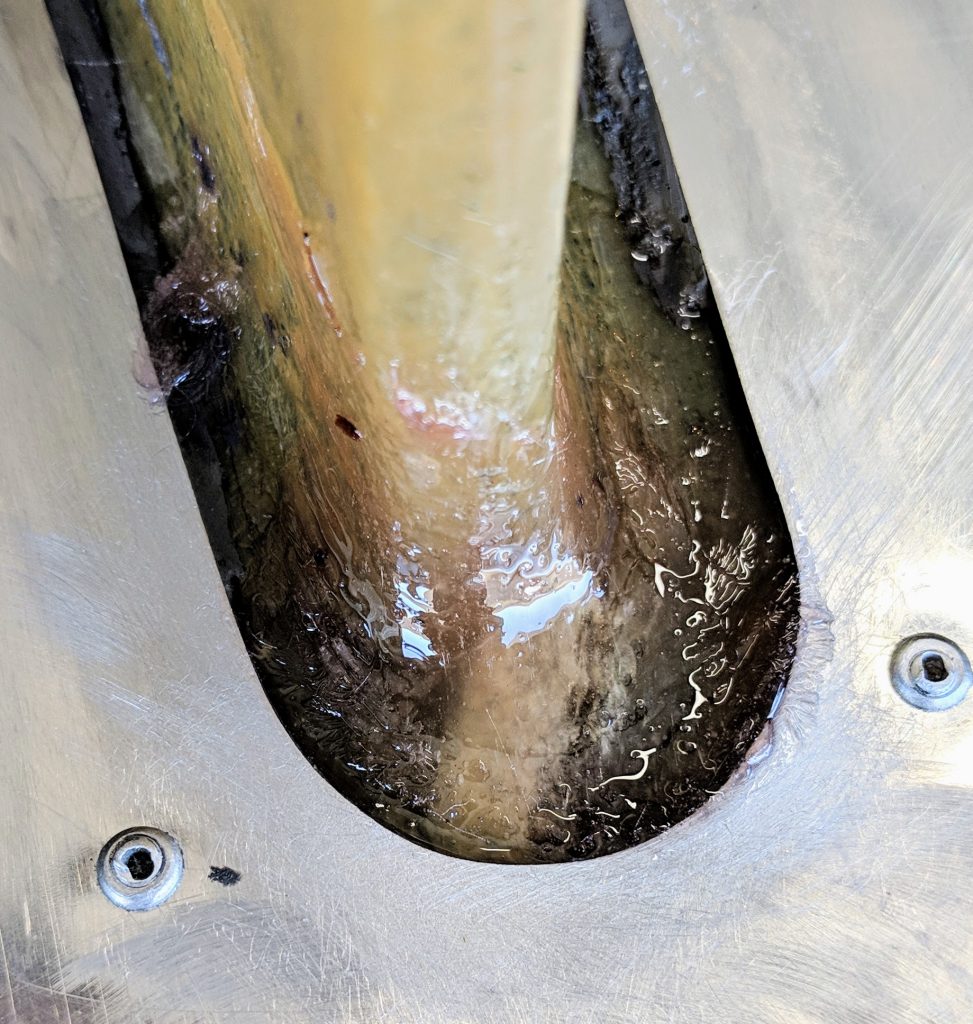
I wetted this with some resin, laid it on the fin, painted more resin on, and then mooshed the extra resin out from under the glass. Last, I cleaned up the edges. It looked like this while still wet.
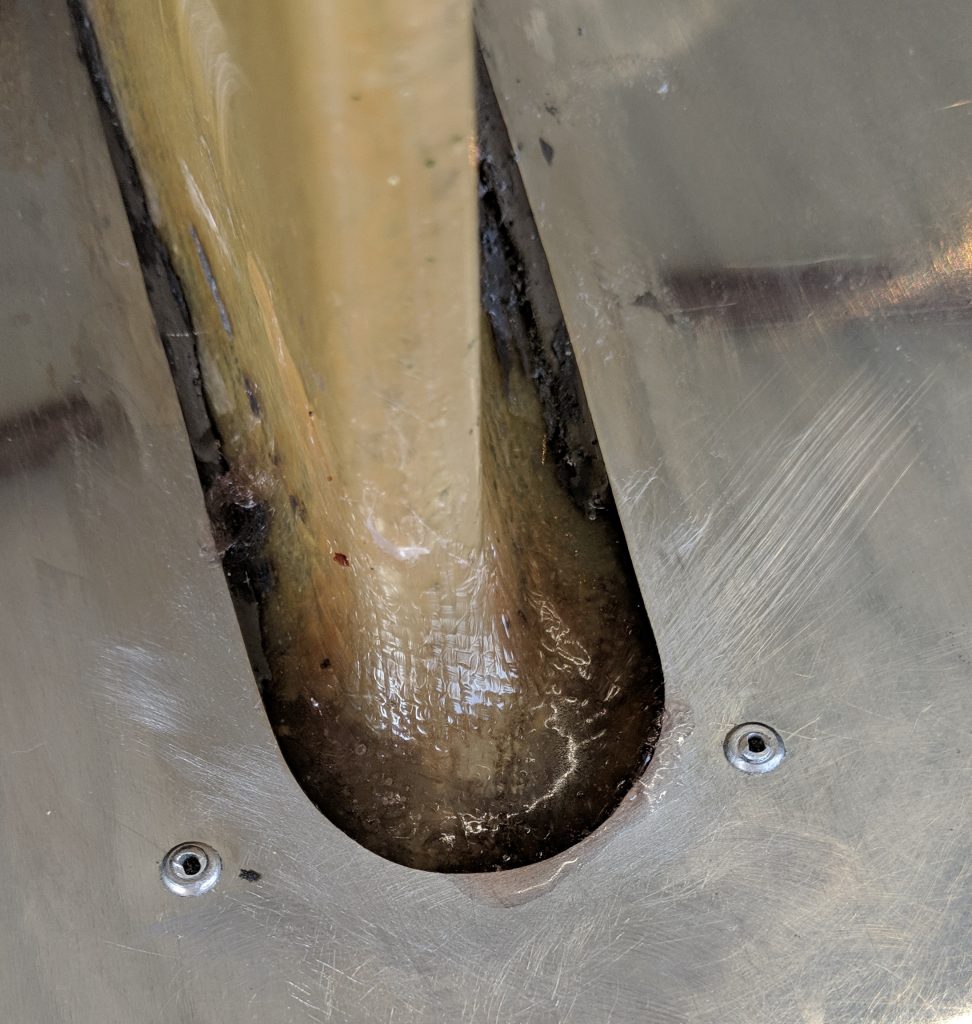
By today, the resin had hardened completely, even with the cold temperatures in my hangar.
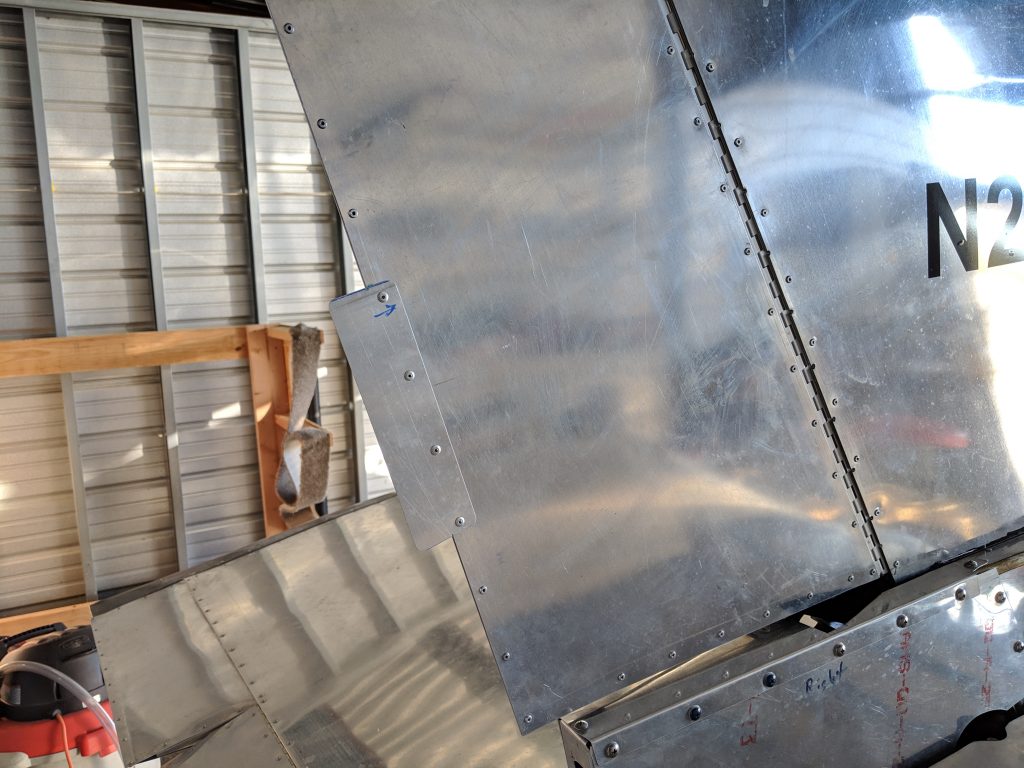
While I was waiting for the resin to harden, I added a trim tab to the rudder. The blue arrow is essential; it reminds me which direction I should be flying. Seriously, when I find that I need to keep one foot or the other pressing on a rudder pedal, I can bend this tab one way or the other, so that the airplane flies straight without any input on the pedals.
The last small task today was Candy’s doing. She slathered Proseal on several parts to seal stuff up. She took care of the quick drains in the bottoms of the fuel fins, the gaps around the navigation light bases, and the gap at the base of the vertical stabilizer.

I love the use of vocabulary-like smoosh and futz, along with scientific terms. Brings it down to my level.
Will Candy be your co-pilot in the air, too?
Happy 2019.
J
Candy is Da Boss, several steps loftier than copilot