This post has a long title because I continue to crank through the punch list of tasks that I need to complete before I can fly my Bede BD-4C airplane. There are so many little tasks that I am using a Trello board to track them. You can see it here: N2468Z Zemon BD-4C.
In addition to hearing a fascinating talk by Bassem Eid, a Palestinian human rights activist, about the prospects for peace in the Middle east and a two-state solution, I did get to work on my plane.
I tried to install the wings this weekend. I thought that it would be a quick job, slide the wings onto the center section of the spar and hook up the wires and pitot tubing. I forgot that I had had to remove the ailerons and flaps and their hinges. My own idiocy made reinstalling the inboard flap hinge on the left wing a multi-hour chore involving too much sweat and too many obscenities. The rest went relatively quickly. By the time I quit work on Sunday, the plane looked like this. (Click this, or any, photo to see a larger version.)
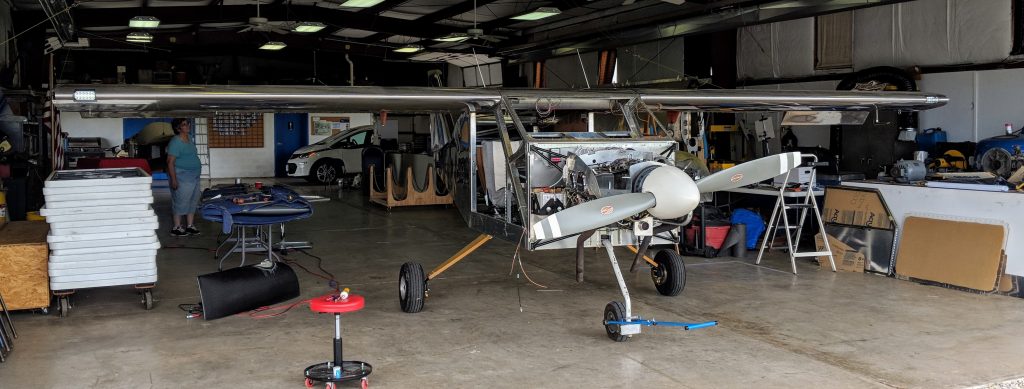
The right wing is bolted on and ready for its carbon fiber wingtip (sitting on the floor under the wing). The left wing looks like it is on but it is about 1/8 of an inch too far away from the fuselage and the bolts which hold it in place cannot be installed.
Why?, you might fairly ask. Because the heads of the bolts which hold the inboard flap hinge are hitting a gusset on the fuselage. The folks at Bede Aero were super helpful, and told me that I could swap the AN3 bolts for countersunk machine screws.
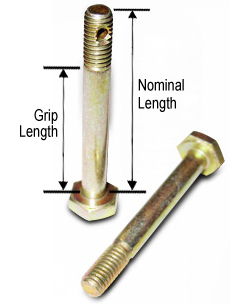
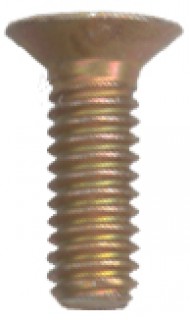
Eliminating the bolt heads will give me the clearance that I need to slide the wing fully into position.
After installing the right wing, and its flap and aileron, I installed its aileron counterweight. That did not go so well. As you may recall, I am building my plane from an old set of fabrication drawings. I did a lot of the assembly work before Bede Corp produced the new assembly instructions. This was one of those “oops” moments. Here is what I had. With the aileron up, the counterweight extends down below the wing. So far so good.
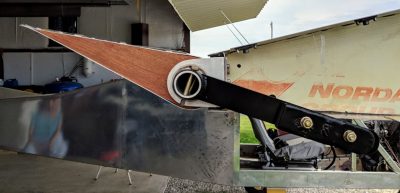
When I tried to move the aileron down, though, the counterweight came up against the skin on the top of the wing before the aileron was fully deflected downward.
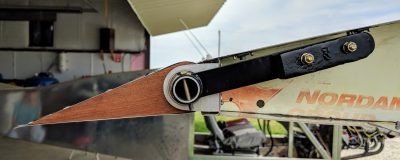
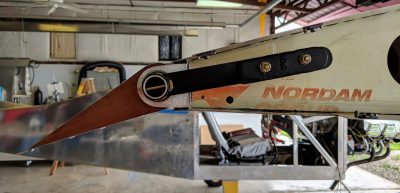
I should have waited to install the counterweight until the aileron was on the wing. I needed to remove the aileron (just one bolt) and reinstall it at an angle, like this:
My that-was-a-relief accomplishment of the week was discovering that my non-functional new alternator was due to a blown fuse. I swapped the fuse and now I have voltage on the field wire. I fully expect the alternator to work properly the next time I start the engine.
My that-sure-looks-and-feels-good accomplishment of the week was installing the teak wood control stick grips 😀
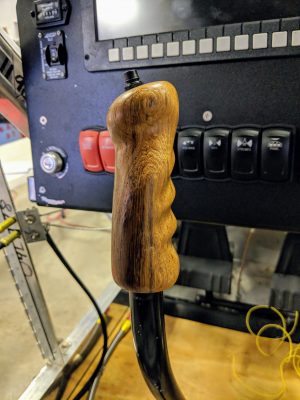
Once the glue had dried, I plugged in a headset, pressed the push-to-talk button on the top of the grip, and was delighted to find that I my radio check worked. I was able to transmit and receive.
Lastly, I installed the headset jacks a couple of weeks ago but forgot to post photos. Here they are. In an airplane, the headset has two connectors, a 1/4 inch jack for the headset and a slightly smaller one for the microphone. You can see it at the right in the photo above. Here are close-ups.
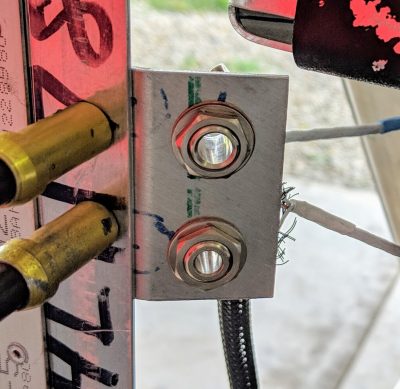
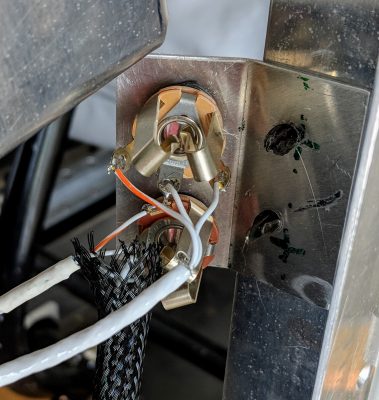
There are several folks at work who are into 3D printing. I plan on ingratiating myself to them in the hopes that they will help me create a housing to protect the wires on the backs of these jacks.

Hello Art,
I love the aircraft and I think I will be starting my own 4C project soon. The one question I have while reading through your posts is – what max takeoff weight did you go for? My understanding is that there is a 2500lb MTOW achievable but you need to add the beefier landing gear. Perhaps this is all accounted for with the 4C and this question simply denotes my lack of knowledge on the subject. Keep the posts coming. I can’t wait to see it fly.
Richard,
I will use the 2400 lb. max gross weight recommended by BedeCorp.
— Art Z.