My strong desire to be permanently rid of spinning gyroscopes, vacuum pumps, and their doomed-to-failure internal bearings, was a primary driver in my decision to build my own airplane. My Bede BD-4C has a fully electric instrument panel so, no surprise, it needs a reasonably sophisticated wiring harness. There are several reputable companies who will build a wiring harness for you but, as with the rest of the electrical stuff in my plane, I built my own. Conceptually, it is easy: get a bunch of wires and hook ’em all up. In practice, it is not much harder. I had already done the hard work when I drew my wiring diagrams.
I started with a clean piece of paper on my workbench. I drew boxes on the paper where the major components would be: switches, MGL iBox, audio panel, communication radio, navigation radio, and fuse block. My concern in drawing the boxes on paper was to get the distance between them roughly the same as the distances would be inside the airplane. This made it easy to “measure” the wires. I just had to pull each wire from one box to another on the paper and I ended up with the right length.
I went through each wiring diagram and, one wire at a time, I cut it to length and labeled each end. For example, here is the wiring diagram for the navigation and communication radios. There are a bunch of wires but the diagram tells me what color each wire should be and how to label it. I took my time and ended up with this.
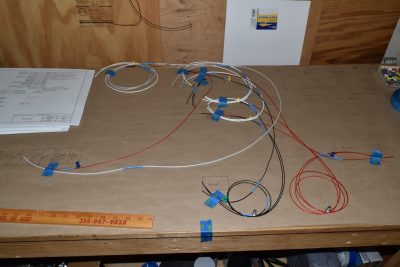
Once I had the wires, I started adding connectors. It looks complicated but, as with the wires, it is actually very straightforward. Just follow the numbers on the wiring diagrams. The connectors have numbers (just have a magnifying glass handy!). You can see them here.
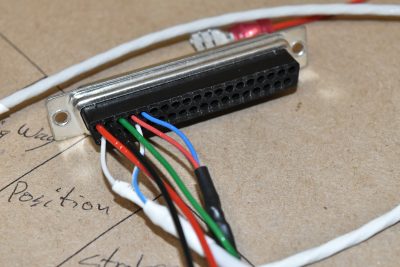
It looks more like a wiring harness and less like a pile of pieces of wire with the connectors installed.
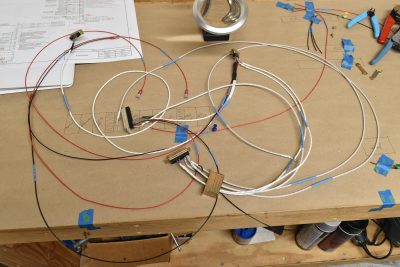
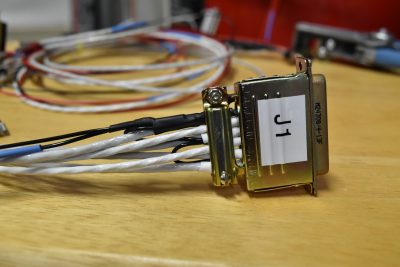
 I am installing a PS Engineering PDA360EX audio panel. It uses high density D-sub connectors with some of the sturdiest shells I have ever seen. This is some serious strain relief for the wires.
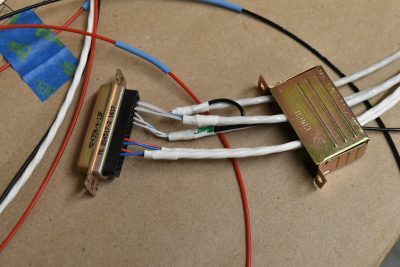
By taking my time and having everything drawn out on paper before I started cutting wire, the whole wiring harness came together without much cussing and it actually worked when I turned on the equipment.
