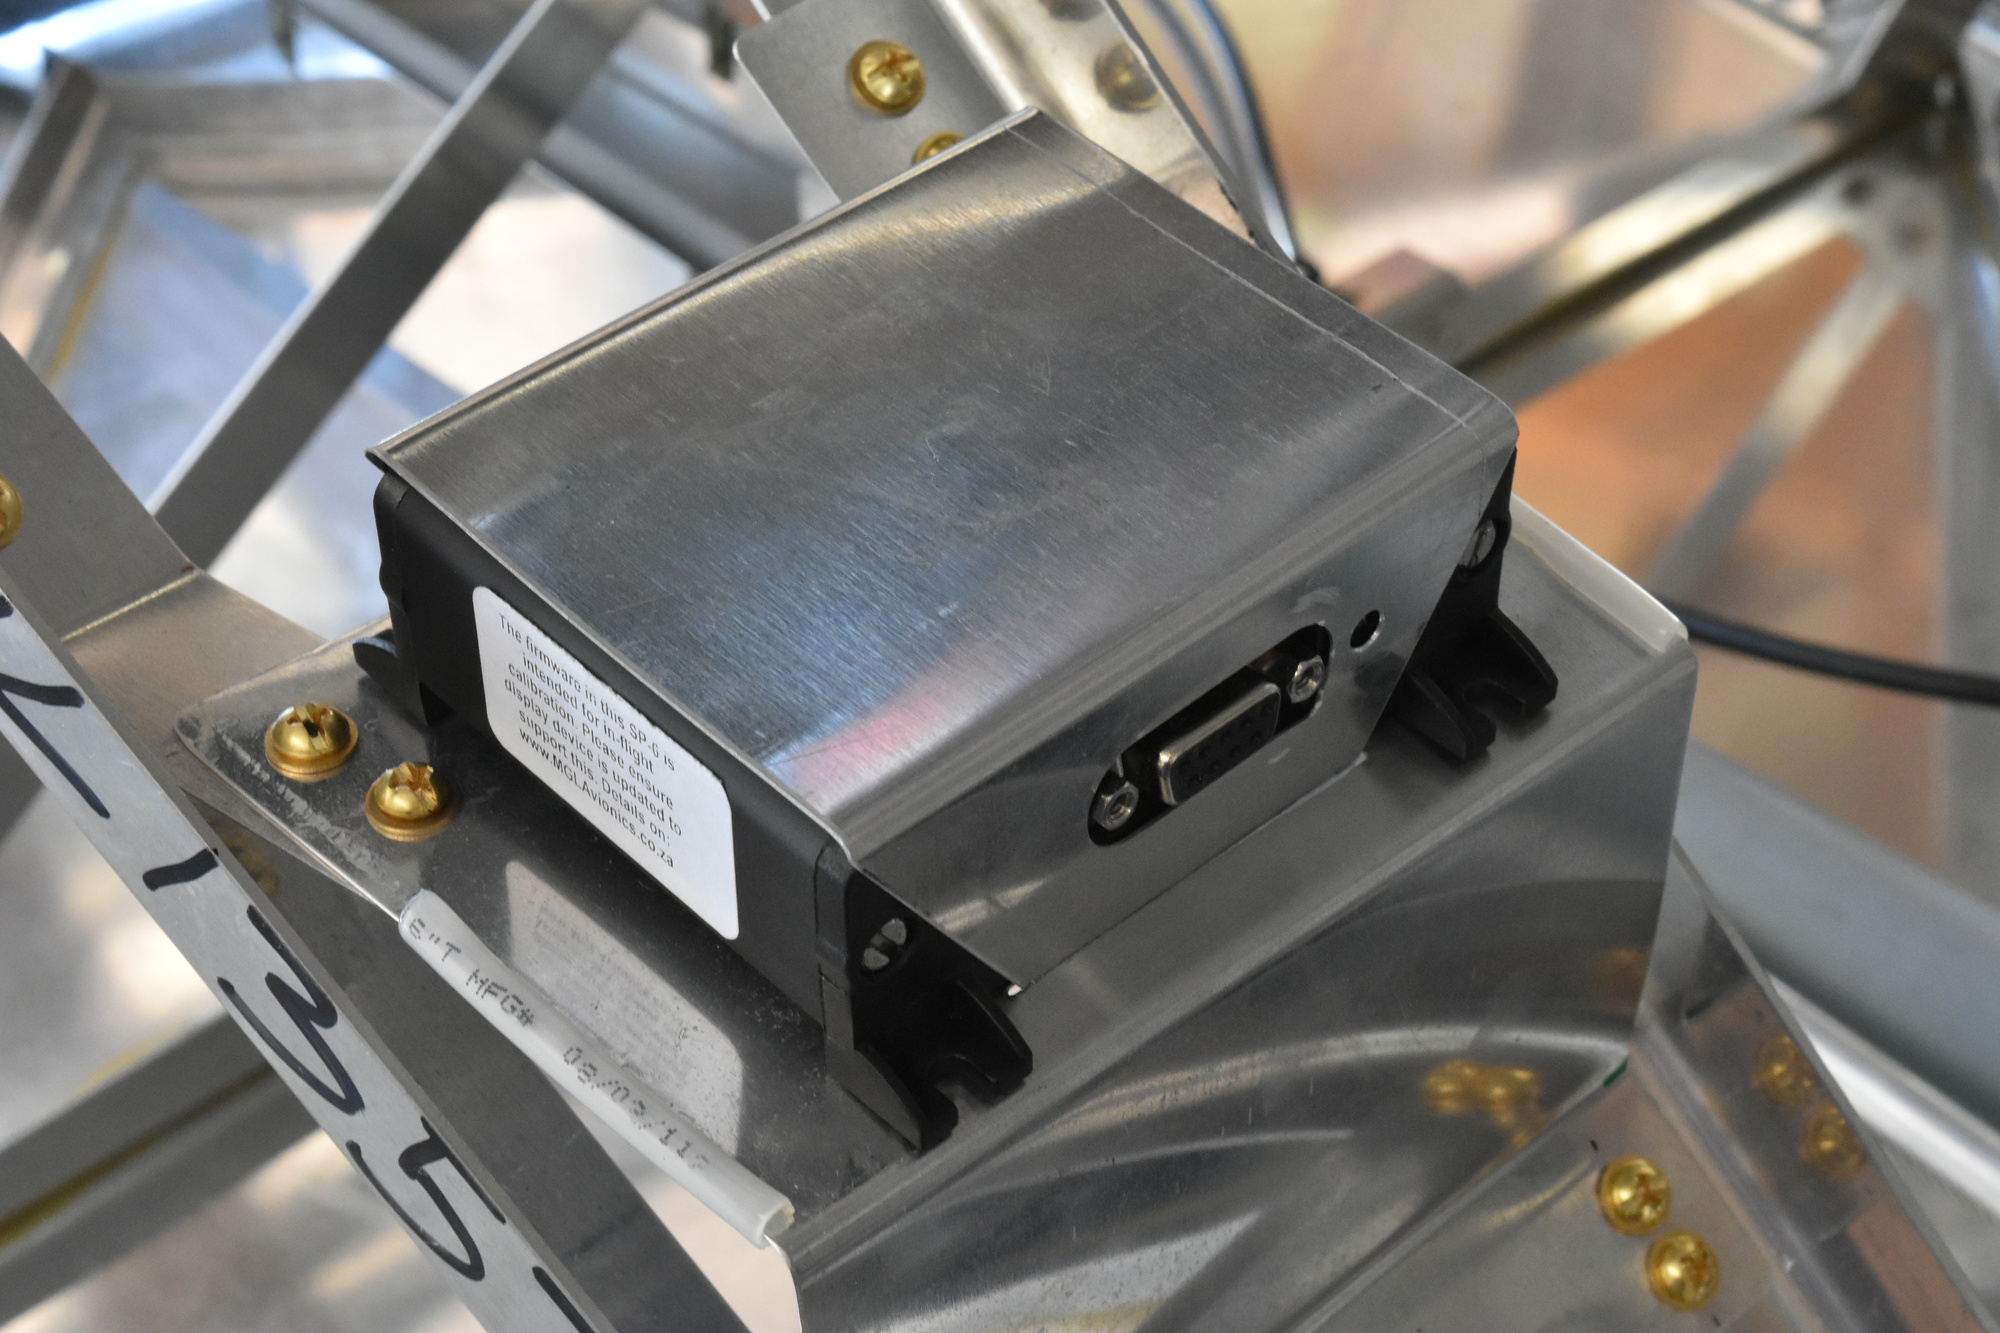
When I last wrote about Mounting MGL Avionics Sensors in a BD-4C, I had built shelves in my Bede BD-4C airplane for the magnetometer and AHRS boxes. These shelves were close to finished but not quite right. Neither one could keep the boxes from sliding forward and backward. Worse, the AHRS shelf was too short; there was insufficient space to connect the cable to the back of the box.
To keep the magnetometer (electronic compass) from sliding, I built a U-shaped housing. It has tabs which fit into slots that I cut into the shelf.
With the Velcro strap in place, this box ain’t goin’ nowhere!
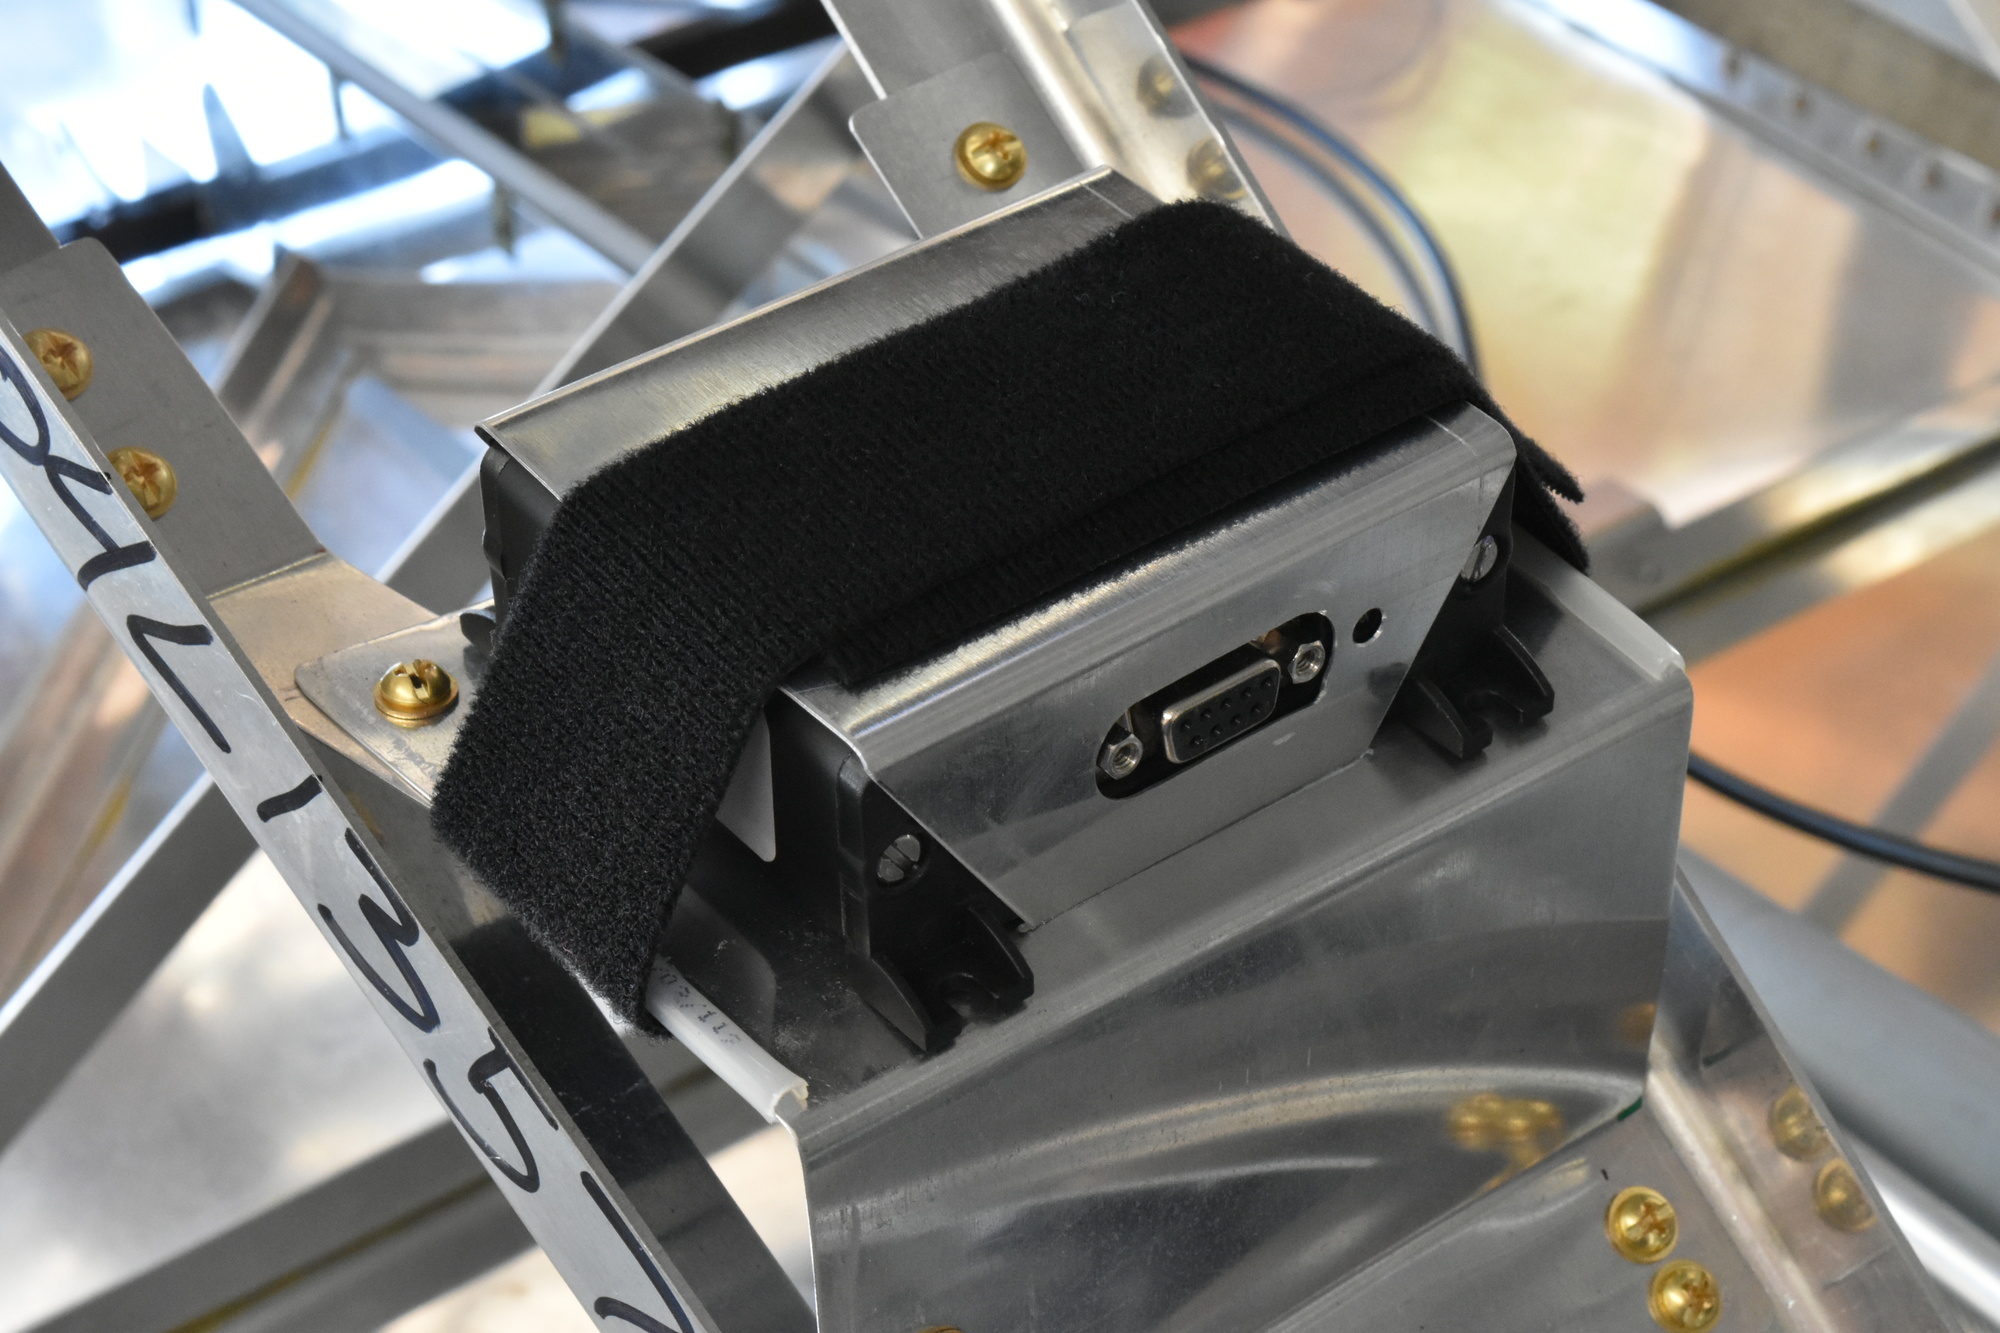
For the AHRS (attitude and heading reference system), I made a longer shelf and then added a piece of sound insulation foam between the shelf and the box. The foam insulates the AHRS from high frequency vibration and also keeps the box from sliding out from under the Velcro strap.
The wires come out of the back of the box and will run down through the square channel at the corner of the cabin. I tucked the wires into the channel so you can see what I am talking about.
Don’t panic! The “real” installation will have the wires inside a conduit to protect them from abrasion. I will not leave the wires carelessly draped across a metal edge.
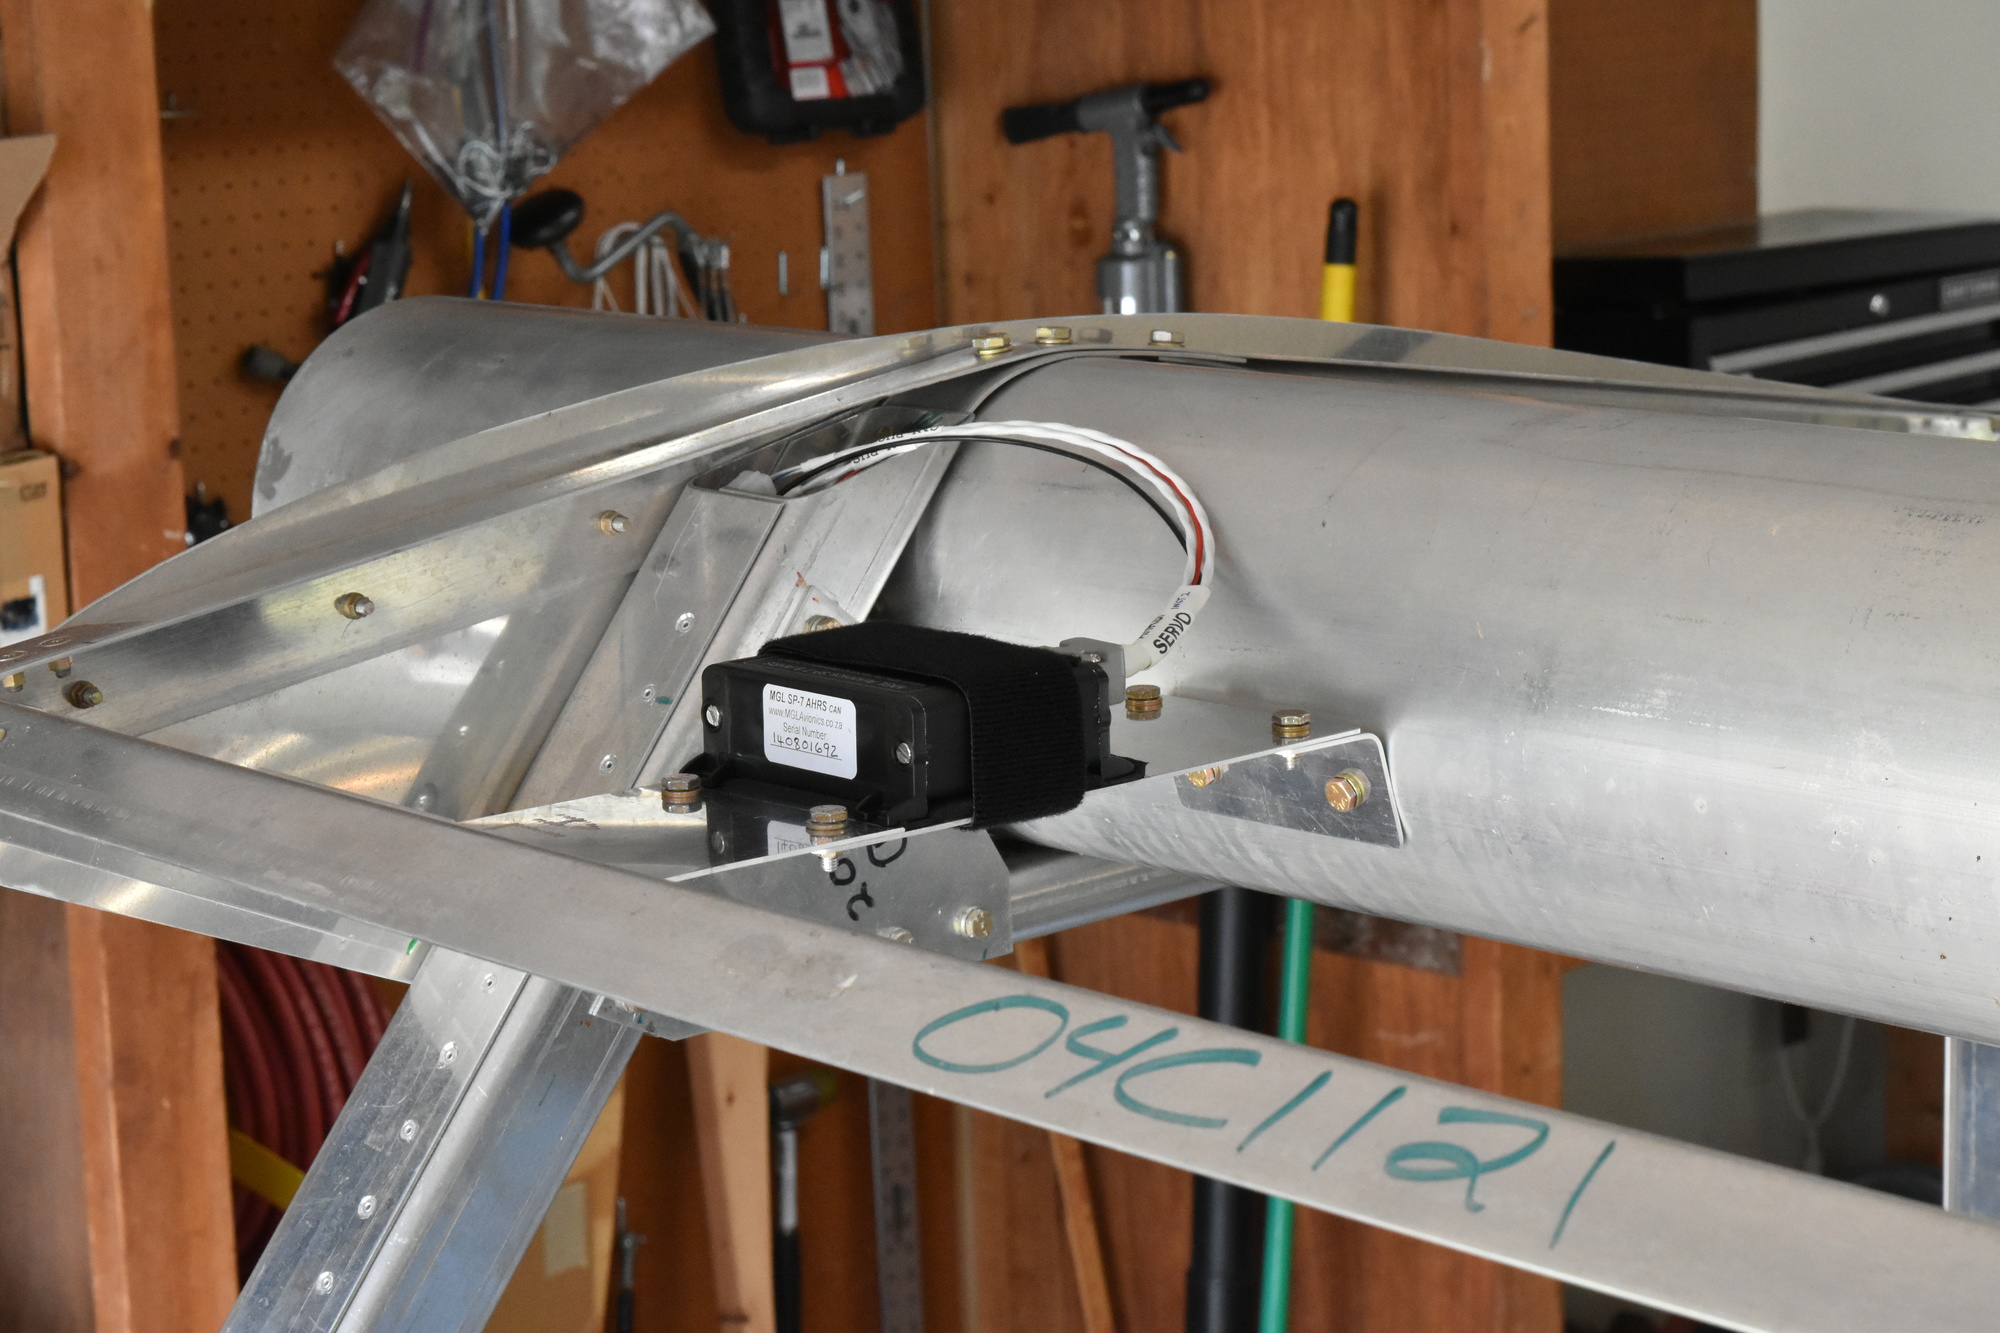
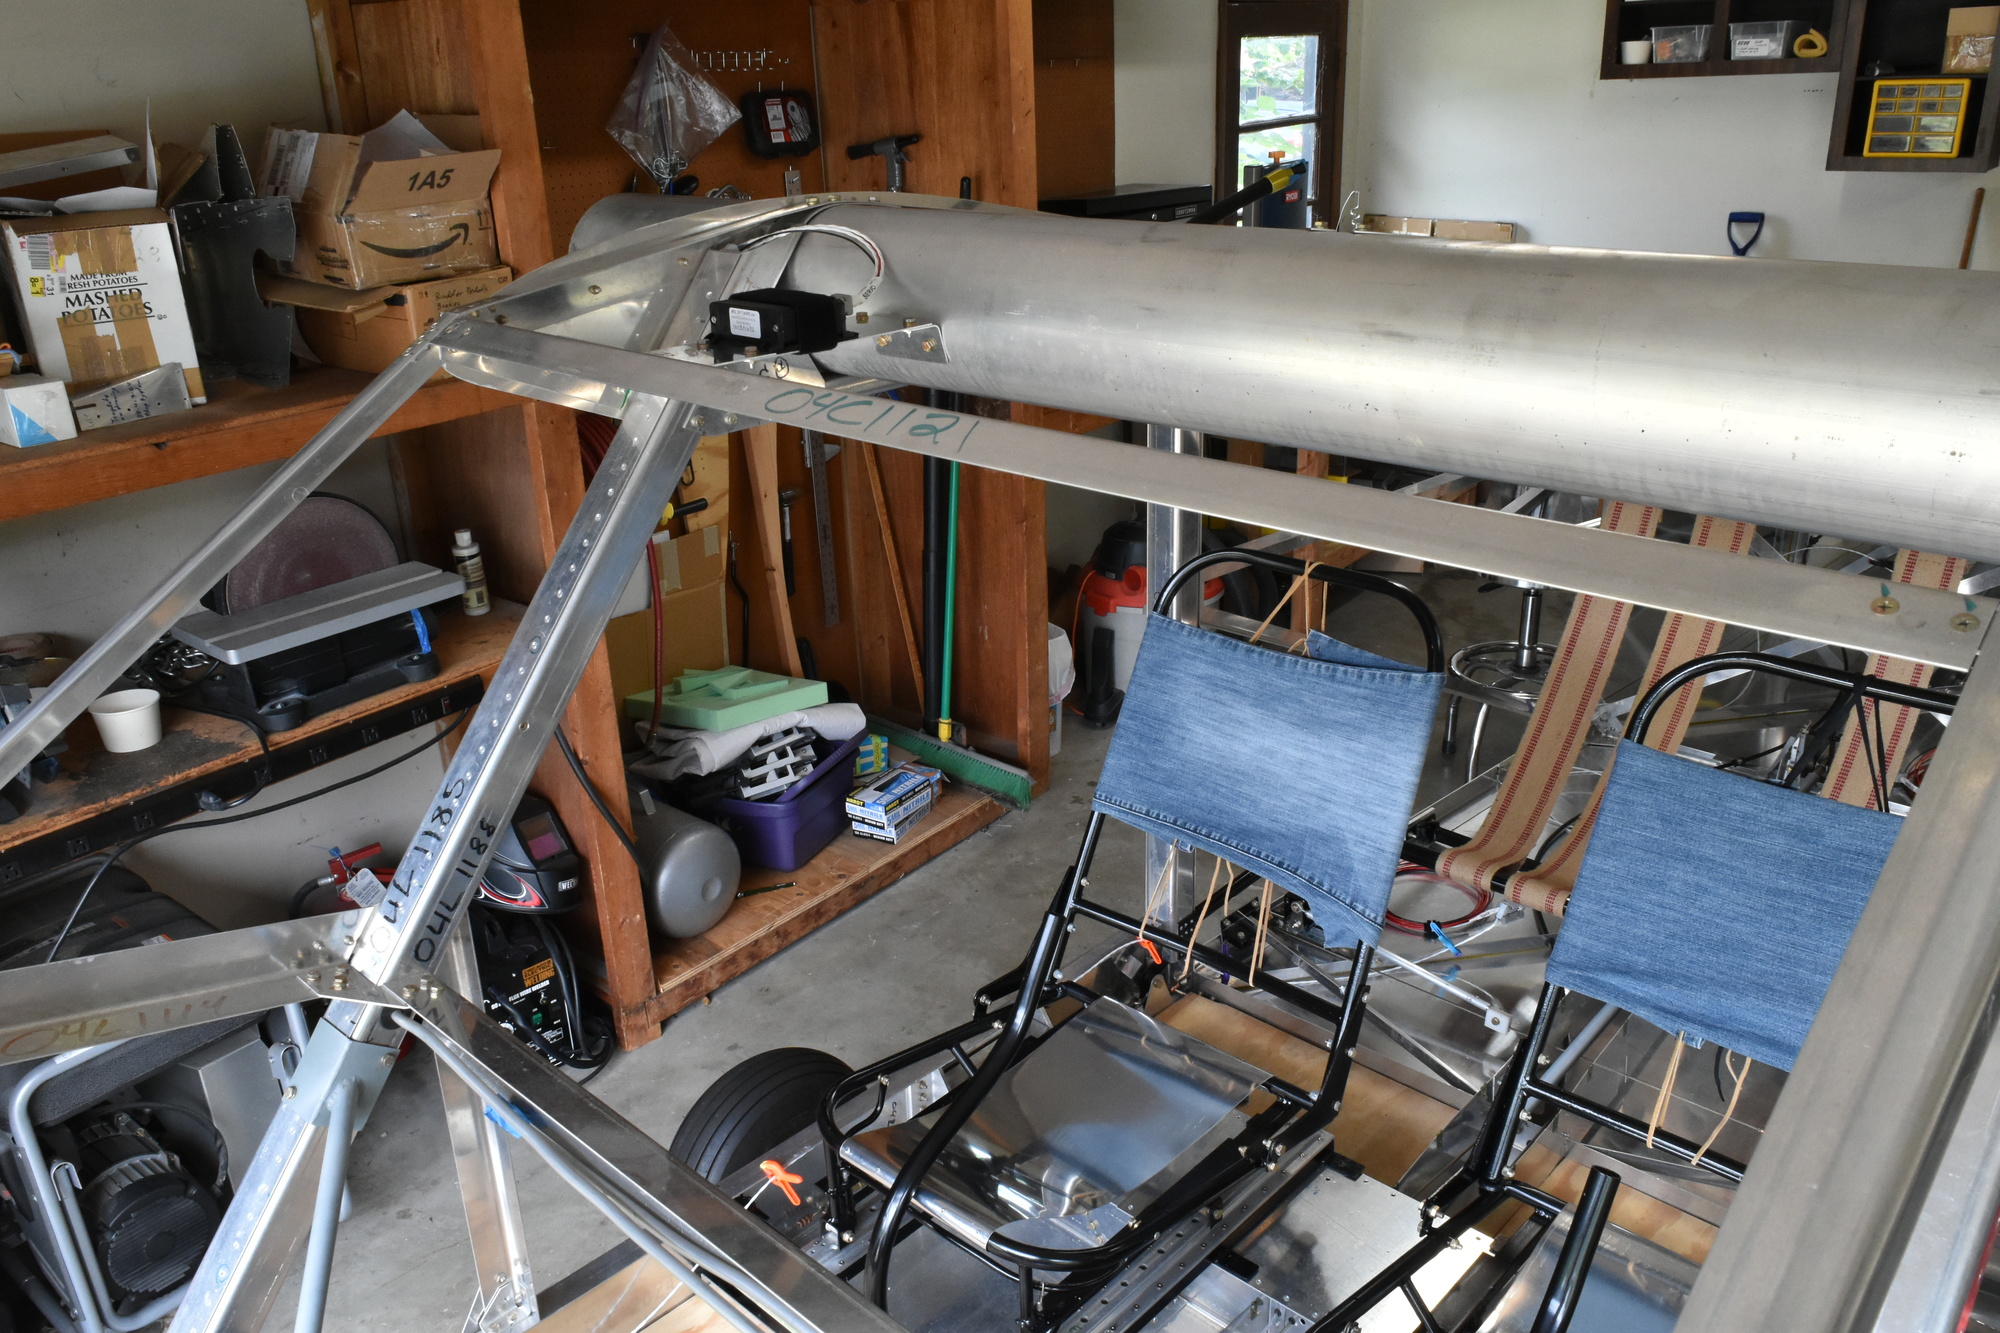
In following photo, you can get a better sense for where the AHRS is above the cabin.
MGL Avionics provided wiring harnesses for the autopilot servos and the magnetometer and the AHRS. Each has a CAN bus in and out, plus 12 volt positive and negative wires. I needed to extend the 12 volt power wires so that they can reach the fuse block.
Lots of people use solder sleeves when splicing wires for airplanes. These are nifty little tubes with a dab of solder inside a piece of heat shrink tubing. You slide your wires into the ends of the sleeve, blast it with a heat gun, and voila! you have a splice.
I like soldering, though. It’s peaceful and satisfying and, coincidentally, a heck of a lot less expensive. Those solder sleeves are about $1.75 each. Sure, they are convenient but I don’t think that they are that convenient.
I followed the instructions for Bob’s Shop Notes: Poor Man’s Solder Sleeves on the AeroElectric Connection website. The first one took awhile, and I ended up cutting it off and throwing it away. Same for the second one. But by the time I was on my sixth, seventh, and eighth splices, I was doing them in about five minutes each. Sweet.
I started by stripping the ends of the wire and then wrapping a single strand of wire around the two ends, just to hold everything nice and tight. (Click on the photos to get a larger, clearer view.)
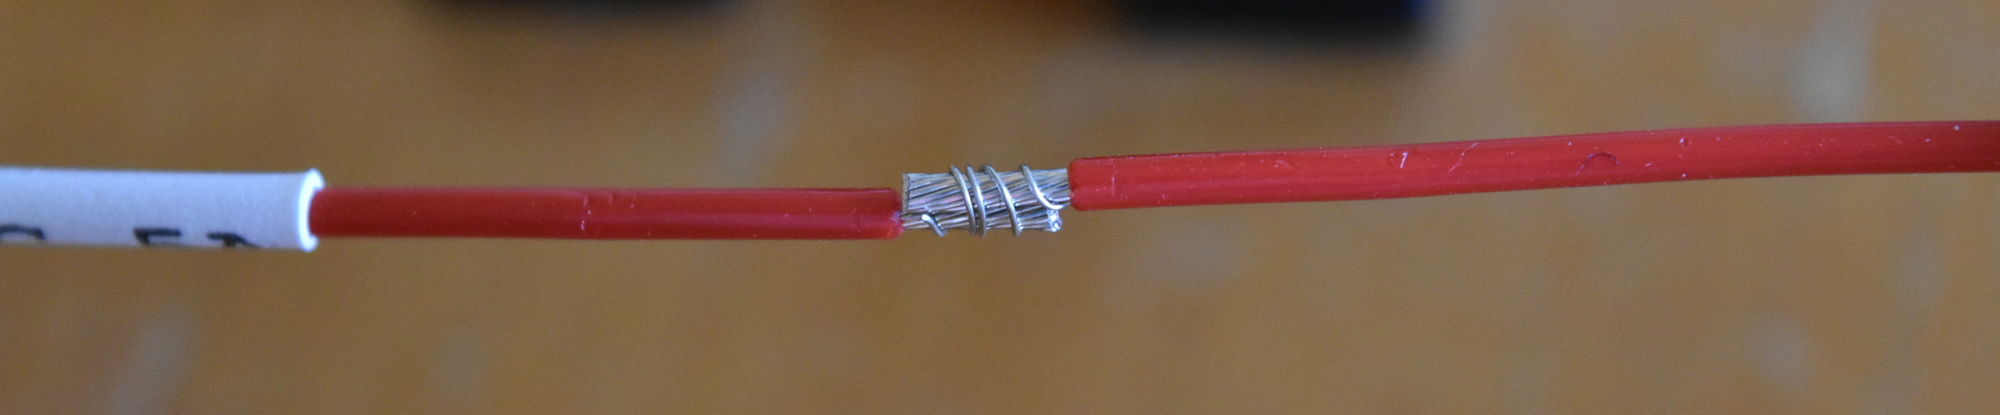
Then I added some solder.

And finished up with some heat shrink tubing. Here are a pair of splices.

Now it is time to return to some sheet metal work, so that I can finish up the roof of the plane. The biggest problem with that plan tonight is that it is 104 degrees in the garage at 6:00pm. Gotta love summer in St. Louis!

Art,I am a lurker but have enjoyed your missives.
Best…Bob
Perpetual homebuilder
I’m glad that you stopped by, Bob 🙂