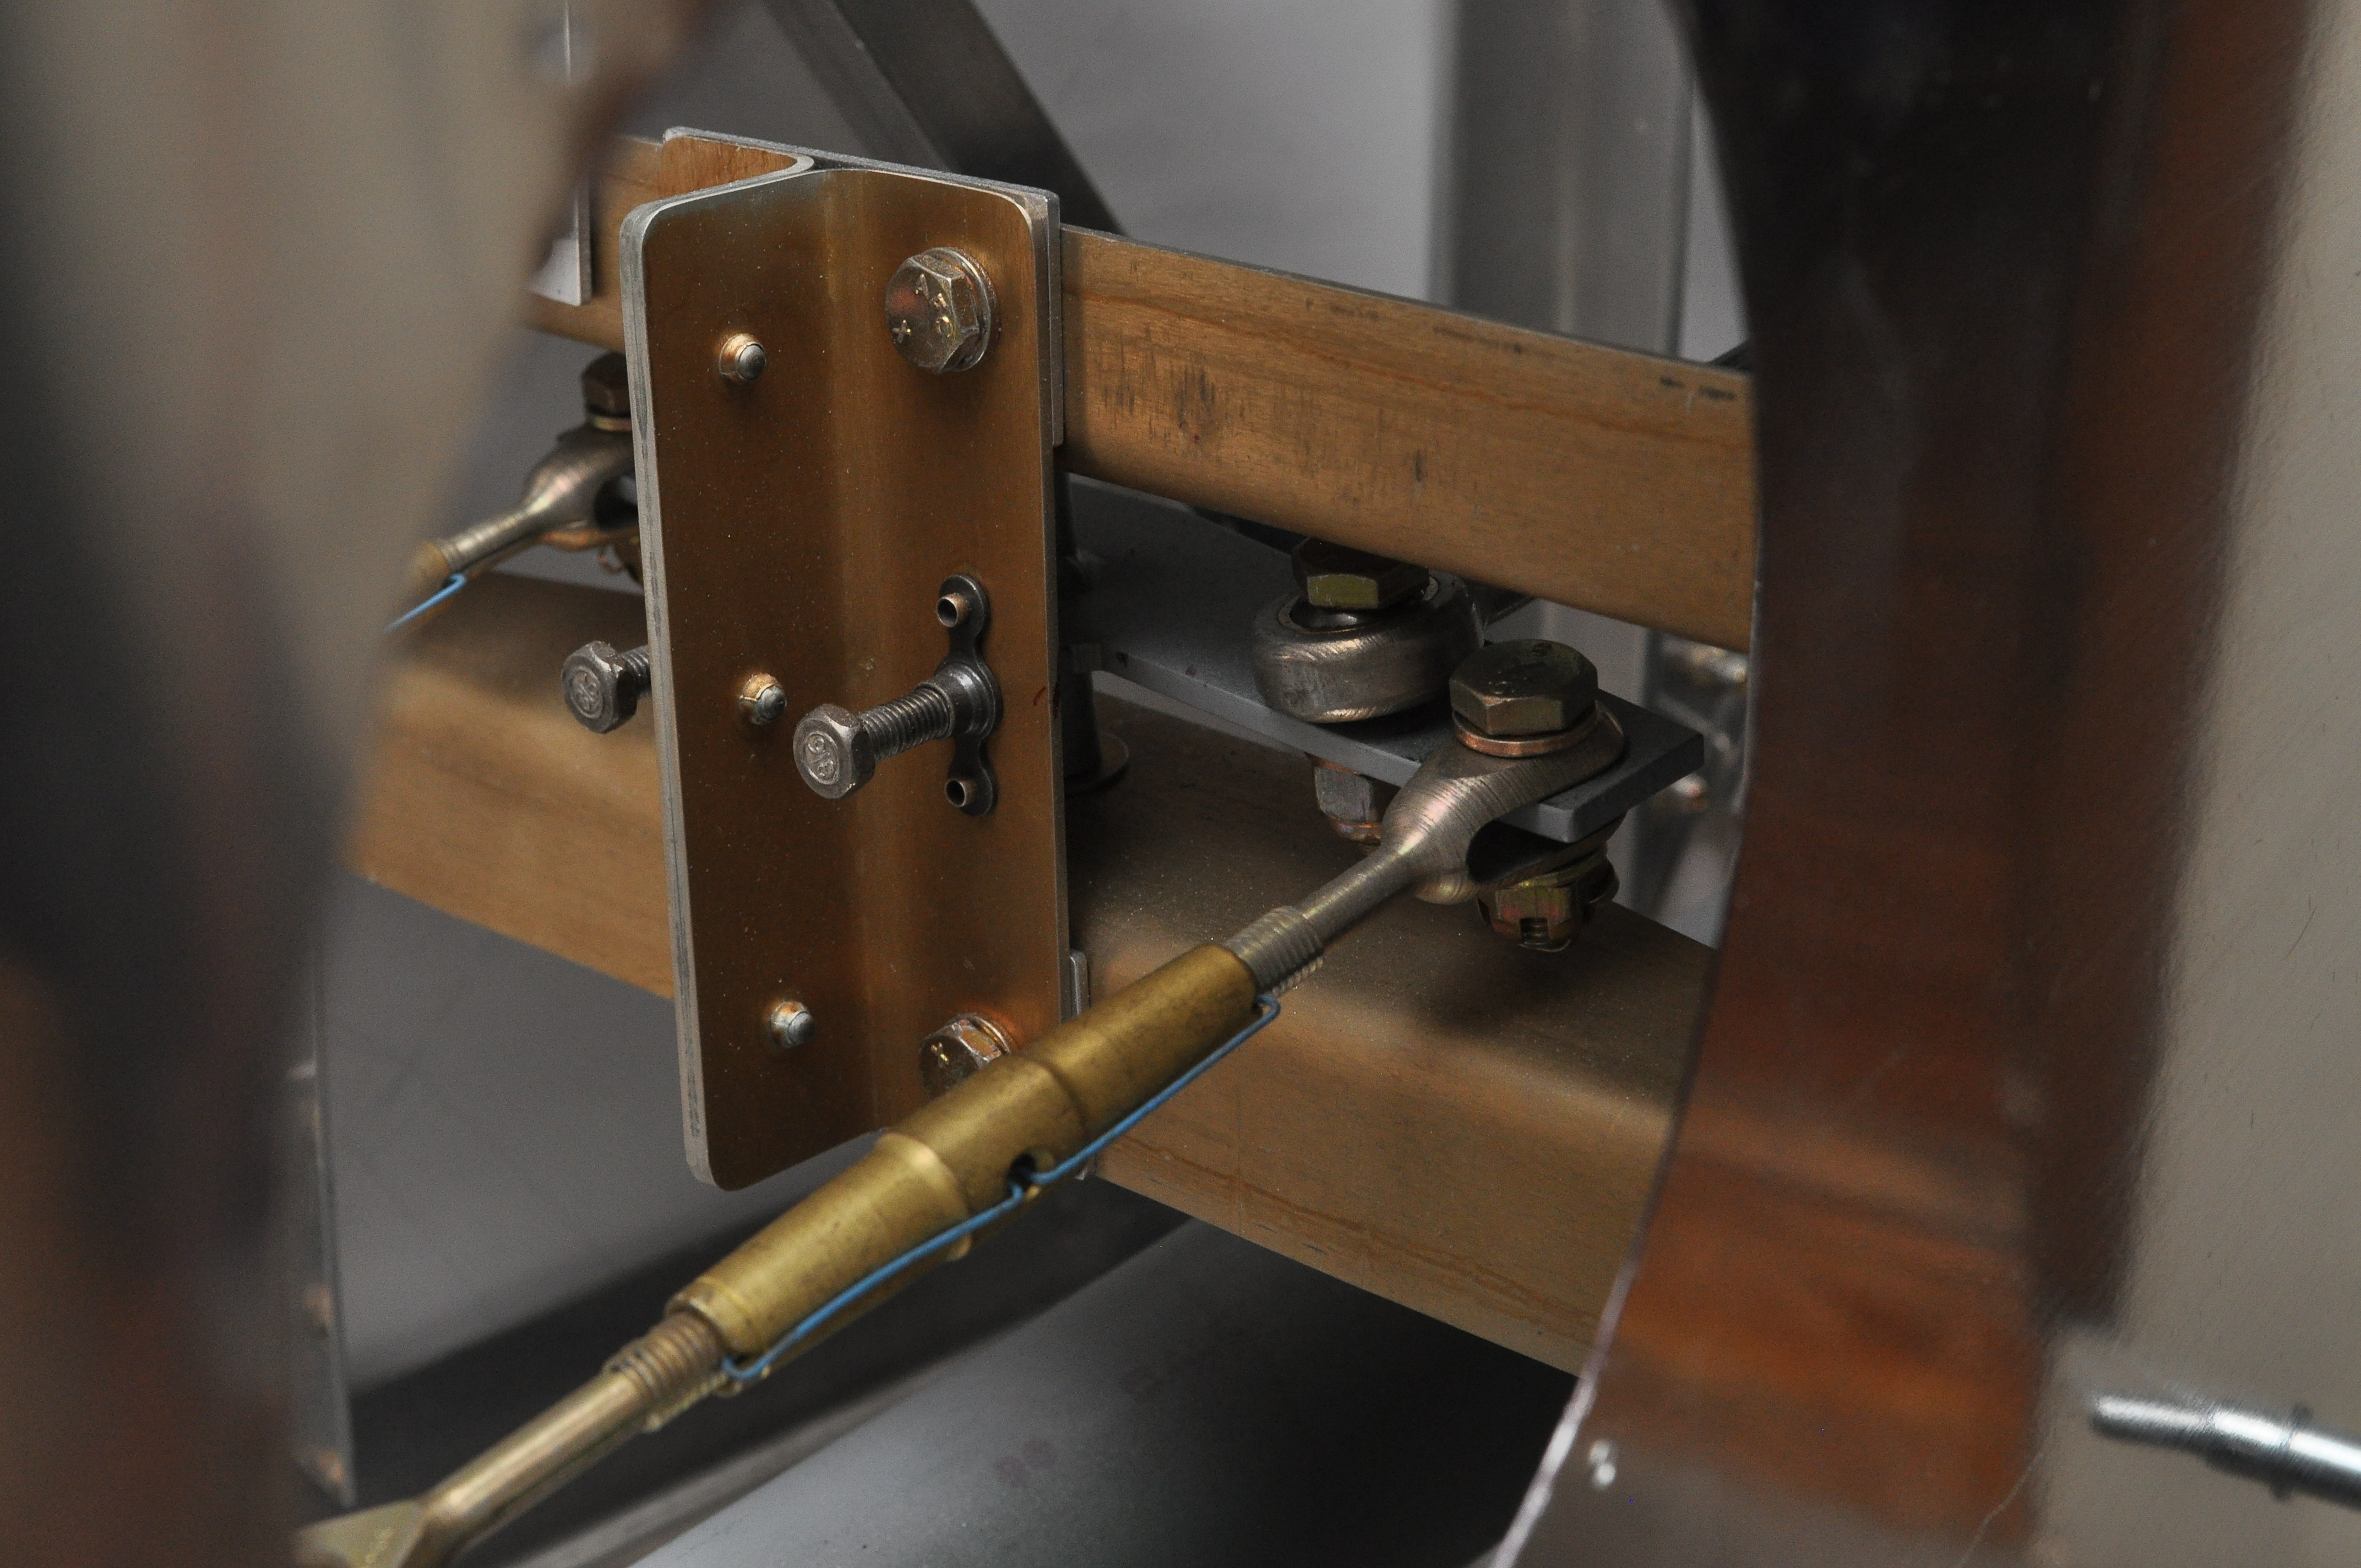
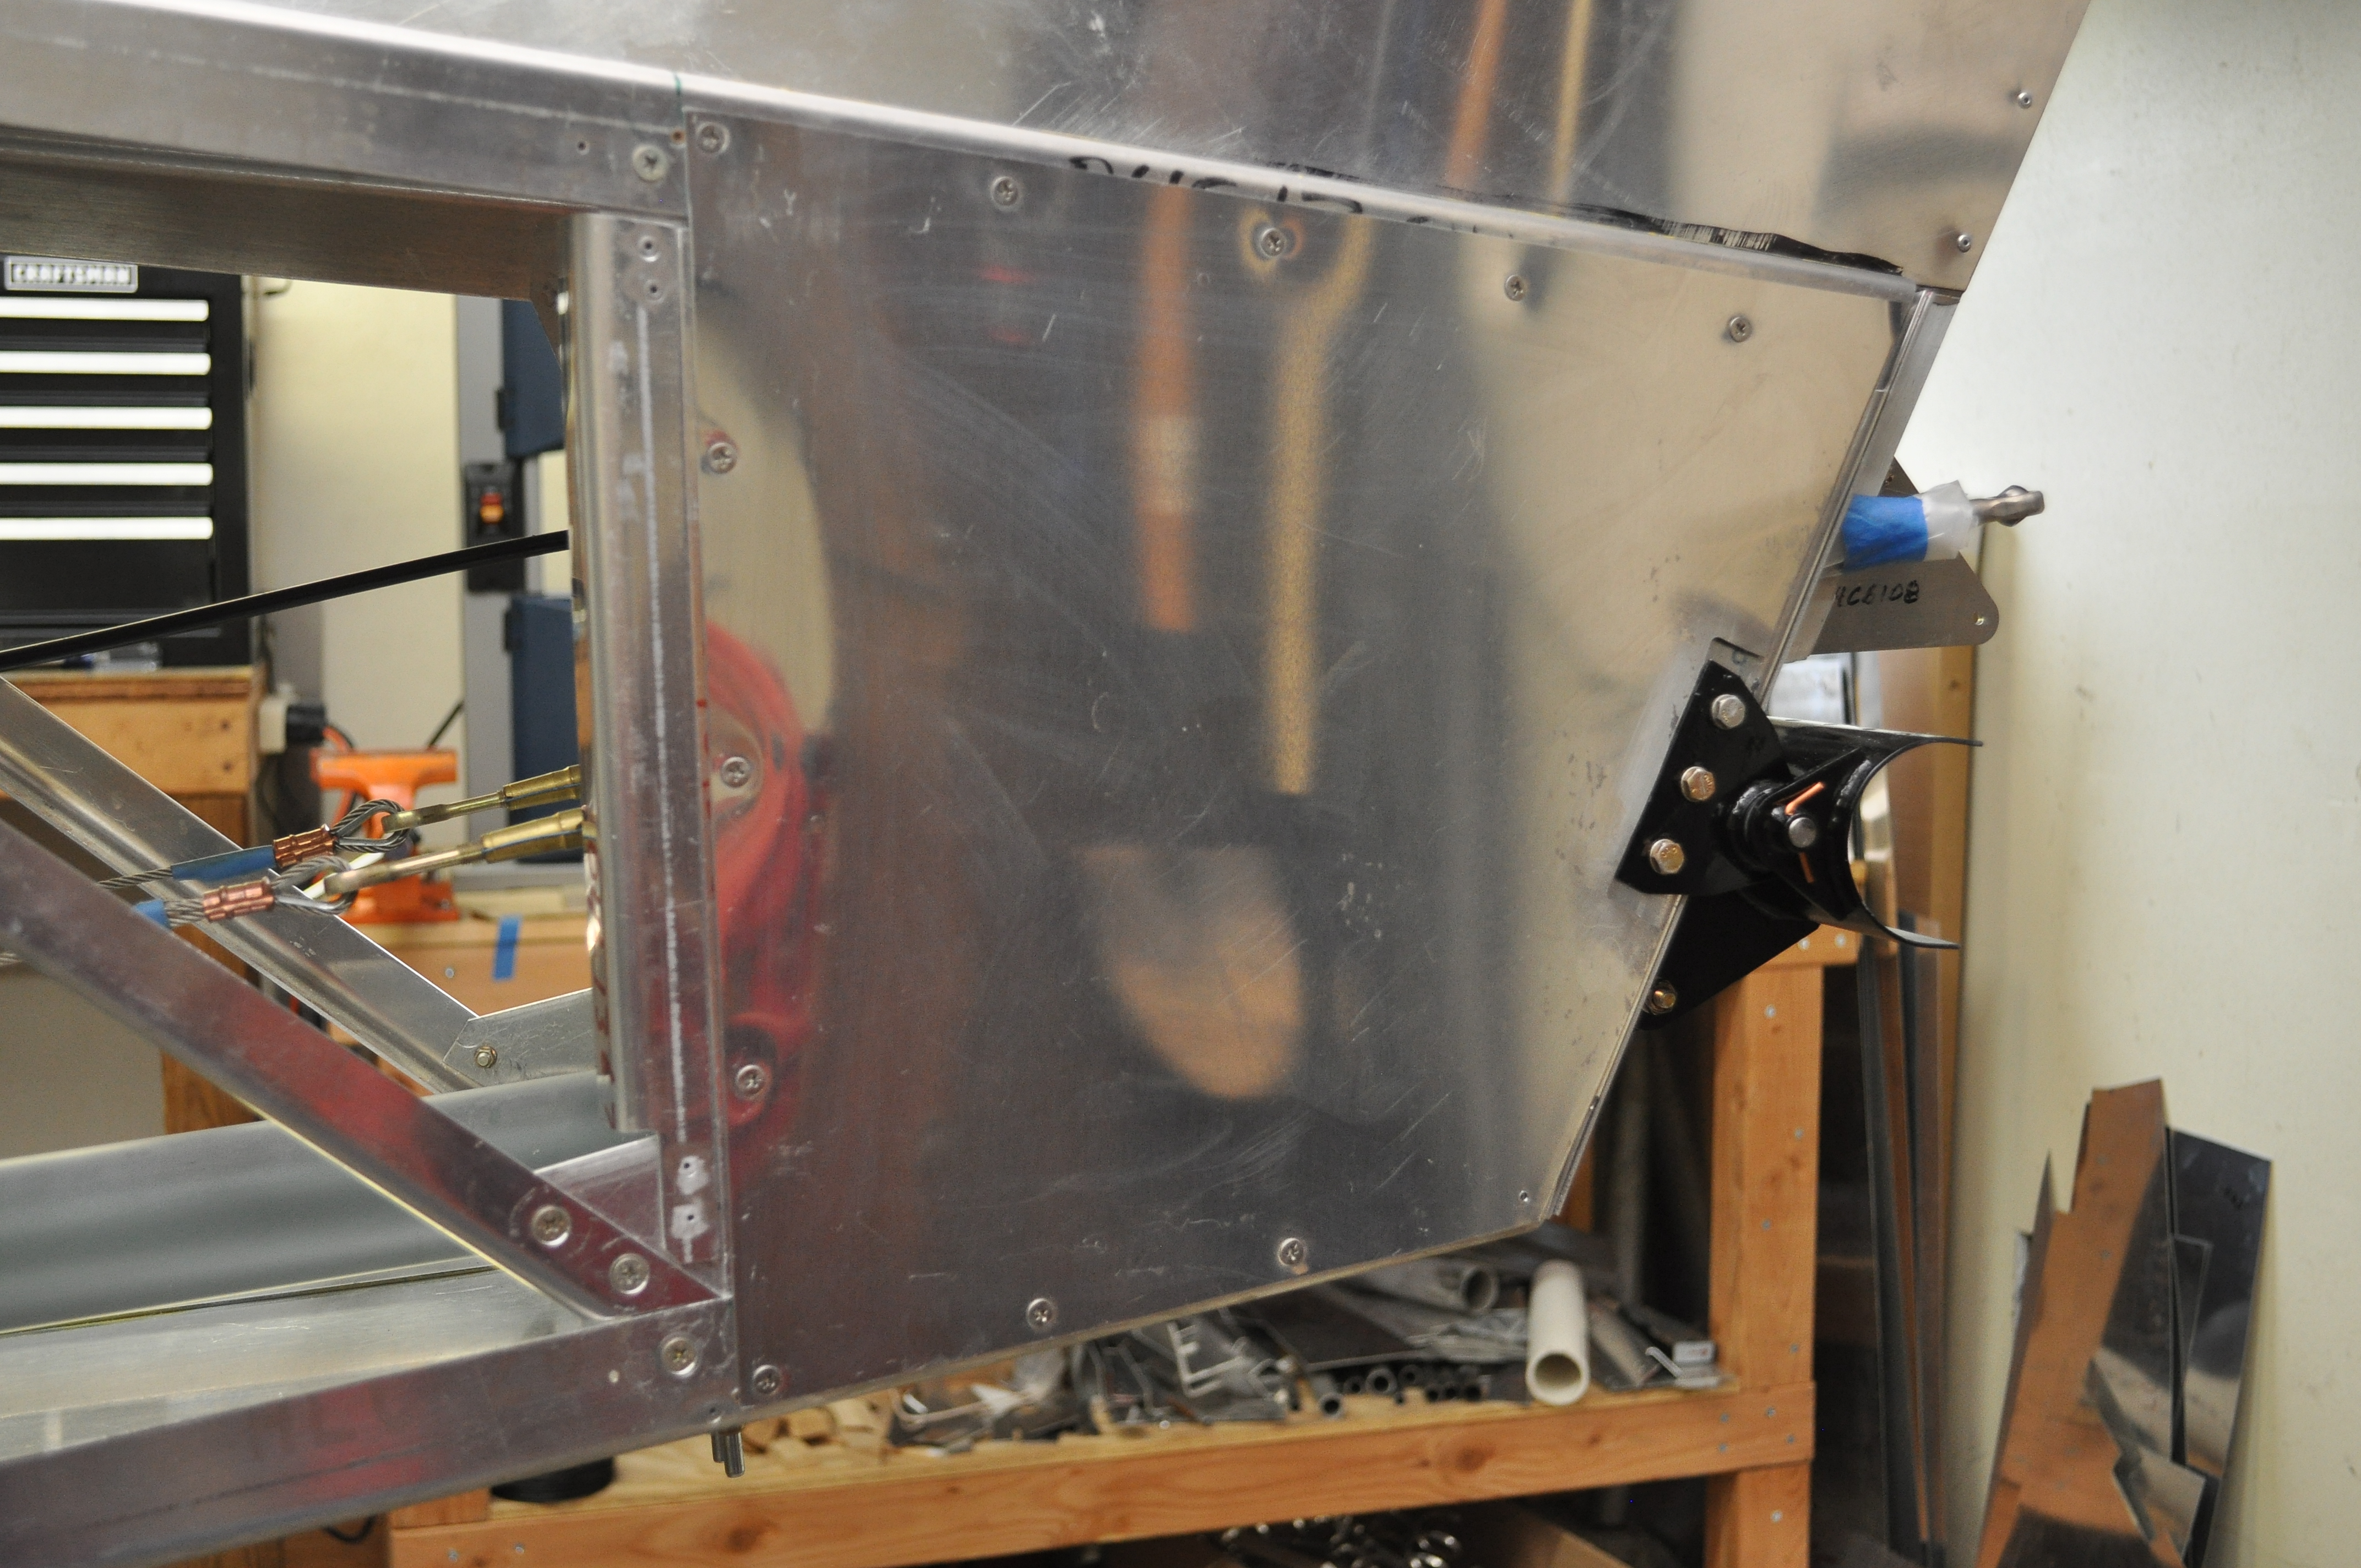
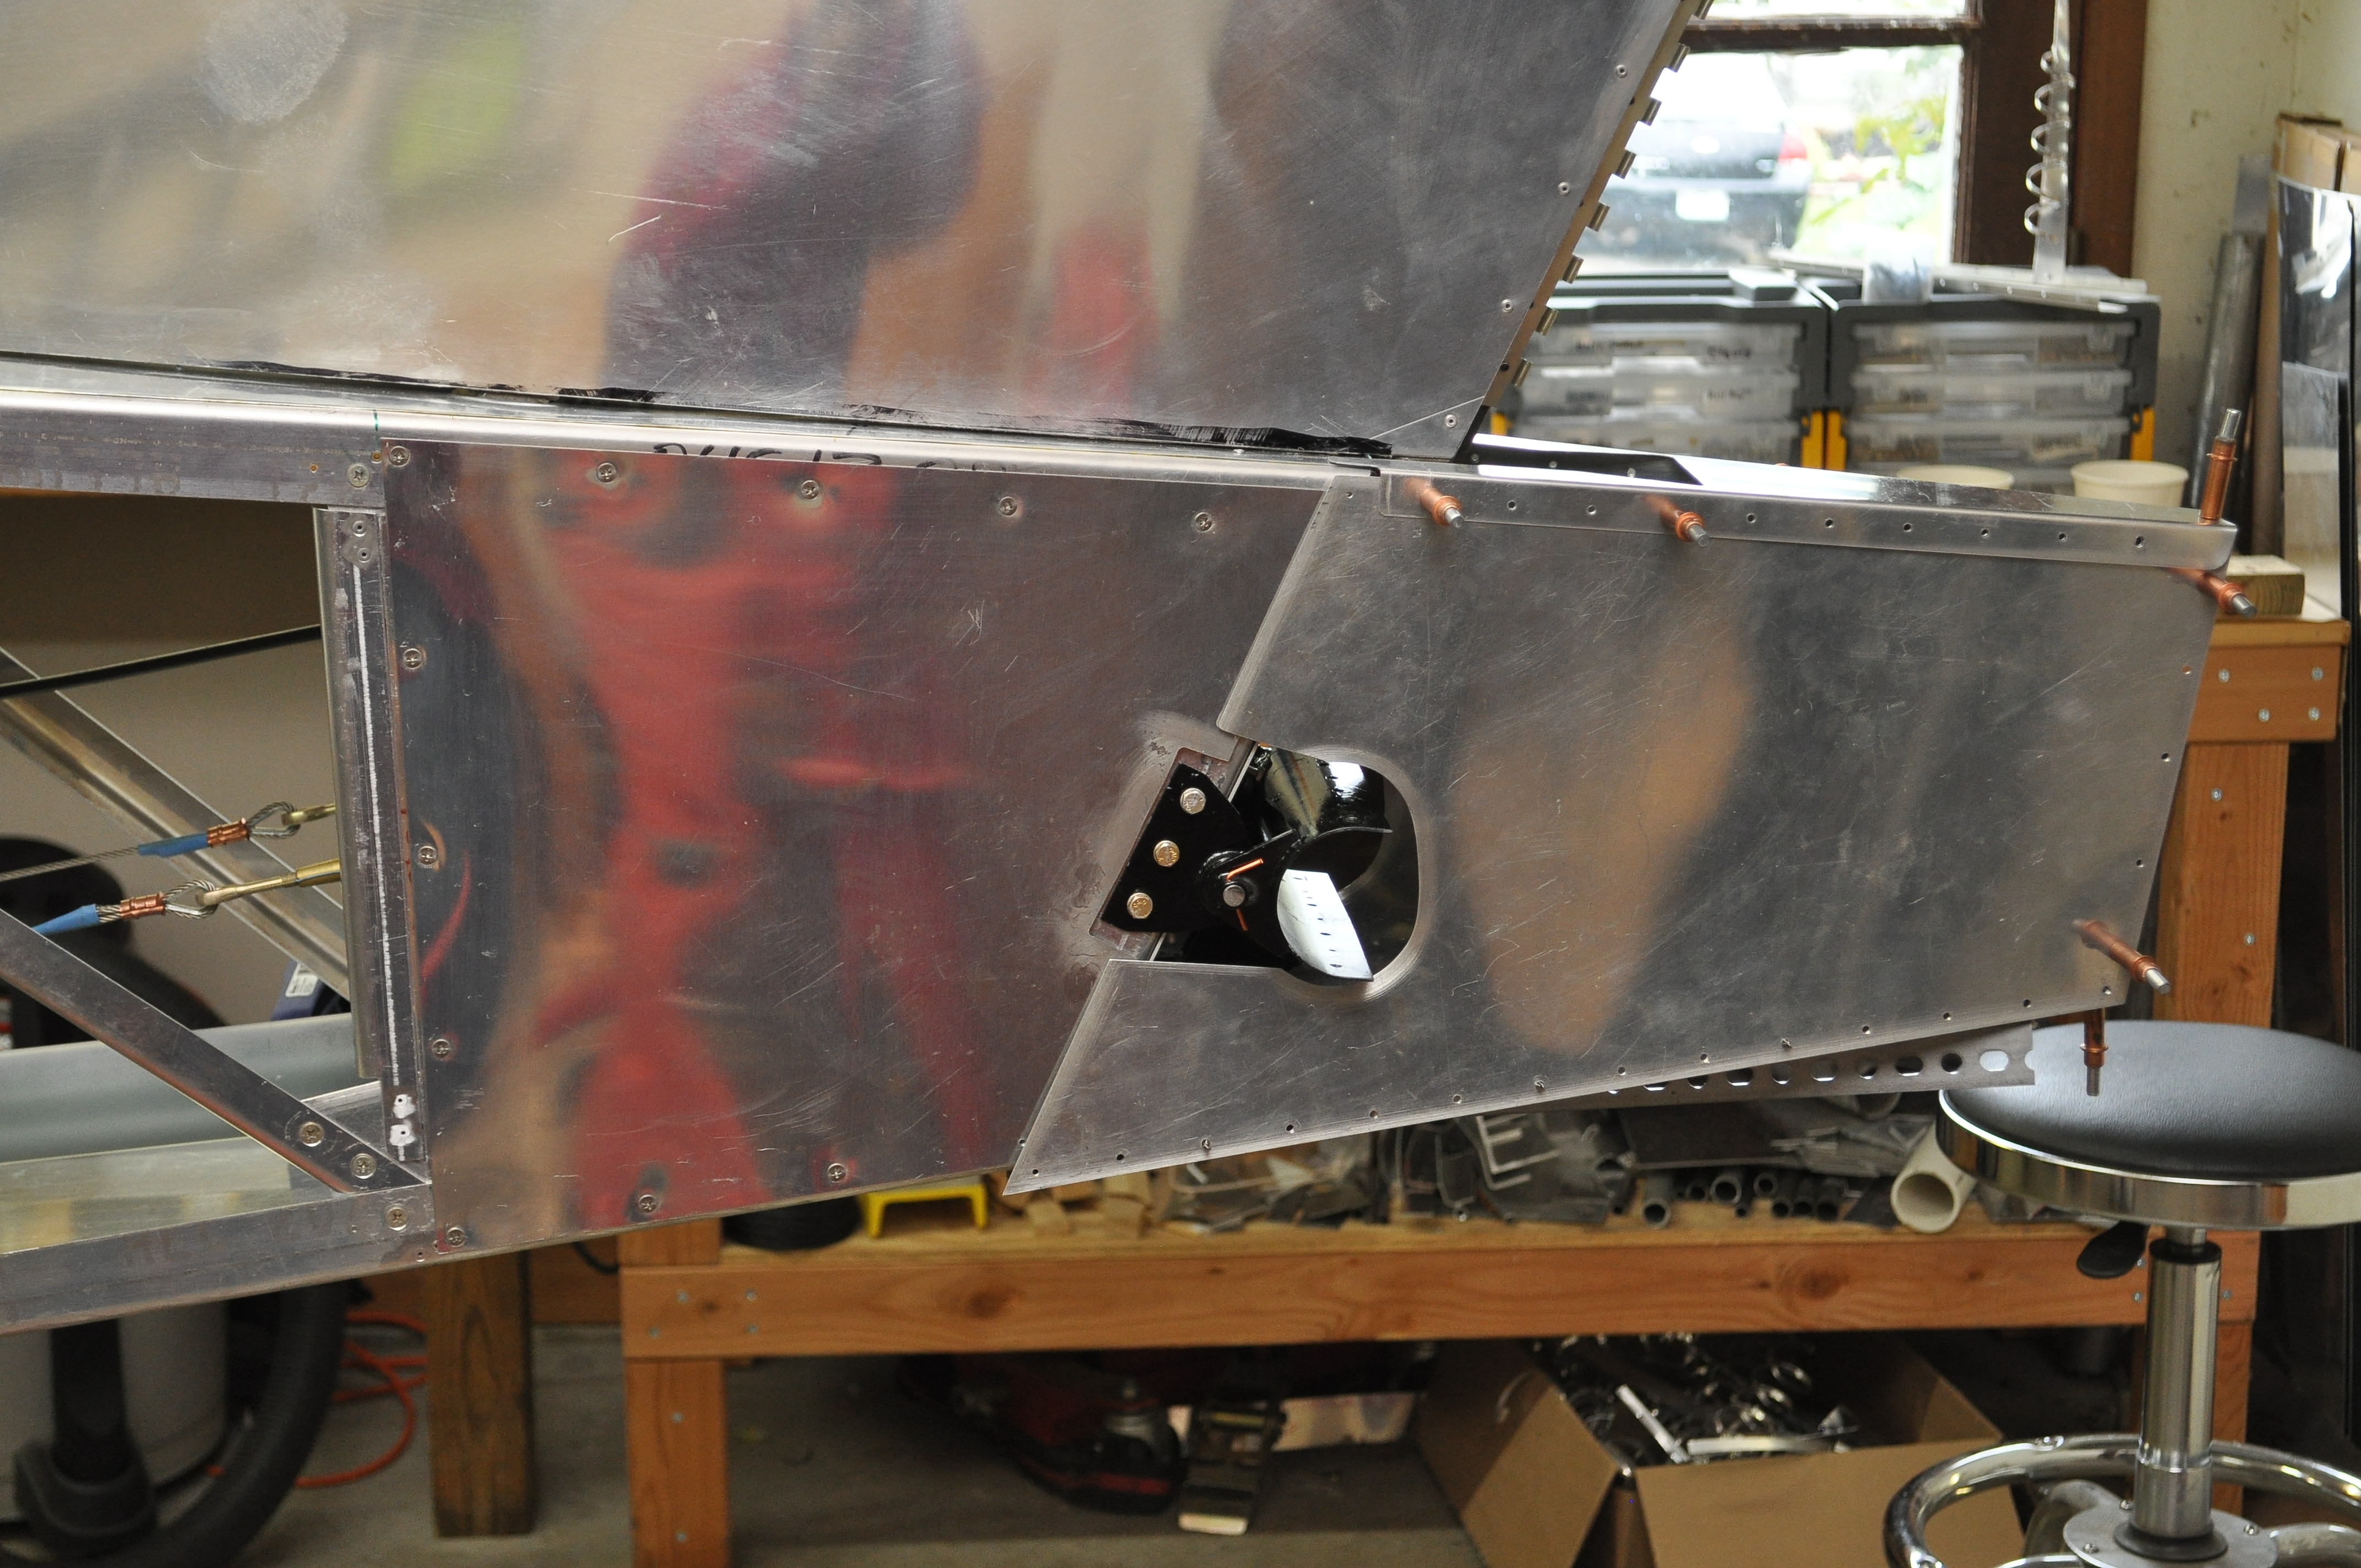
The Bede BD-4C airplane has a whole bunch of hardware inside the back end of the fuselage. The two rudder cables (one from each rudder pedal) are attached to a steel bellcrank. The bellcrank operates the front end of a push-pull rod (the back end of which is attached to a control horn on the bottom of the rudder). There are also four set-screws in this part of the plane, two for the rudder and two for the horizontal stabilator. And if that isn’t enough, there are bolts which hold the tail end of the stabilator push-pull rod and a whole bracket for holding the back end of the trim cable. It is a lot of stuff.
By design, the BD-4C has only a single inspection port for this part of the fuselage. The view, looking through the port, is pretty limited. (Click on the picture to see a larger version.) Looking through the port, you can see the back ends of the rudder cables and the front of the bellcrank. You cannot inspect anything else. Worse, there is no practical way to work on anything since you can only get one hand at a time through the hole.
Since the inspection port is so limited, I decided to add an access panel to the left side of my Bede BD-4C fuselage. Here is a photo of the left, rear of the fuselage. I have marked where the inspection port is located and drawn a polygon around where I built the access panel.
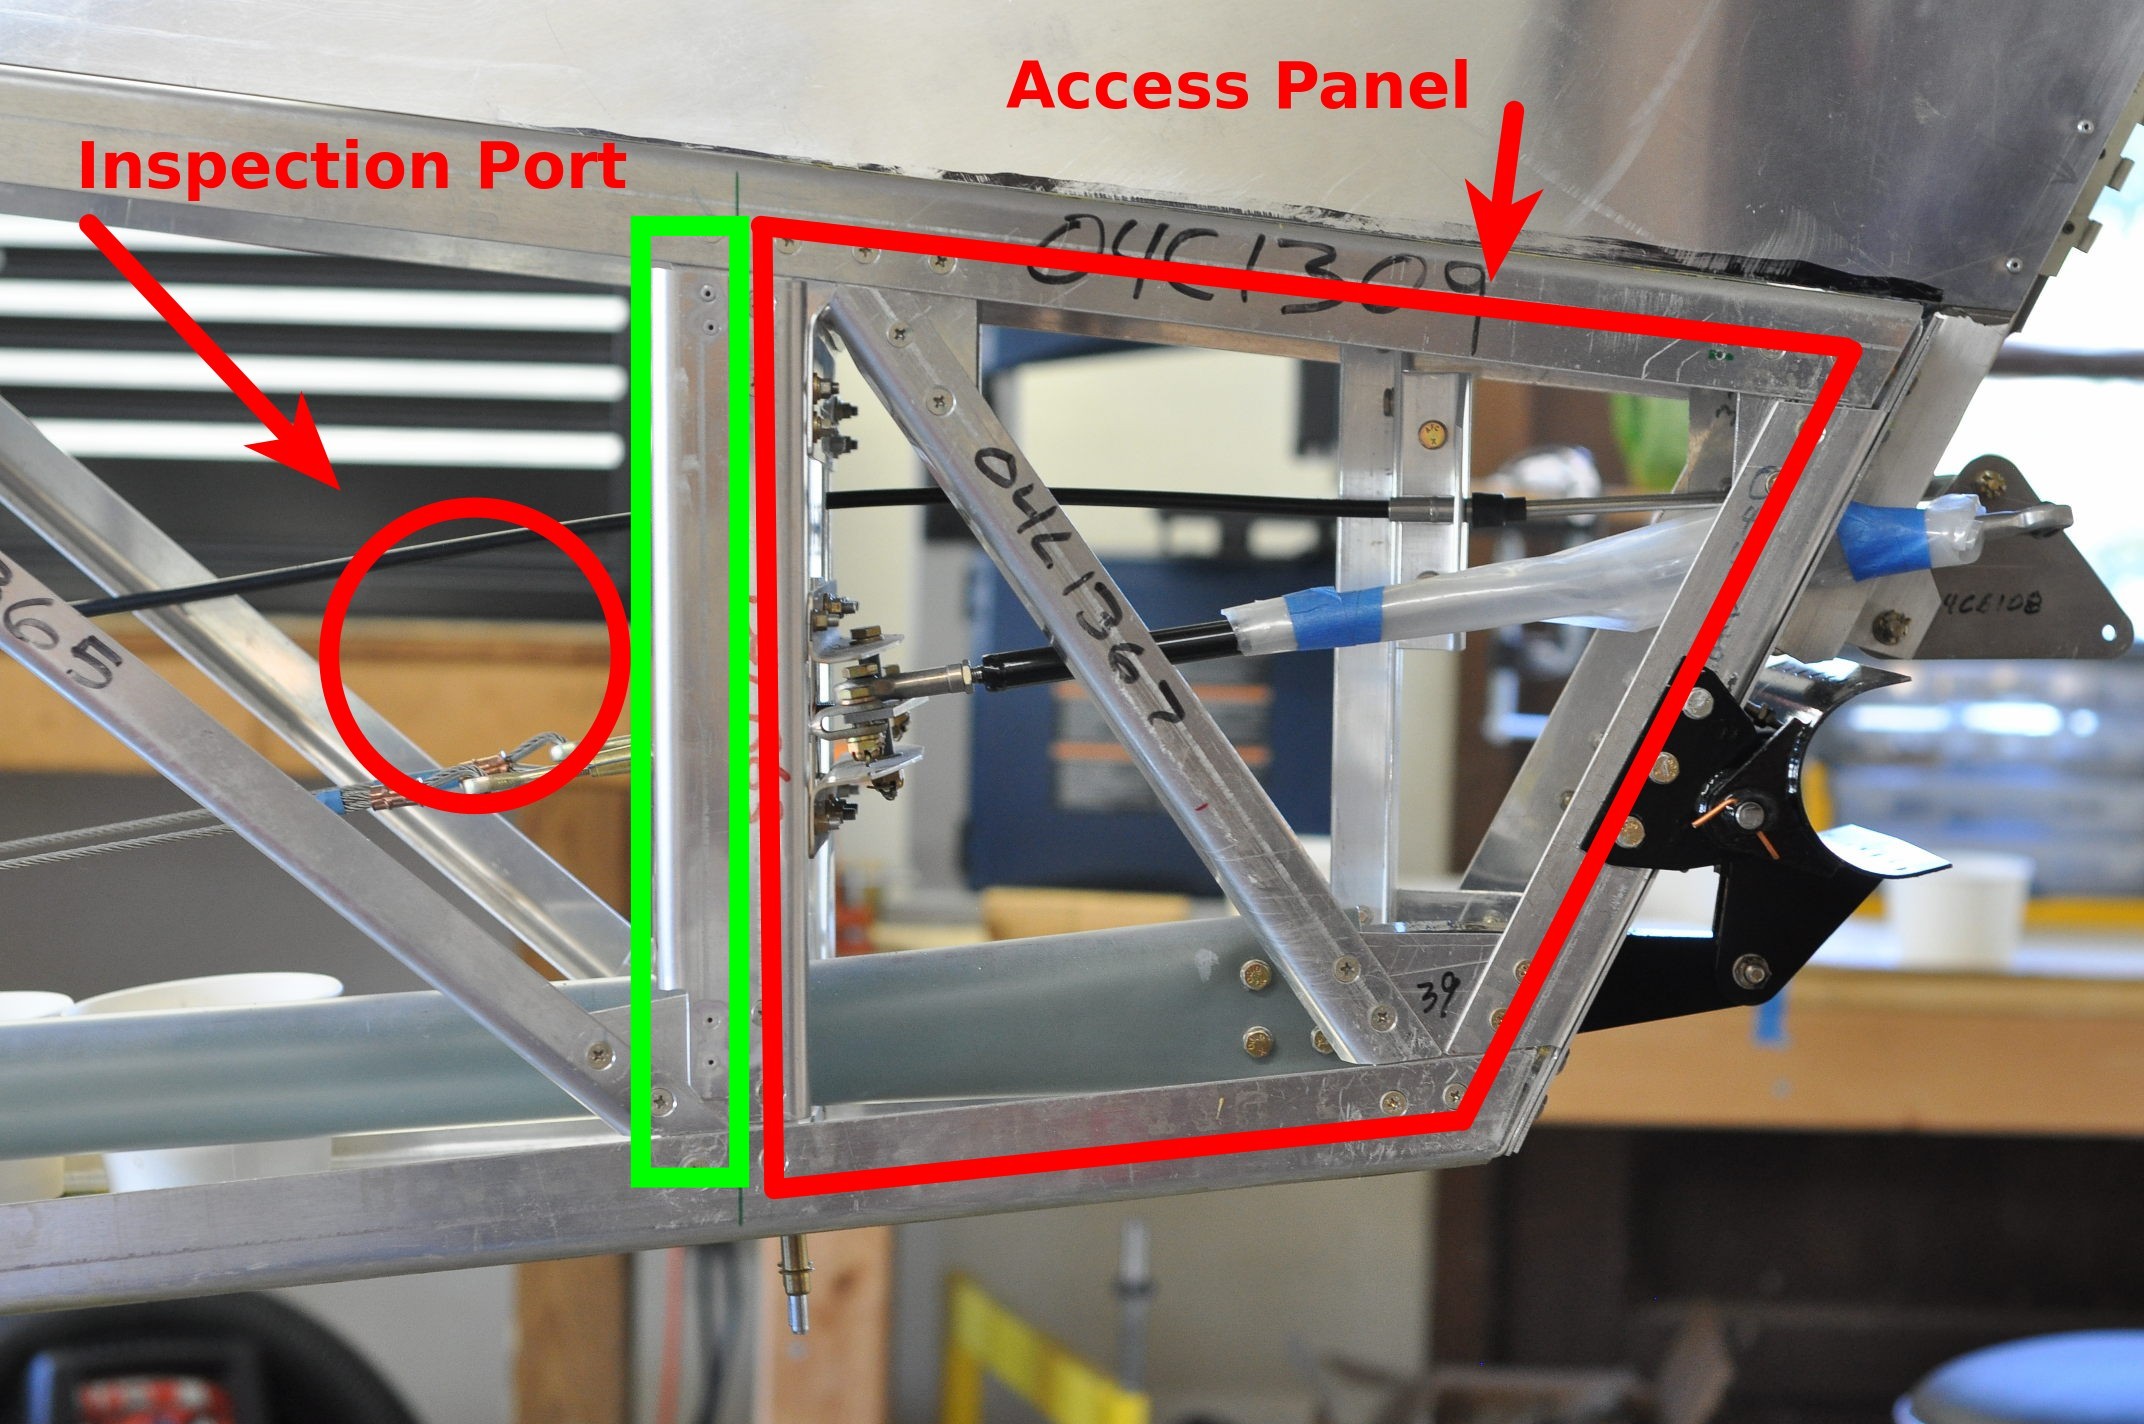
As designed, the skin of the fuselage covers everything you can see in the photo. To create the access panel, I added another piece of aluminum angle at the green box. I then cut the fuselage skin between the green and red boxes. The skin will be bonded to the fuselage, including to the new piece of aluminum inside the green box. The very back of the fuselage (the right side of the photo, inside the red polygon), is covered by an access panel held in place with machine screws. As you can see, having the panel removable gives ready access to everything in the back of the fuselage.
So much for the theory, here are the photos of the project.
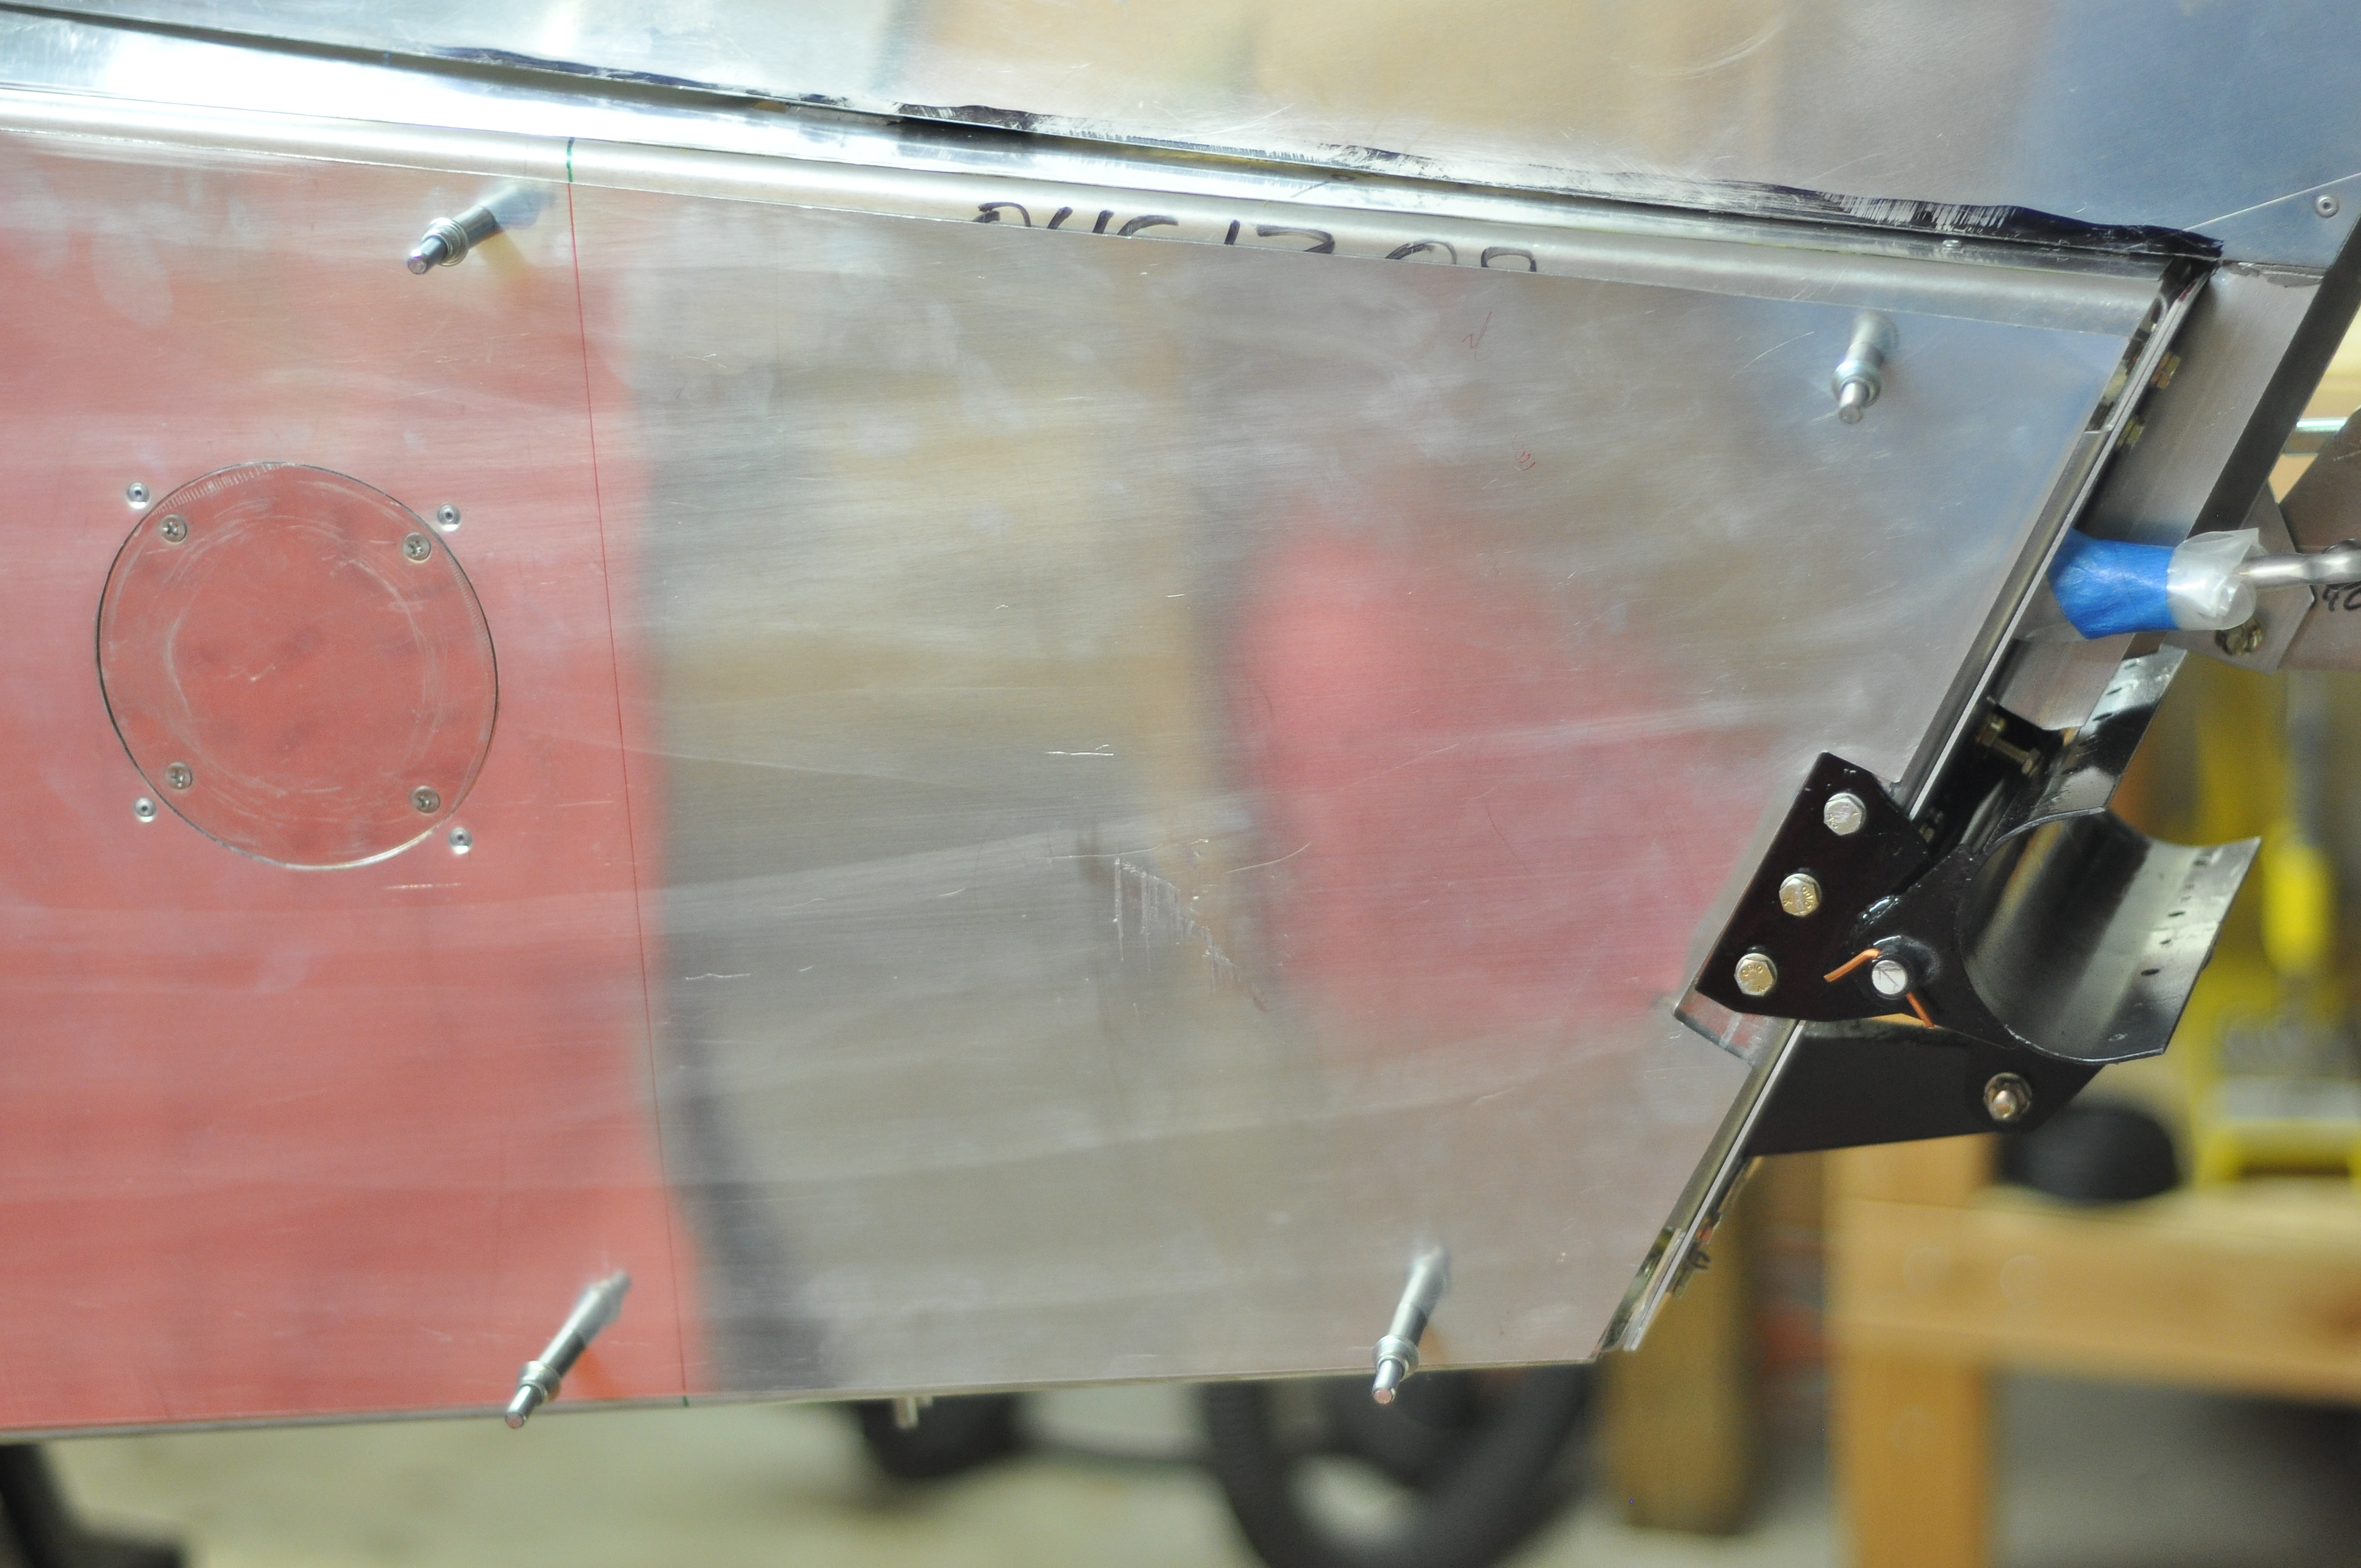

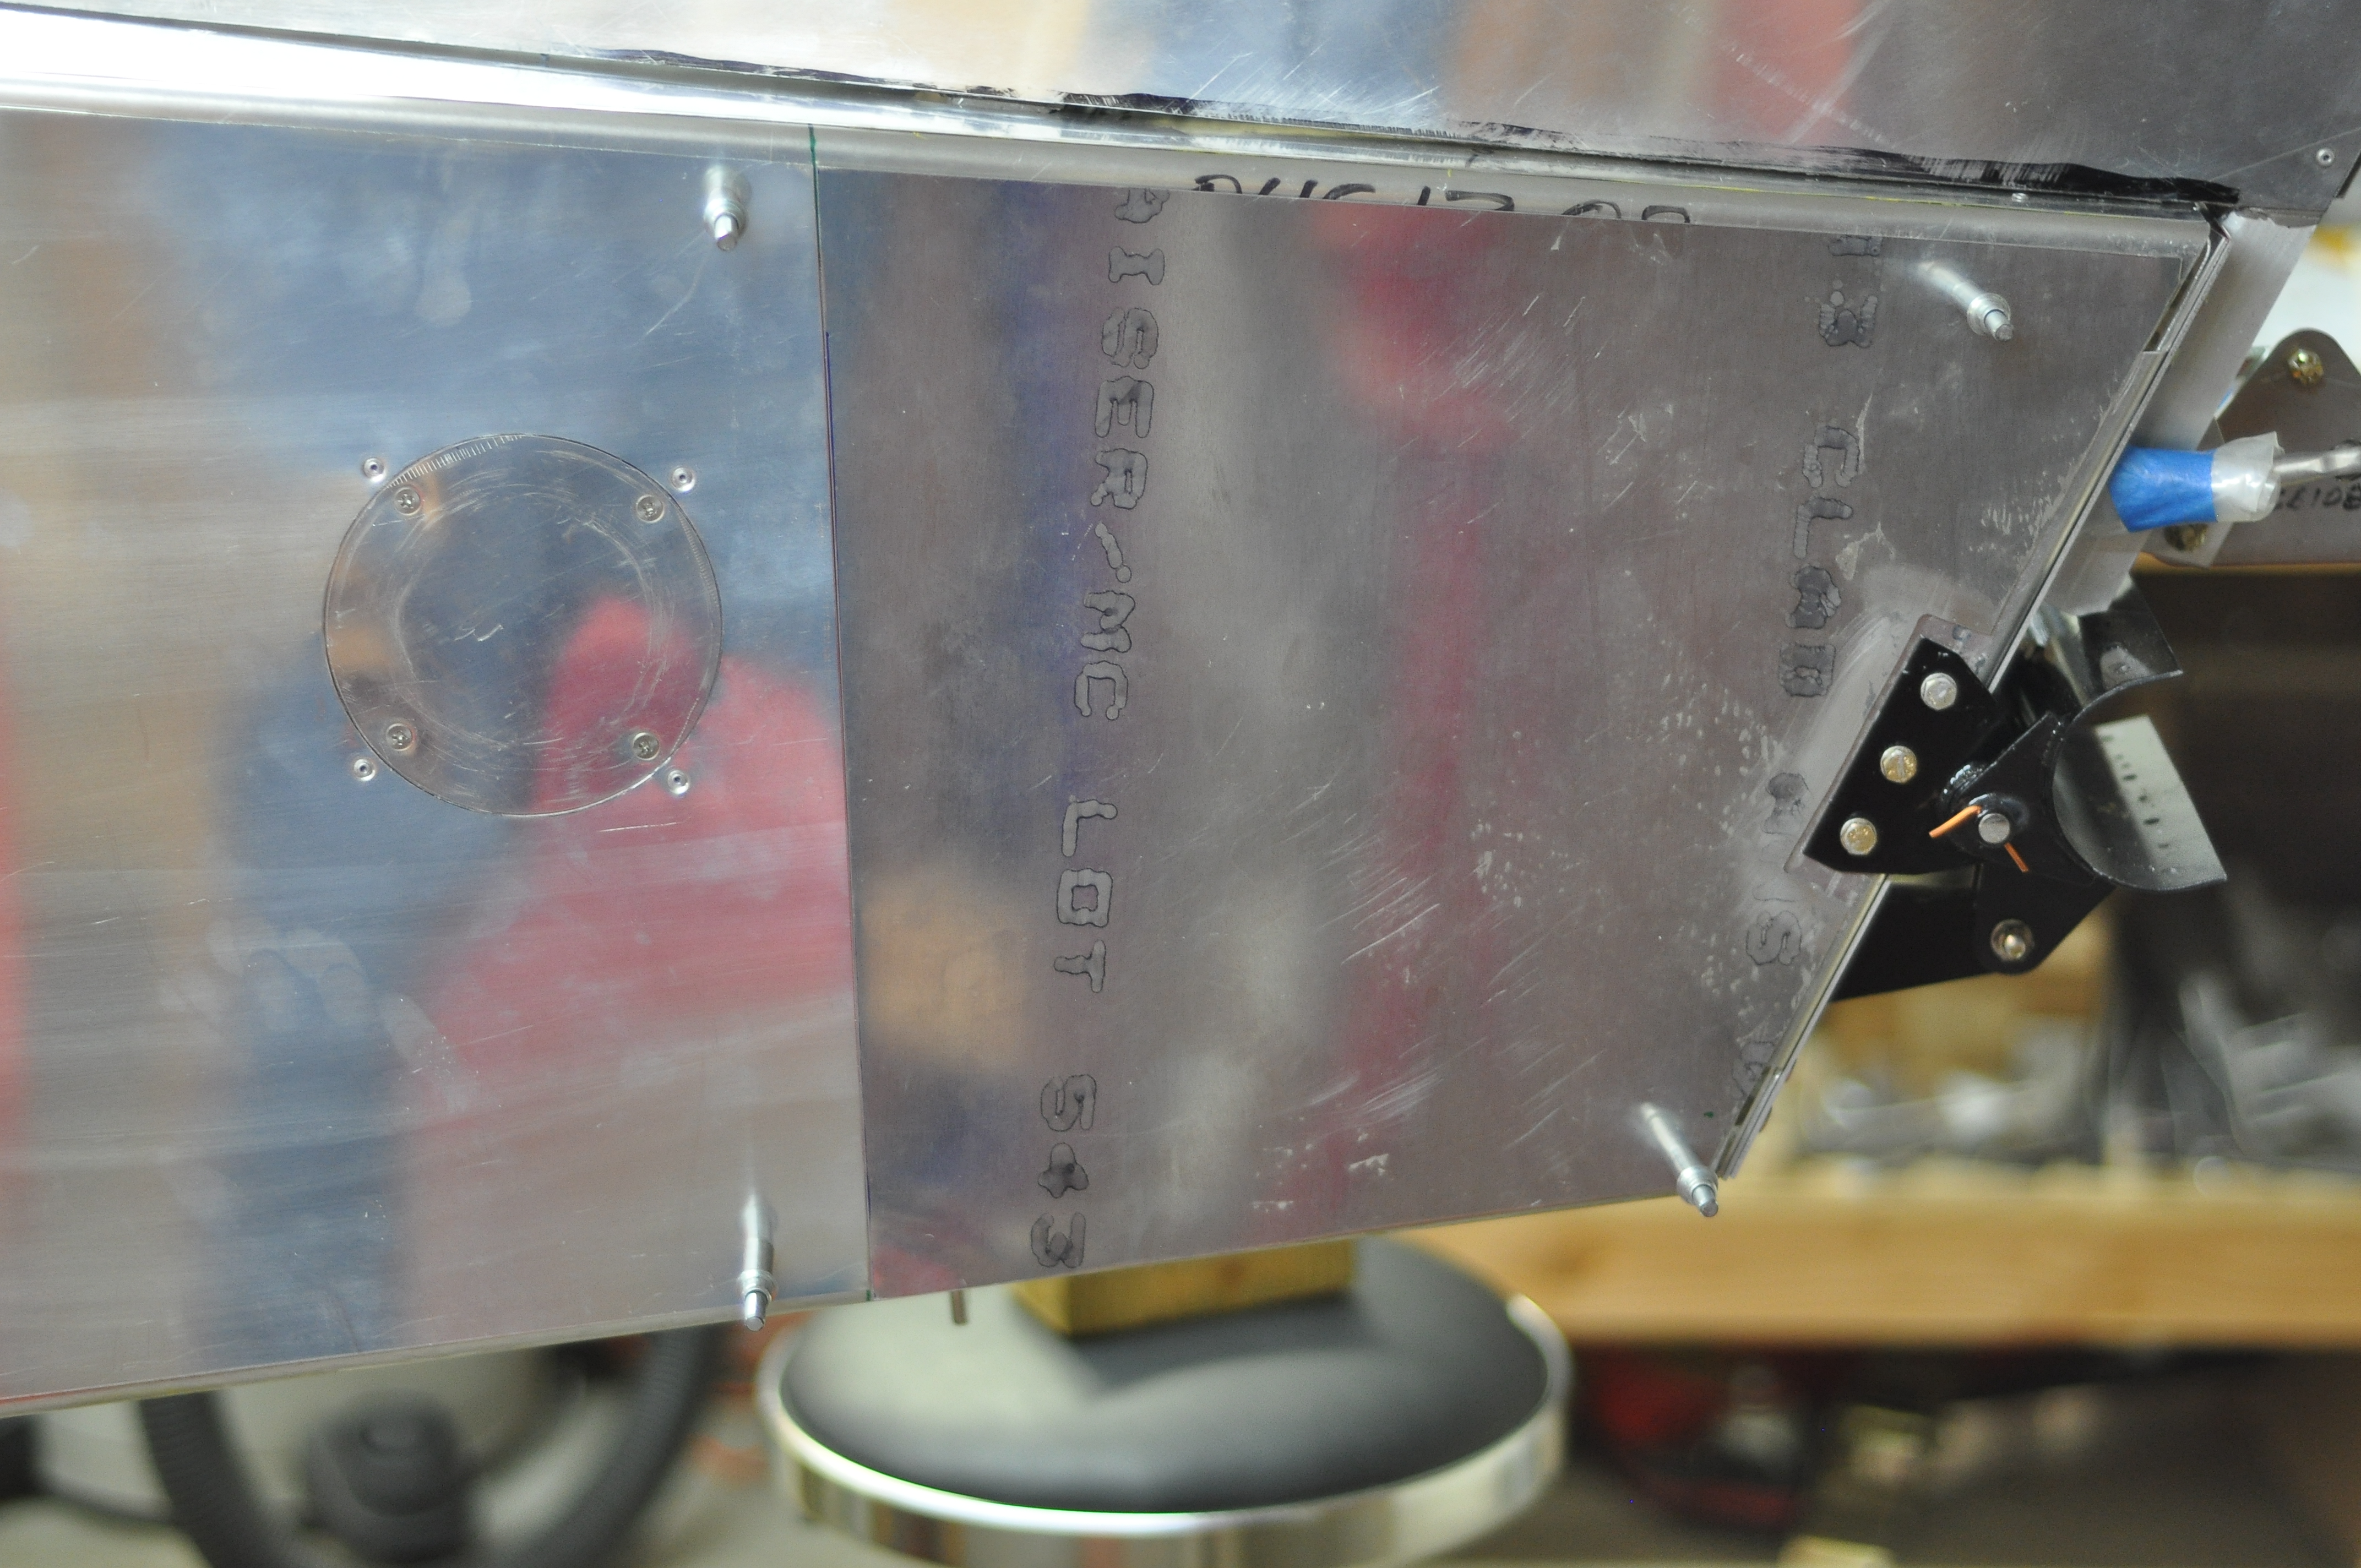
With the access panel cut out and trimmed to neatly abut the fuselage skin, I installed 11 nutplates in the fuselage. The cover is now held on with countersunk machine screws along the top, bottom, and front edges. The back edge will go under the tailcone so I will drill holes for five more nutplates along the back, later. Here is what it looks like now.
With the access panel done, I am starting to fit the tailcone.
And that, dear reader, brings me to the end of tonight’s tale.

You’re doing a great job, Art.
Did the same thing to mine but on the right side, where I located my battery for balance purposes after installing the IO-470.
It has proven incredibly handy for working on tailwheel attachment stucture and everything else in that area.
I decided to put my access panel on the same side as the inspection port so that I could work through the two openings with my two hands.
Nicely done, Art. Access is vital to mechanical structures and gizmos like what’s in that area. It looks like you’ve solved that design error. Keep up the good work! You’re making great progress. Thanks for sharing your project with all of us.
Thanks for the encouragement, Dave.
Good job Art,
I also have a rear access panel, it is larger because I put a small self for mounting ELT. I slide a thin sheet of plastic in
between the horizontal stab and the panel so as not to scratch any paint off when I remove the panel.
Earl
N903EP (now has 380hrs on it)