After installing the rudder on my Bede BD-4C, I moved on to hooking up more of the controls. First task, since the rudder is on the plane, was connecting the rudder cables. These are about 15 feet long and have to be fabricated in the airplane, because once the ends are swaged, there is no way to get them through the various guides and holes. Let me take you on a “rudder cable tour” of a Bede BD-4C airplane.
At the front of the plane, the cables are attached to the rudder pedal torque tubes. (You can click on this photo, and all of the others, to see larger versions of the pictures.)
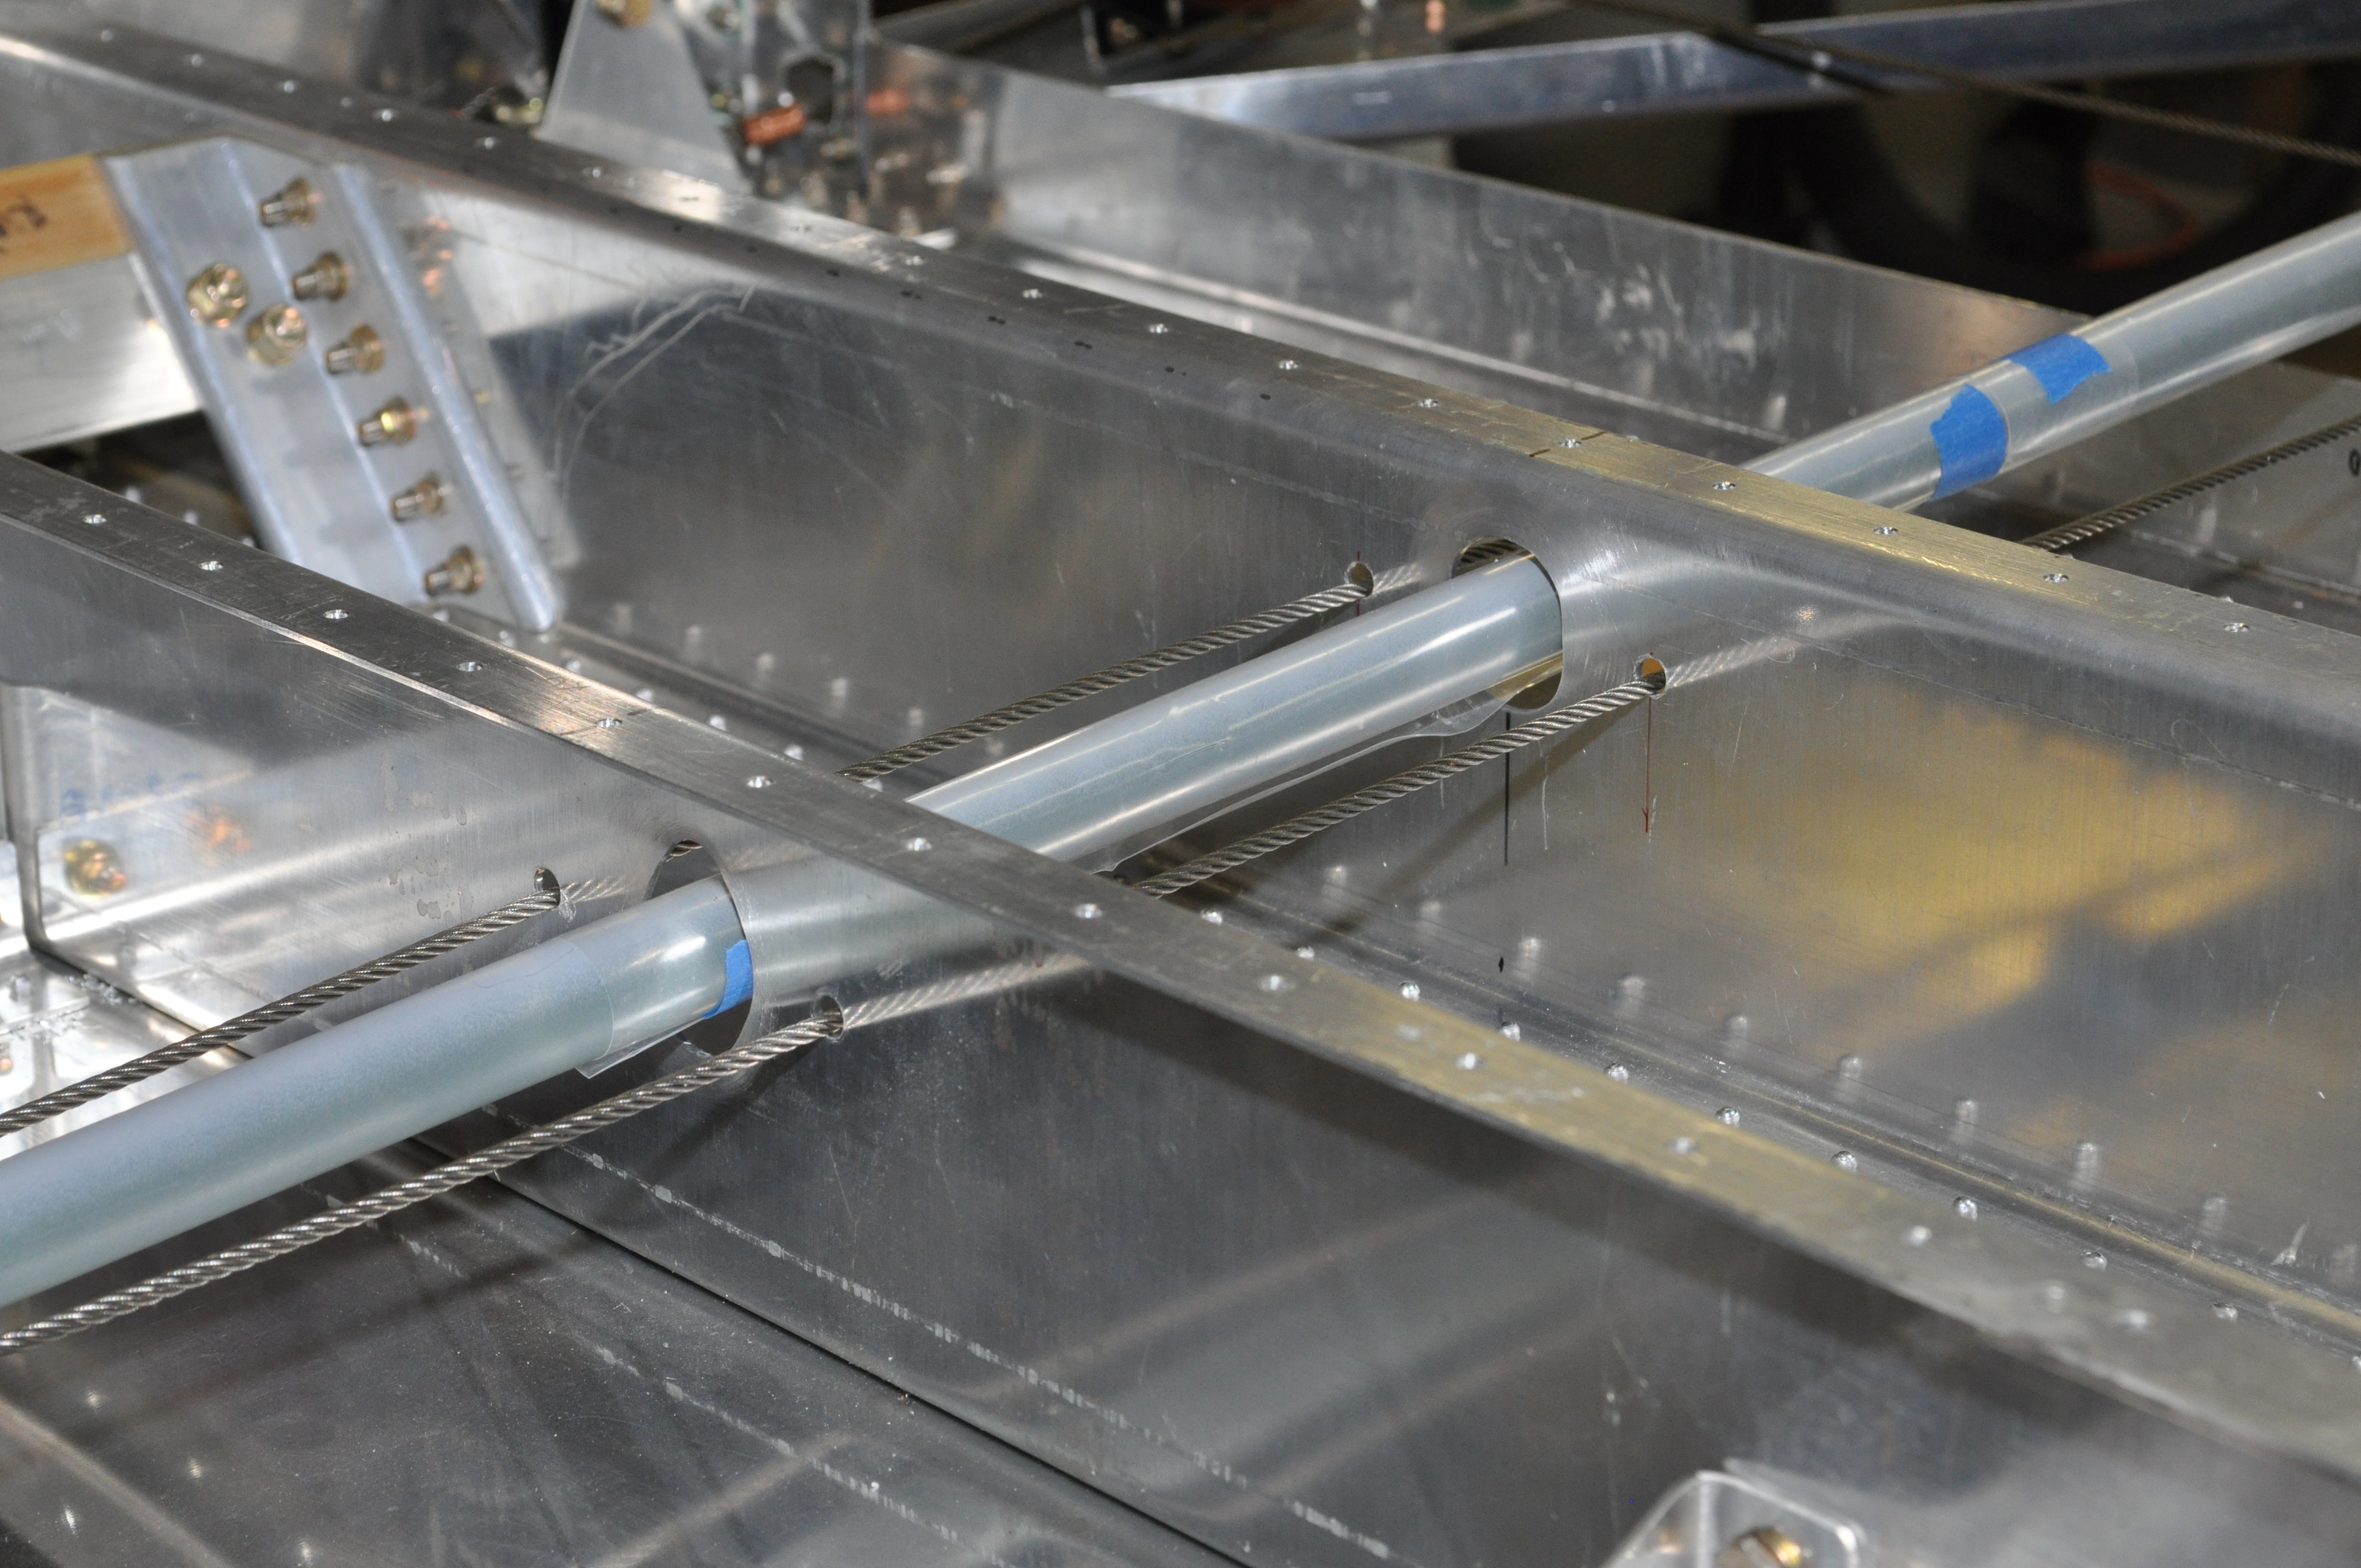
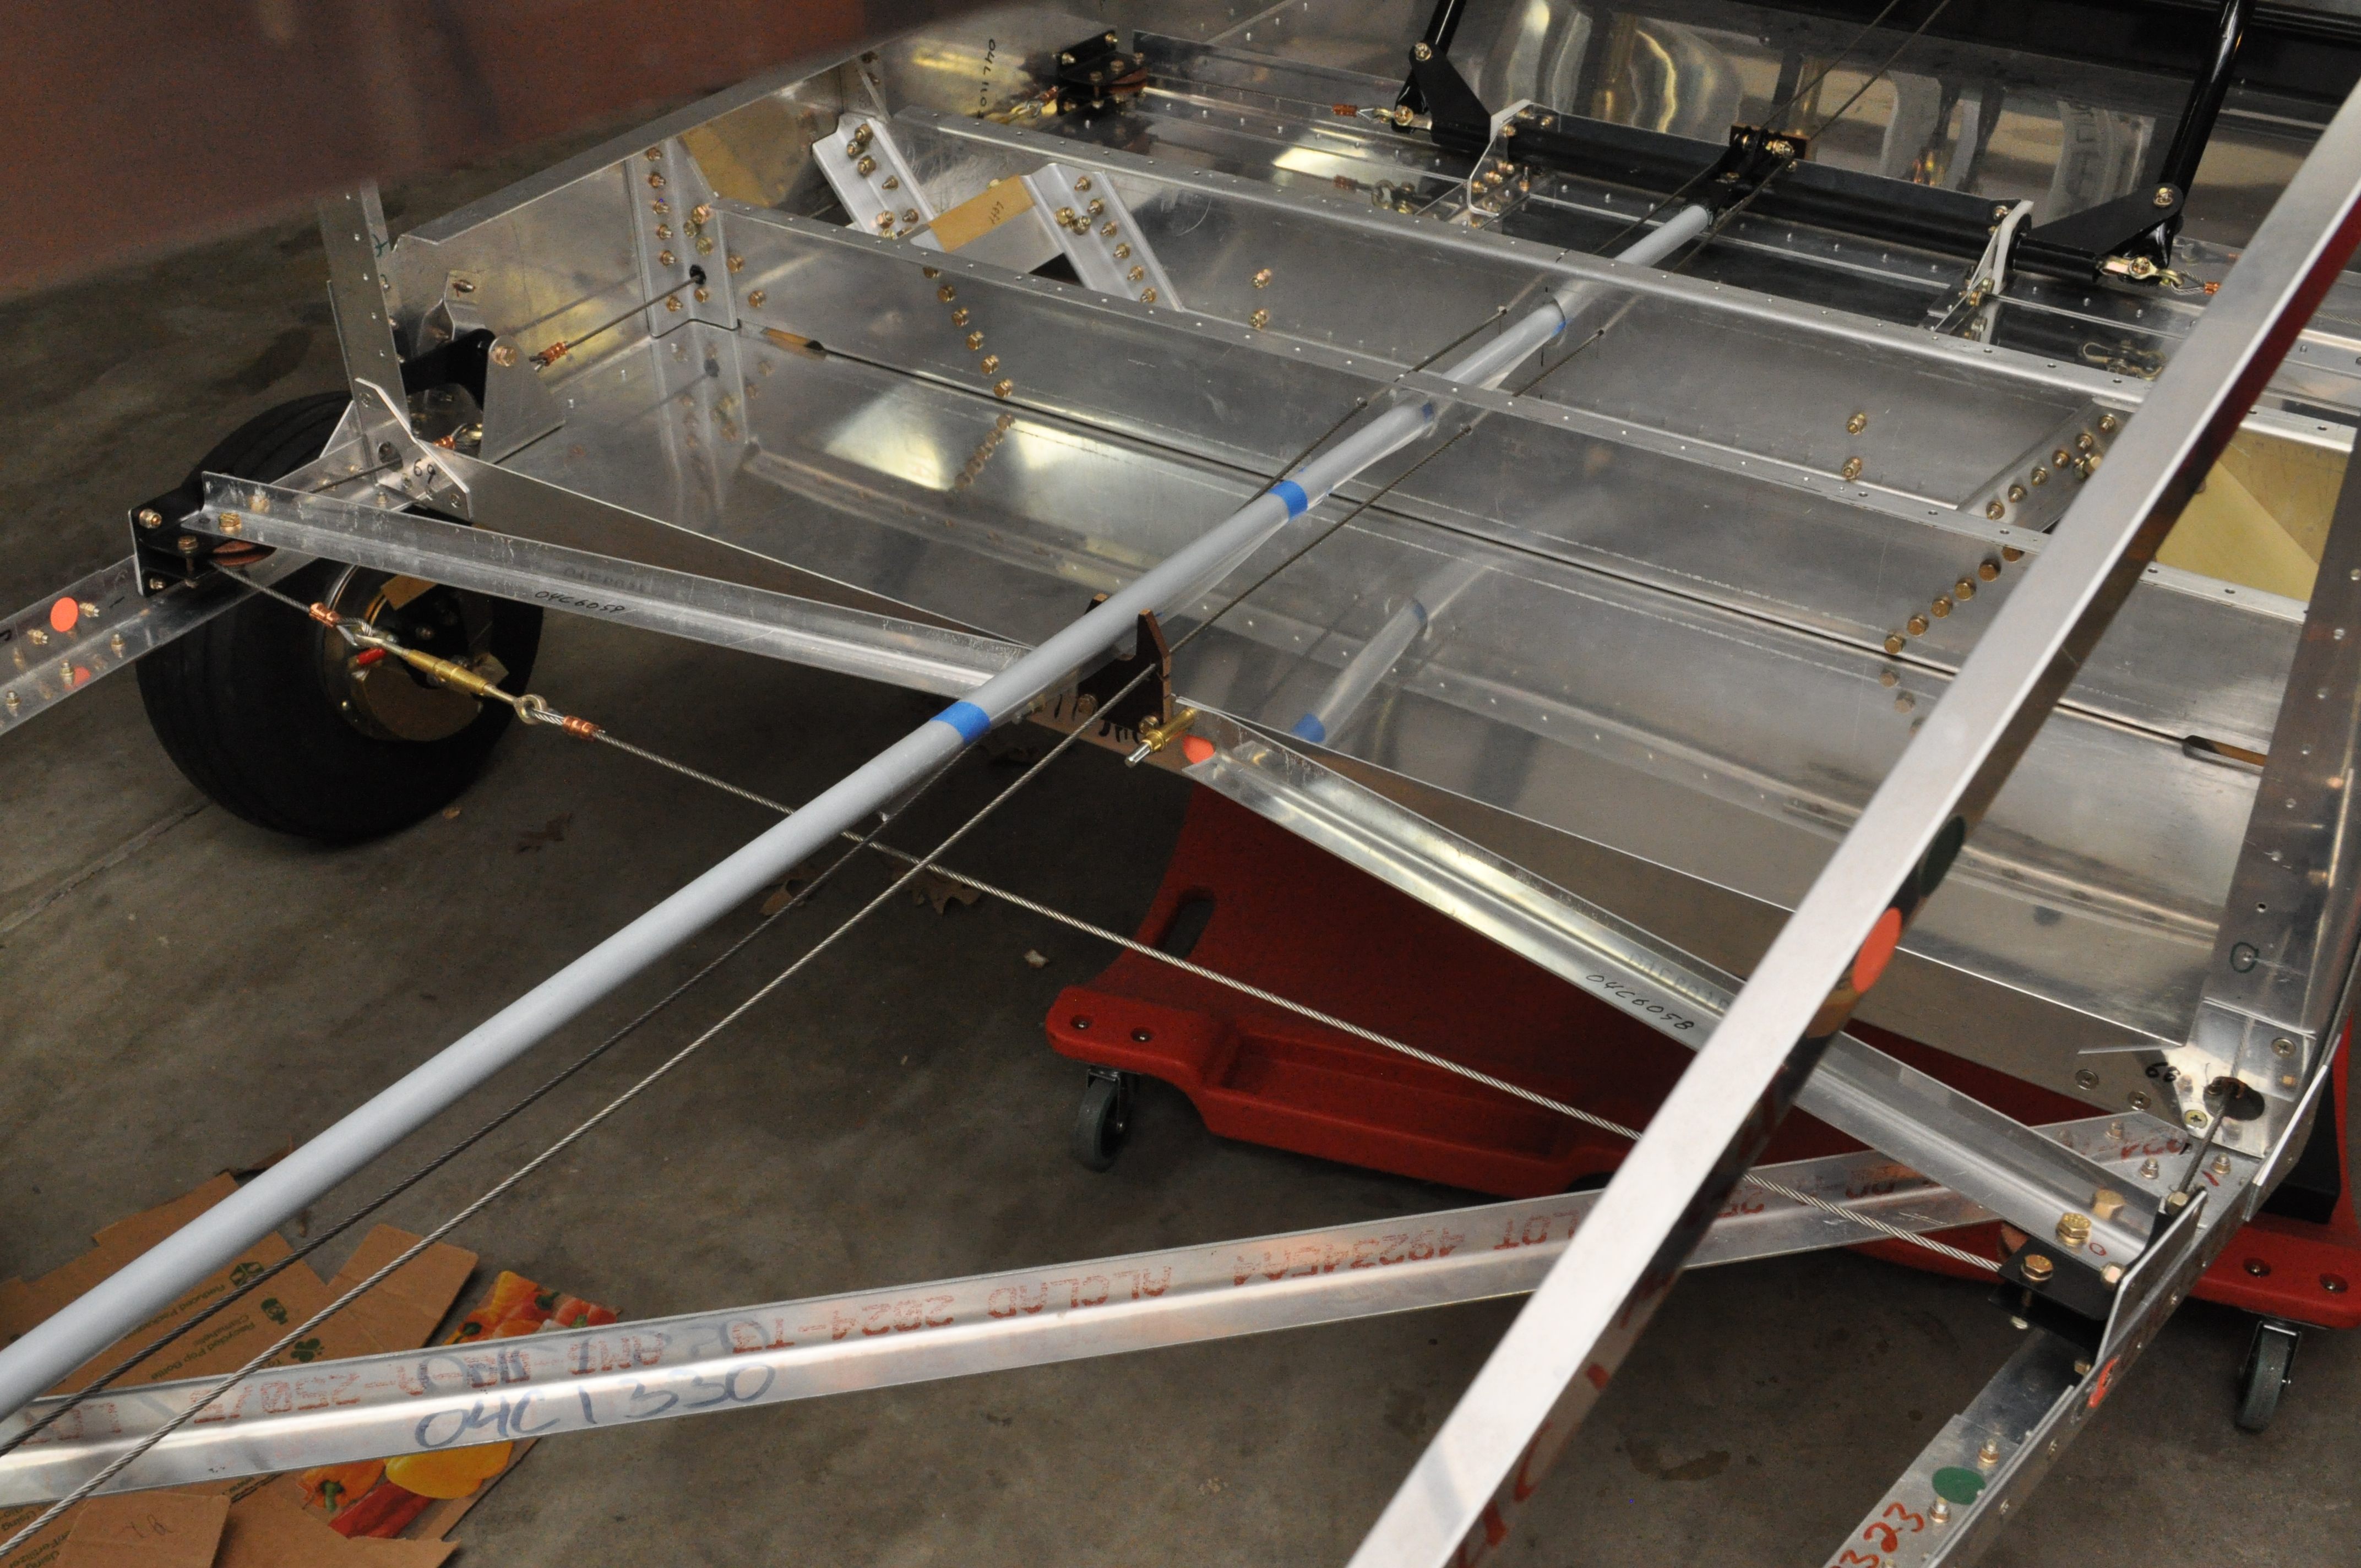
The cables parallel the stabilator push-pull tube and run through holes in the main landing gear support box. In case you are wondering, I still need to install plastic snap bushings in these holes so that the metal cables do not rub against the metal walls of the gear box.
Behind the gear box, the cables run through the first of three fiber guides.
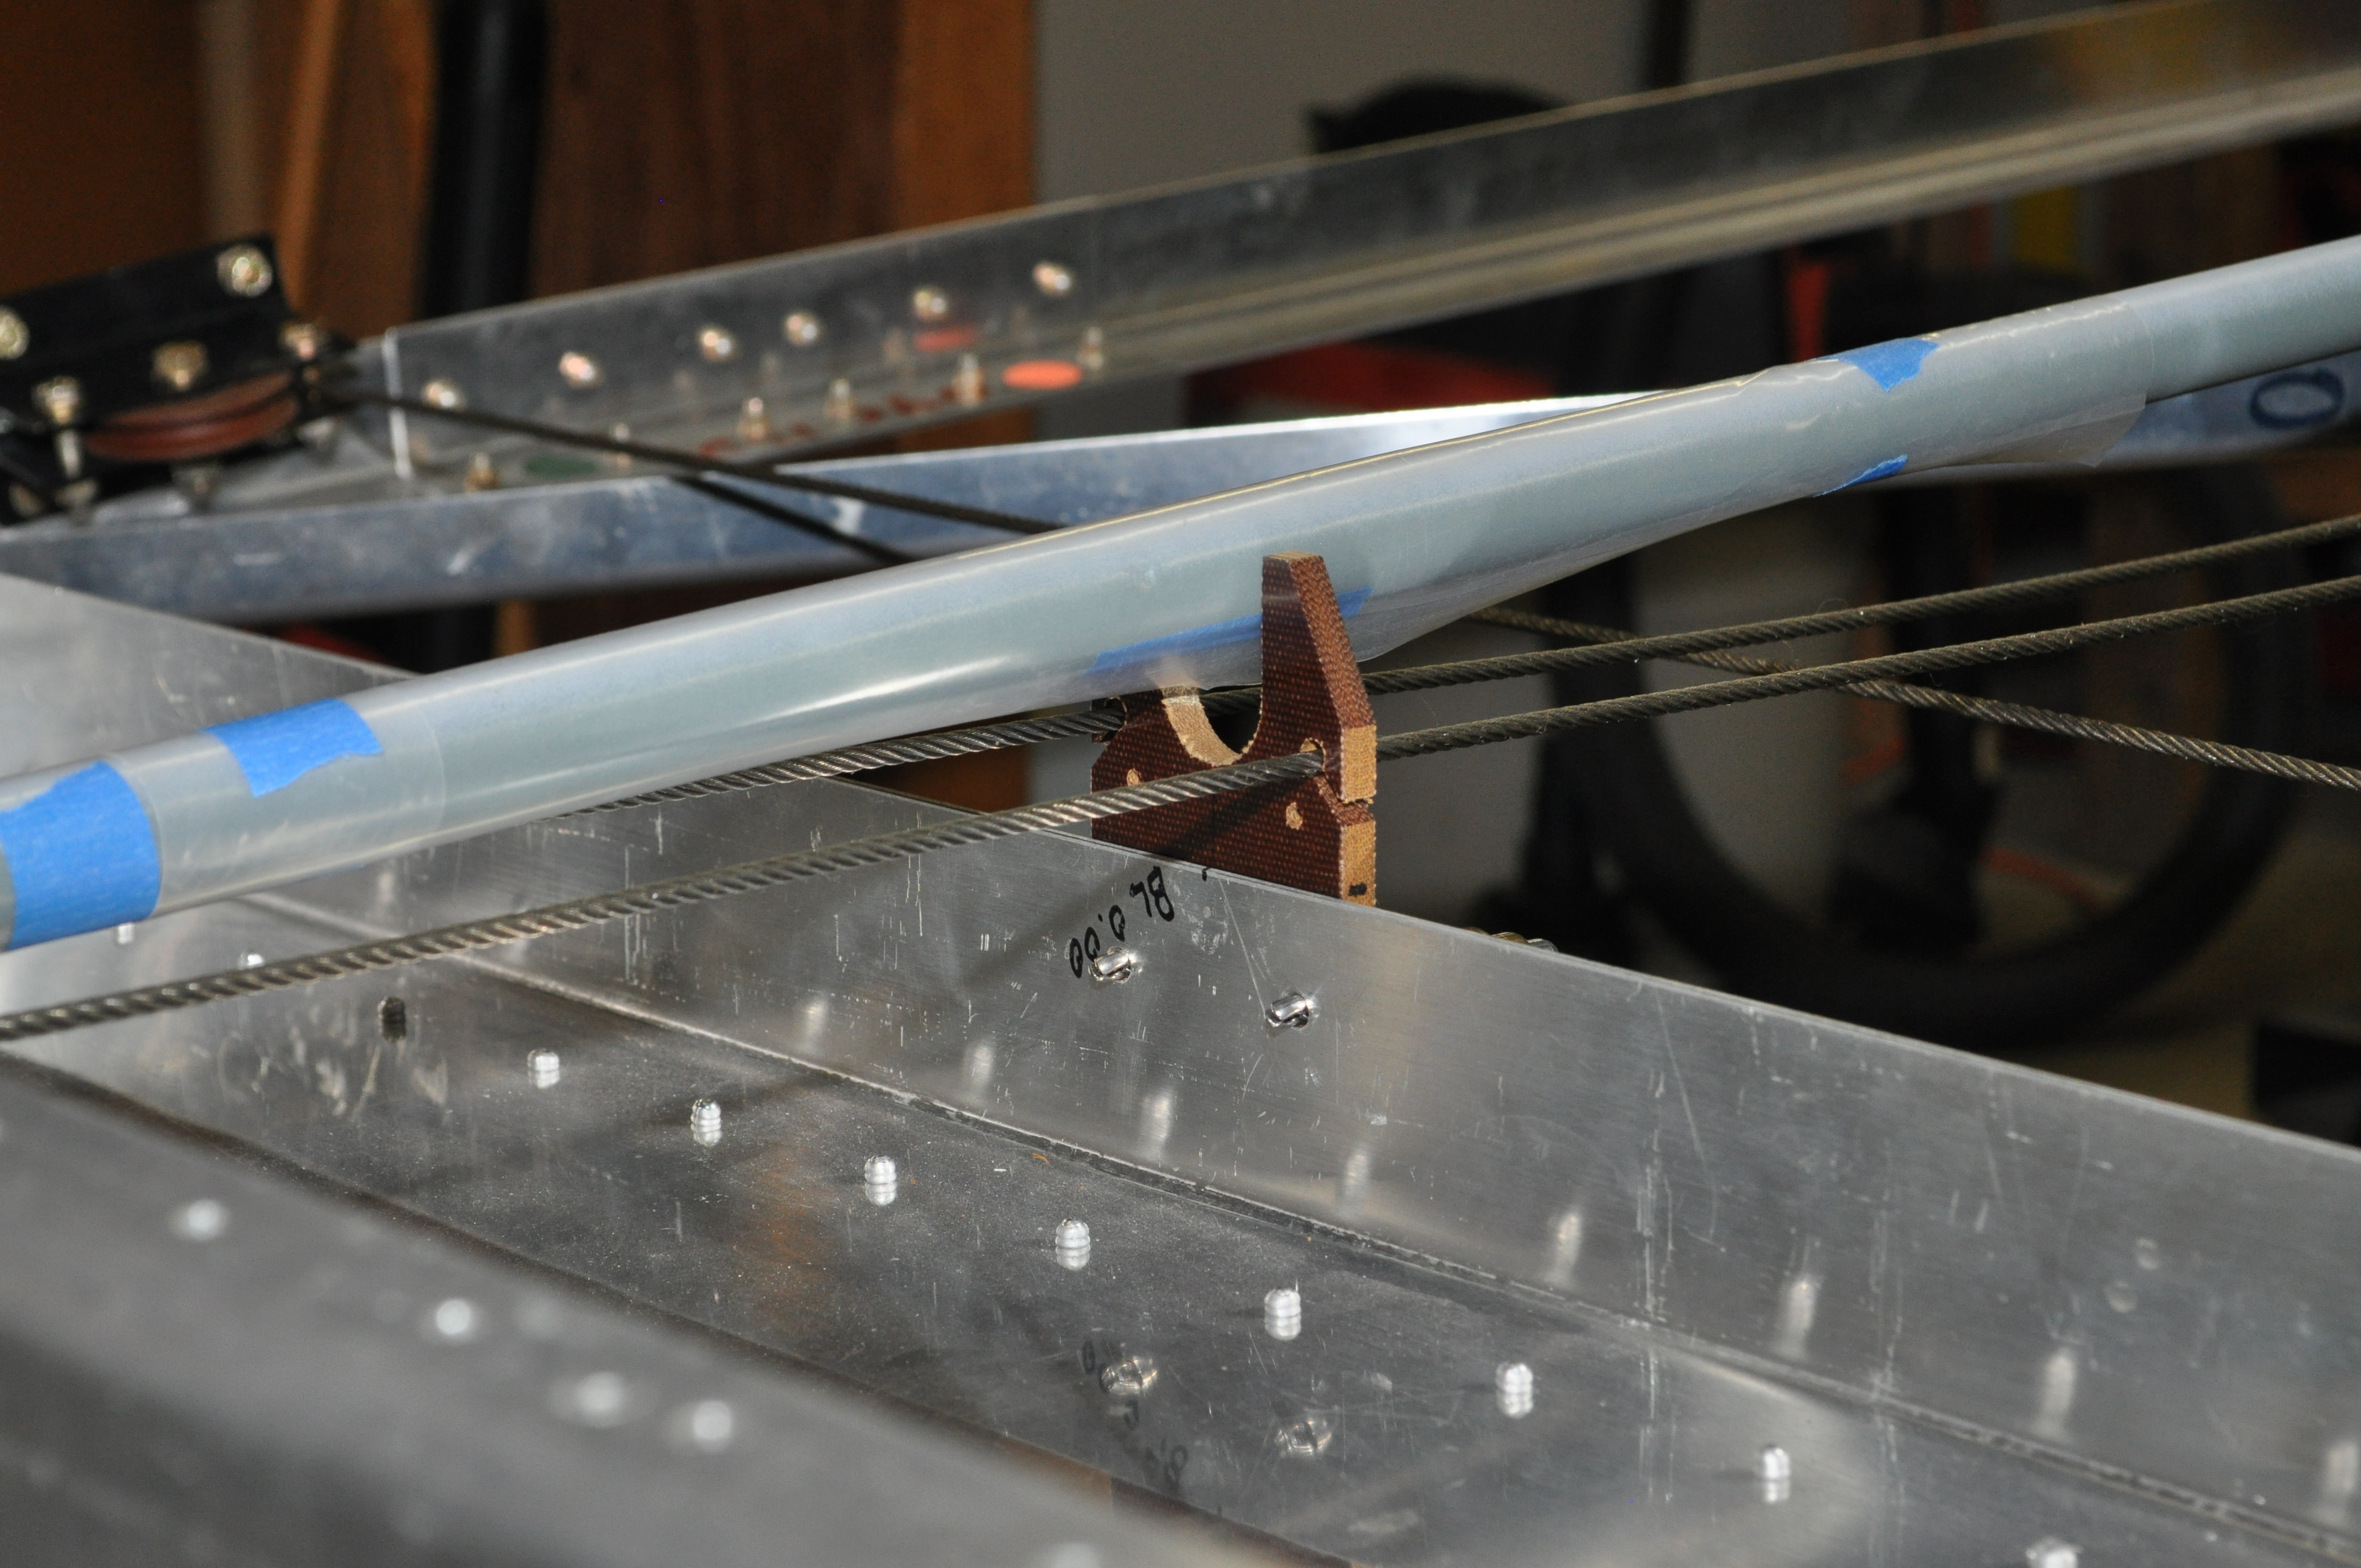
About half way along the fuselage, the cables pass through the second fiber guide. This one is right below the bell crank which joins the small diameter, steel push-pull tube for the horizontal stabilator with the larger diameter, aluminum push-pull tube.
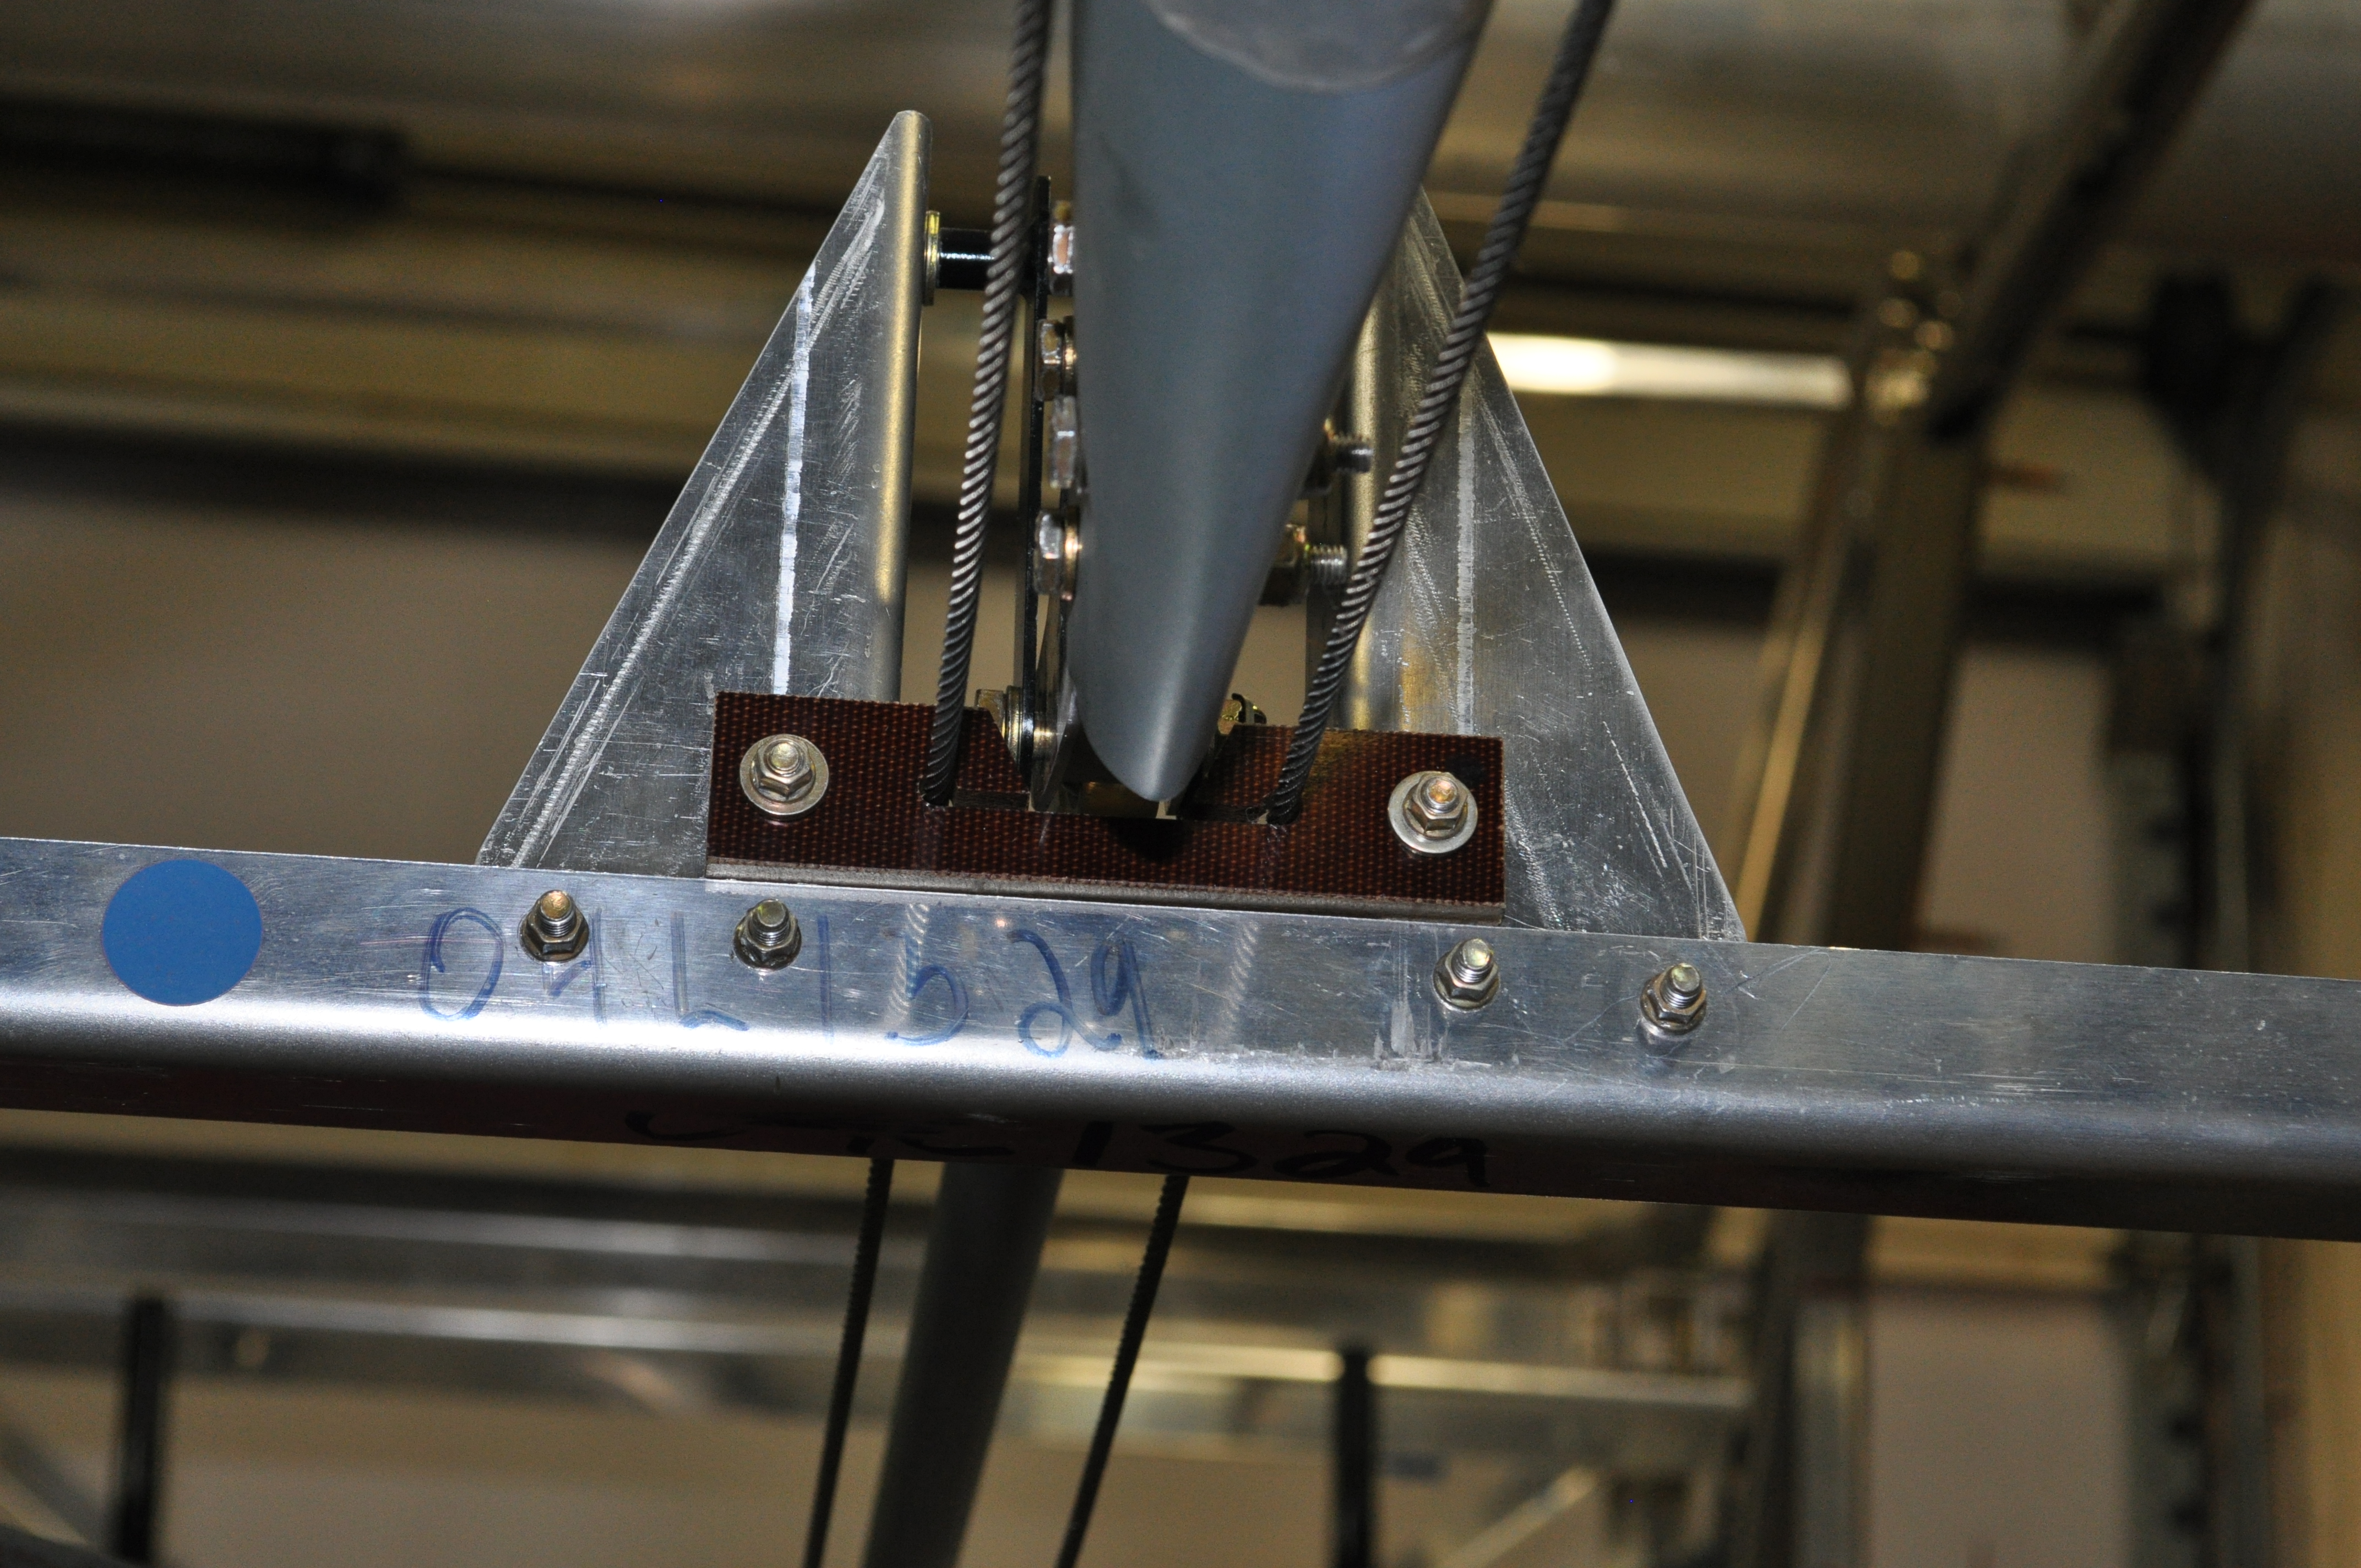
About 3/4 of the way aft, the cables run through the third fiber guide.
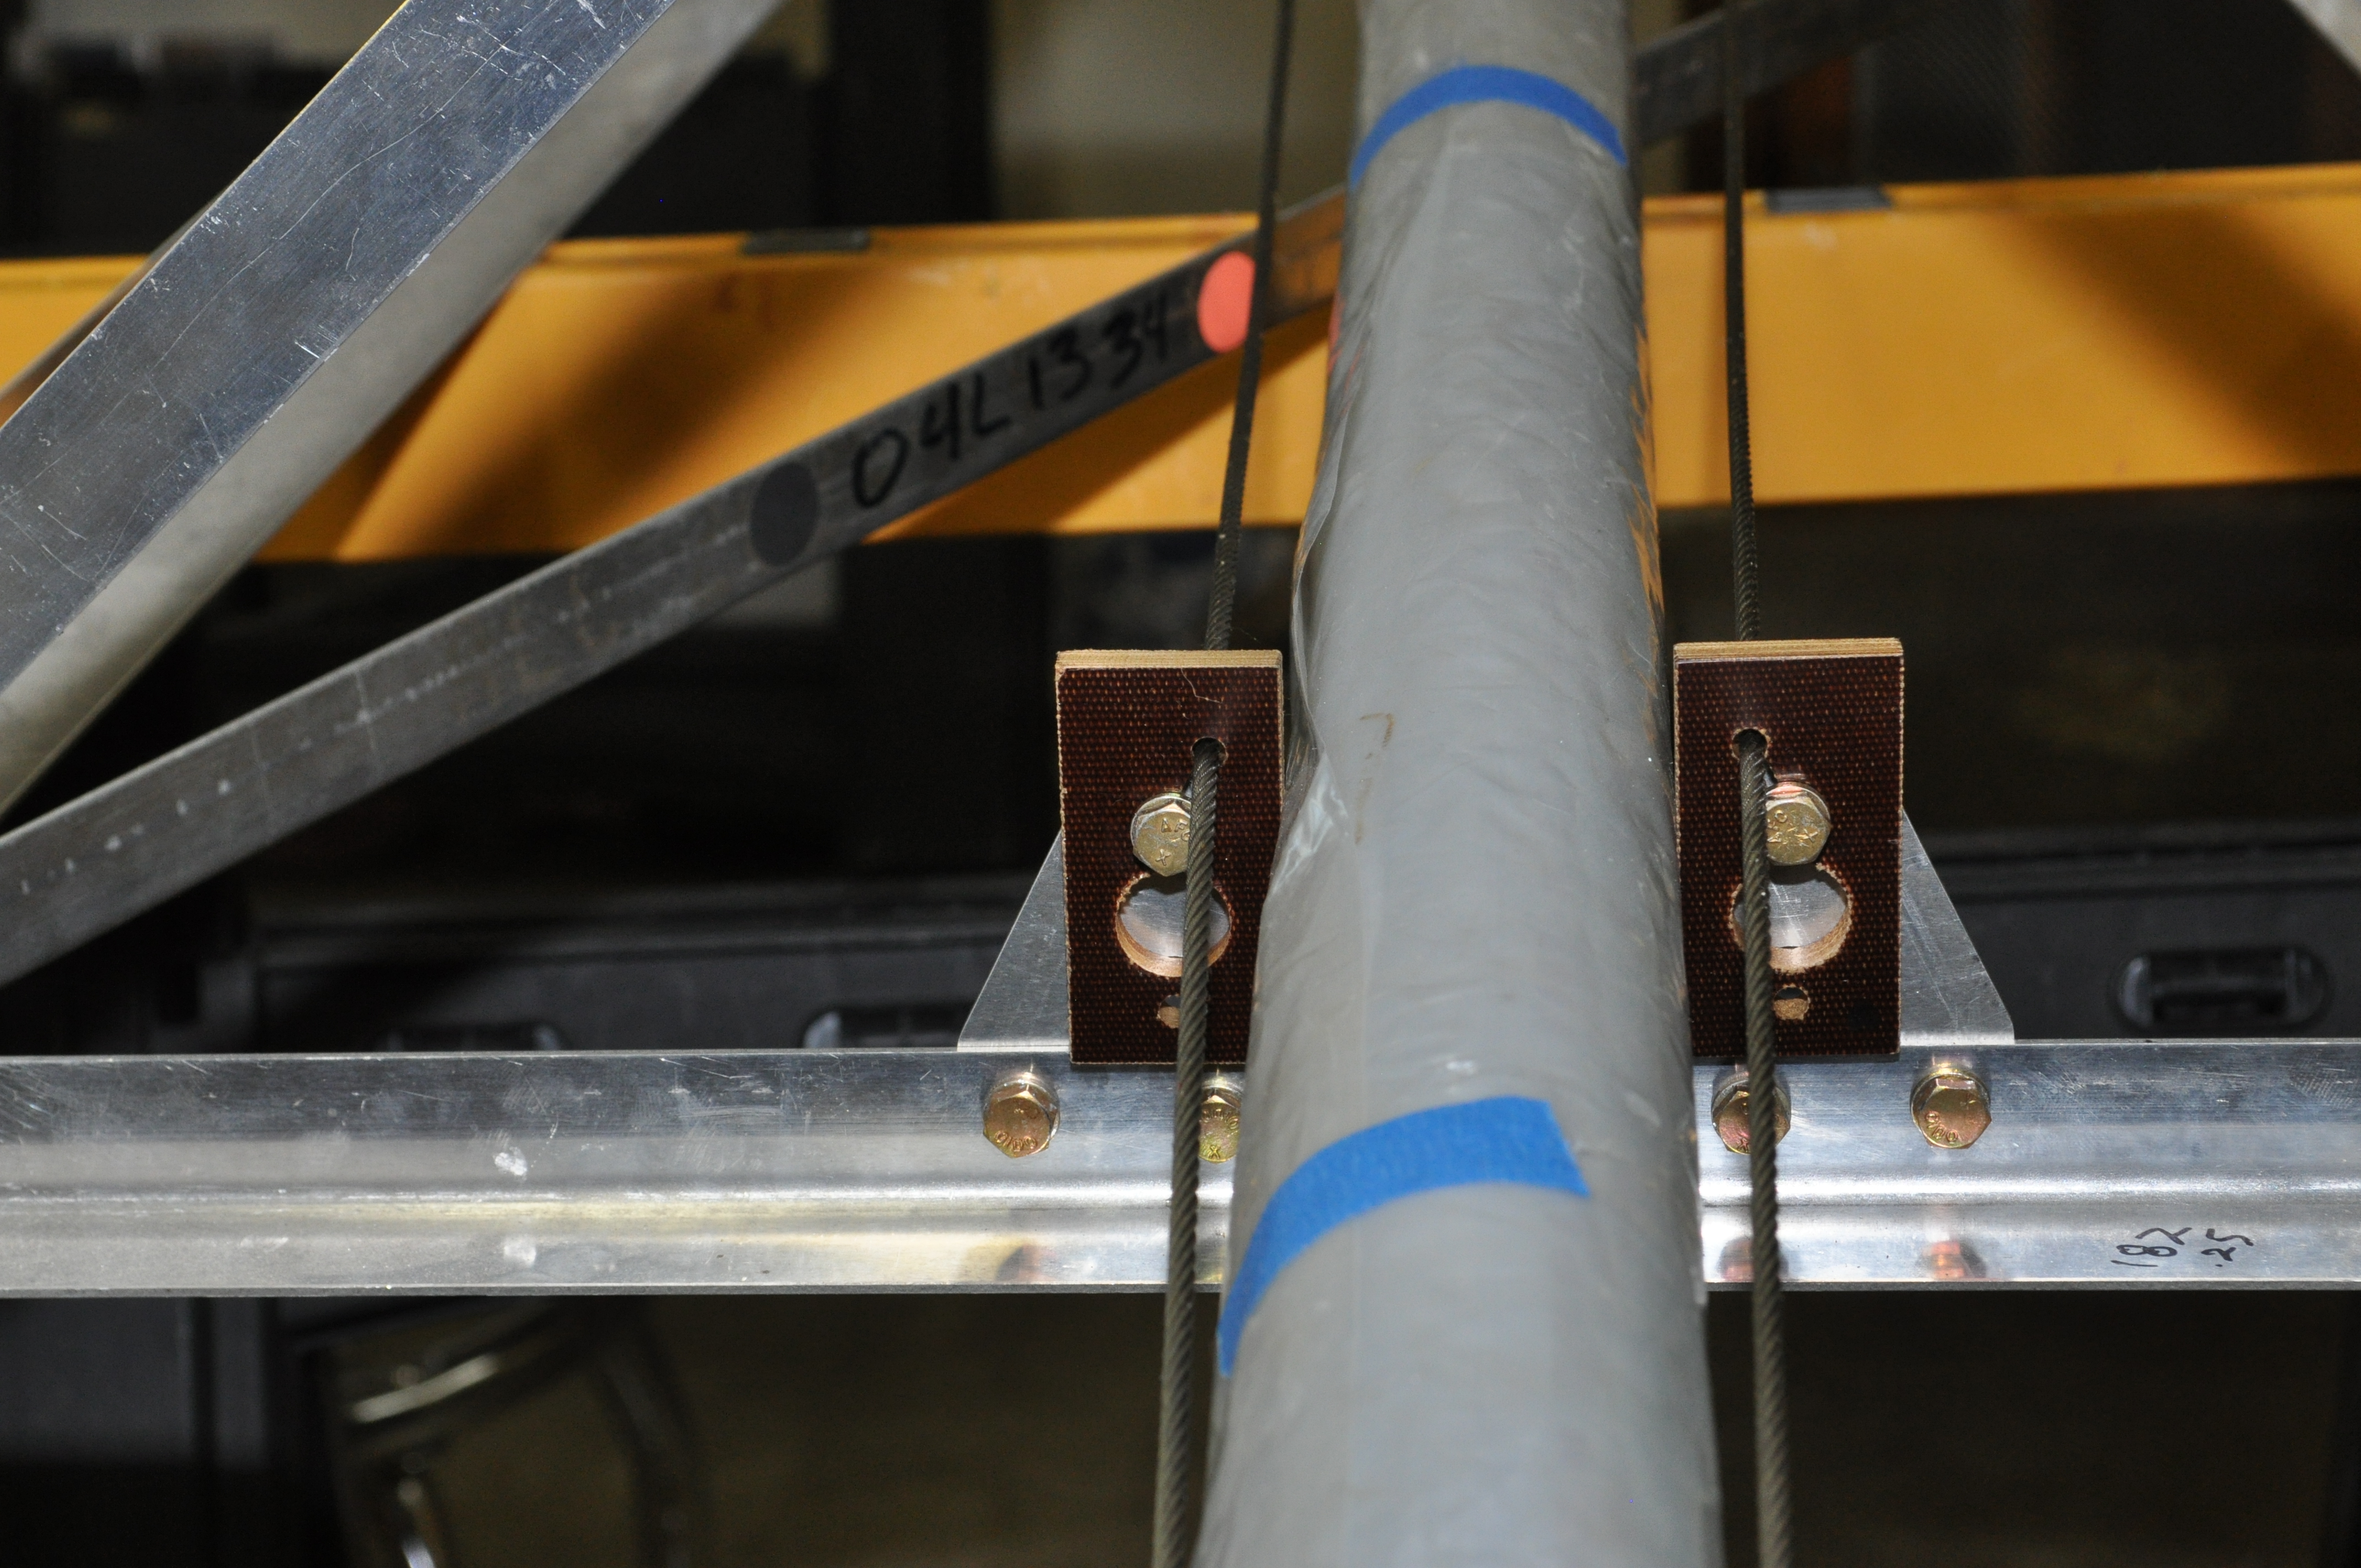
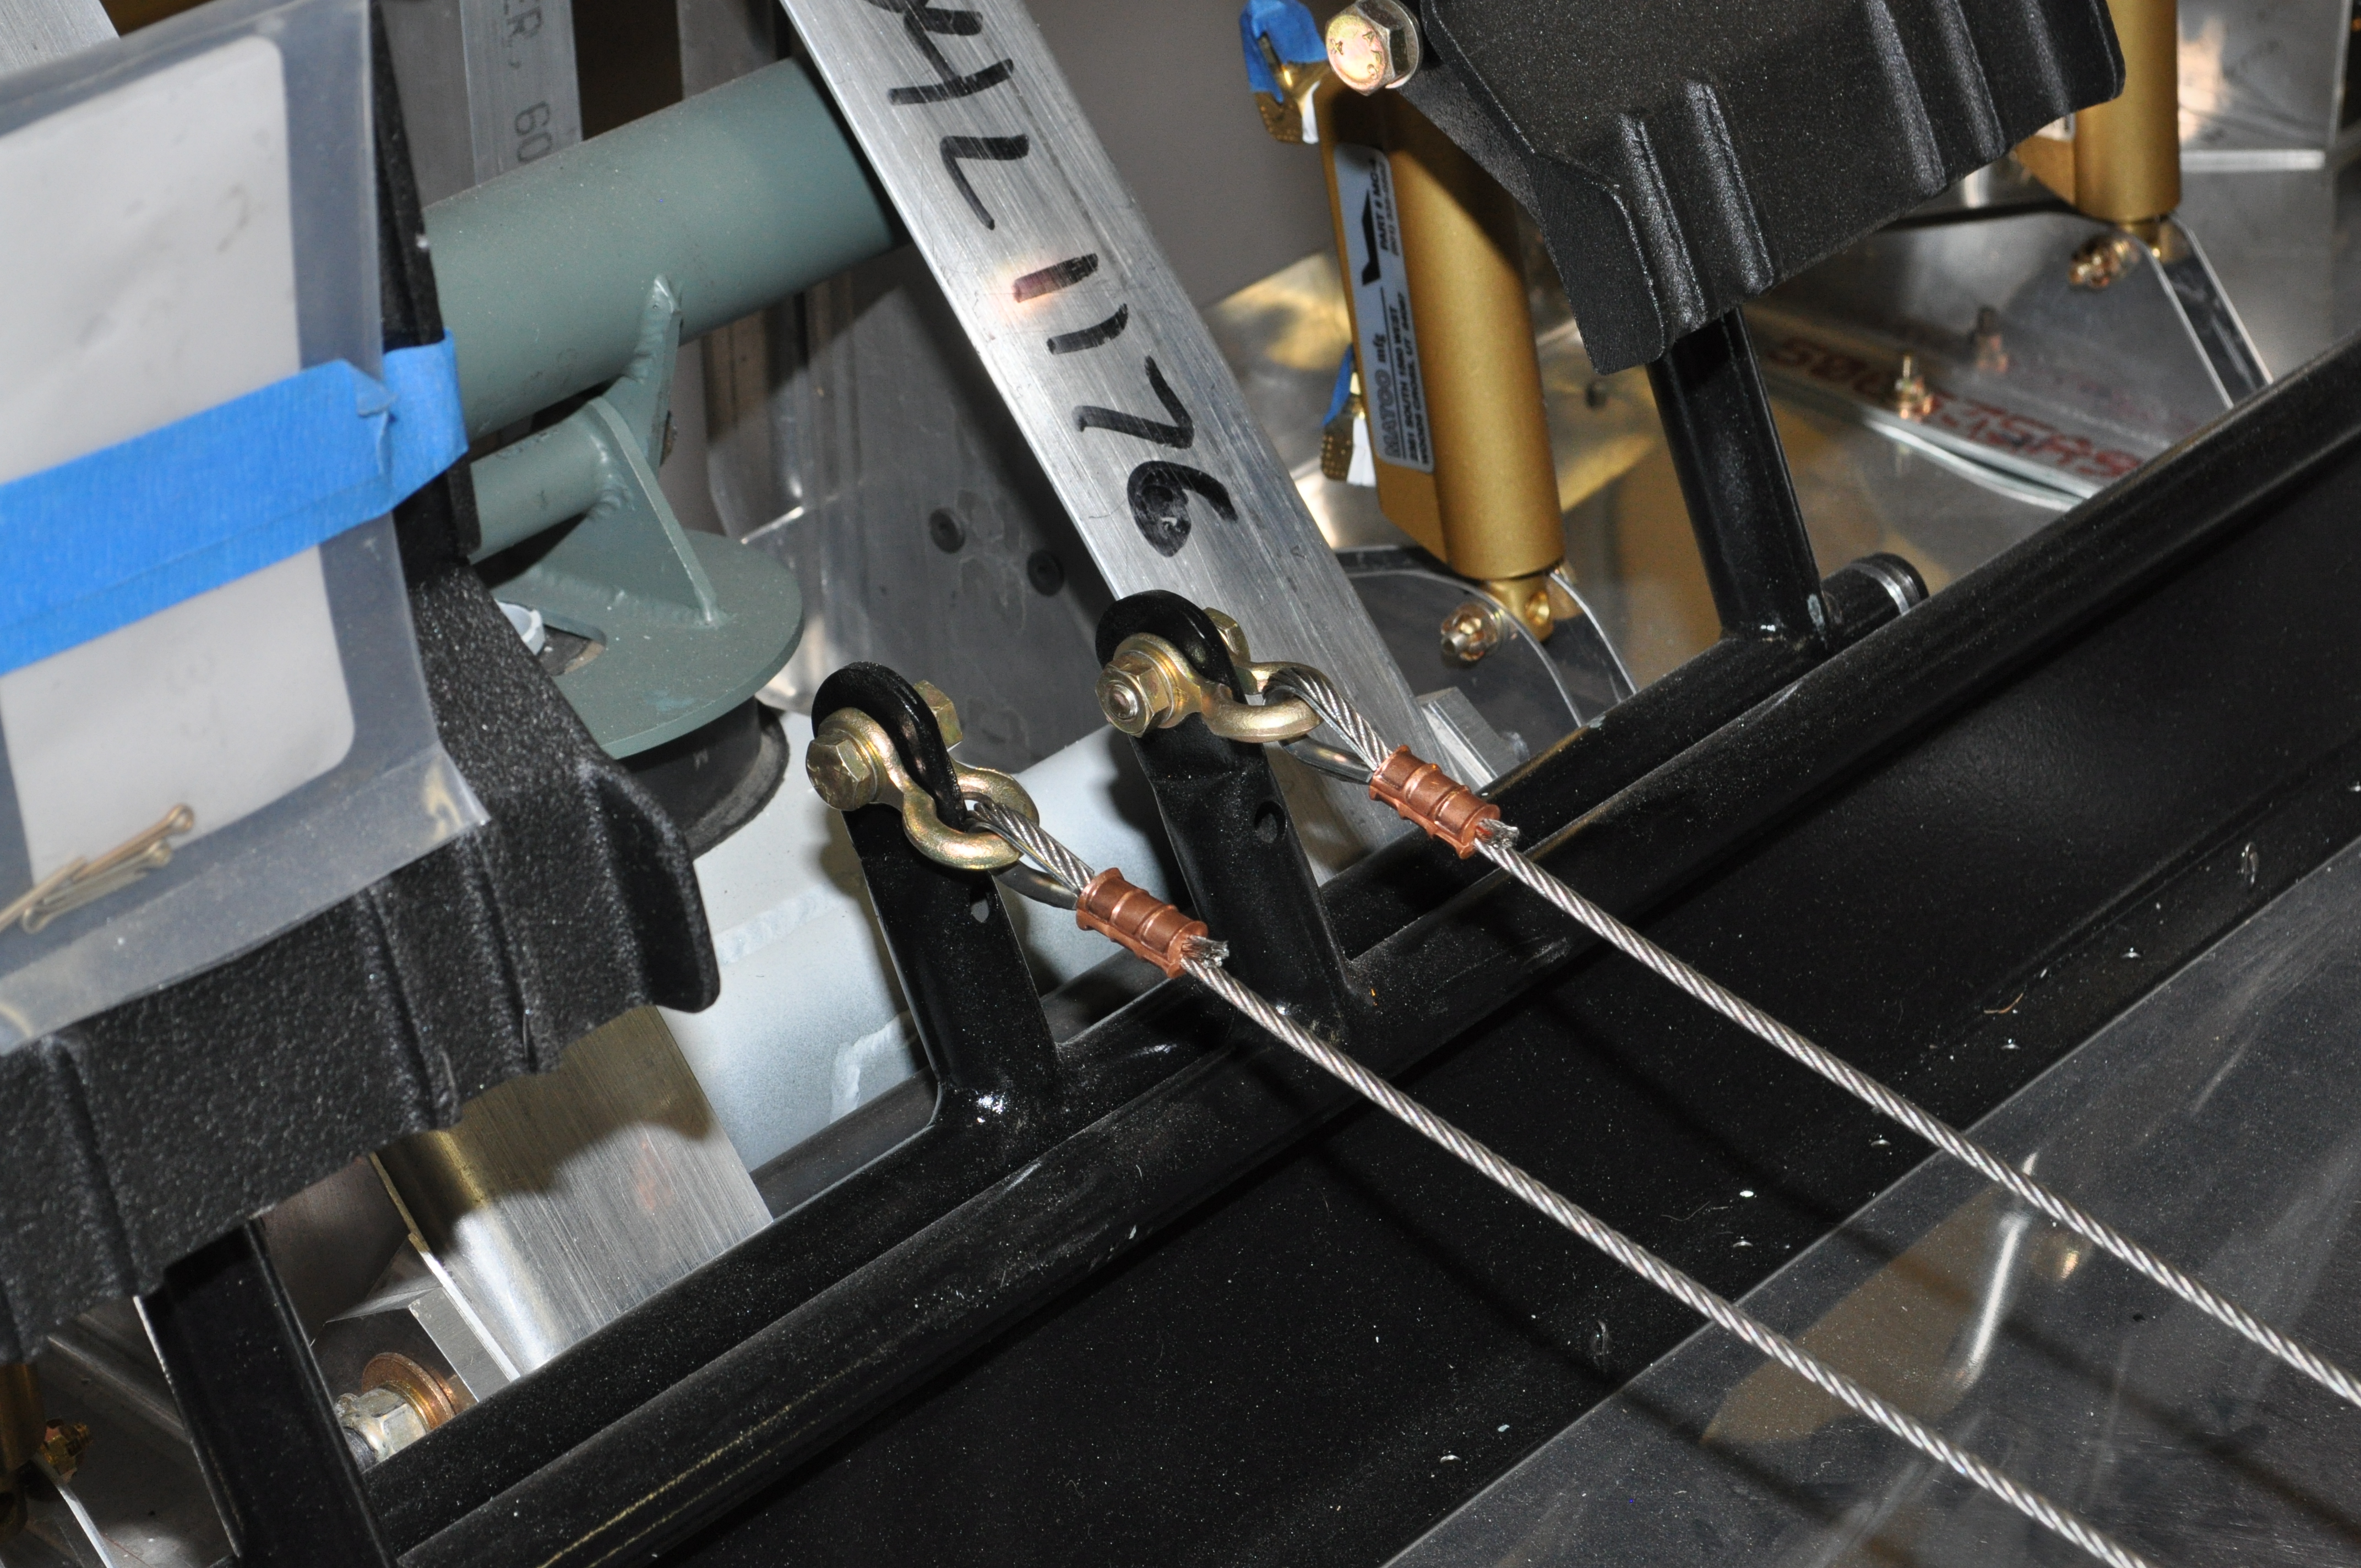
Finally, the rudder cables are attached to turnbuckles which are attached to the bell crank which controls the rudder.
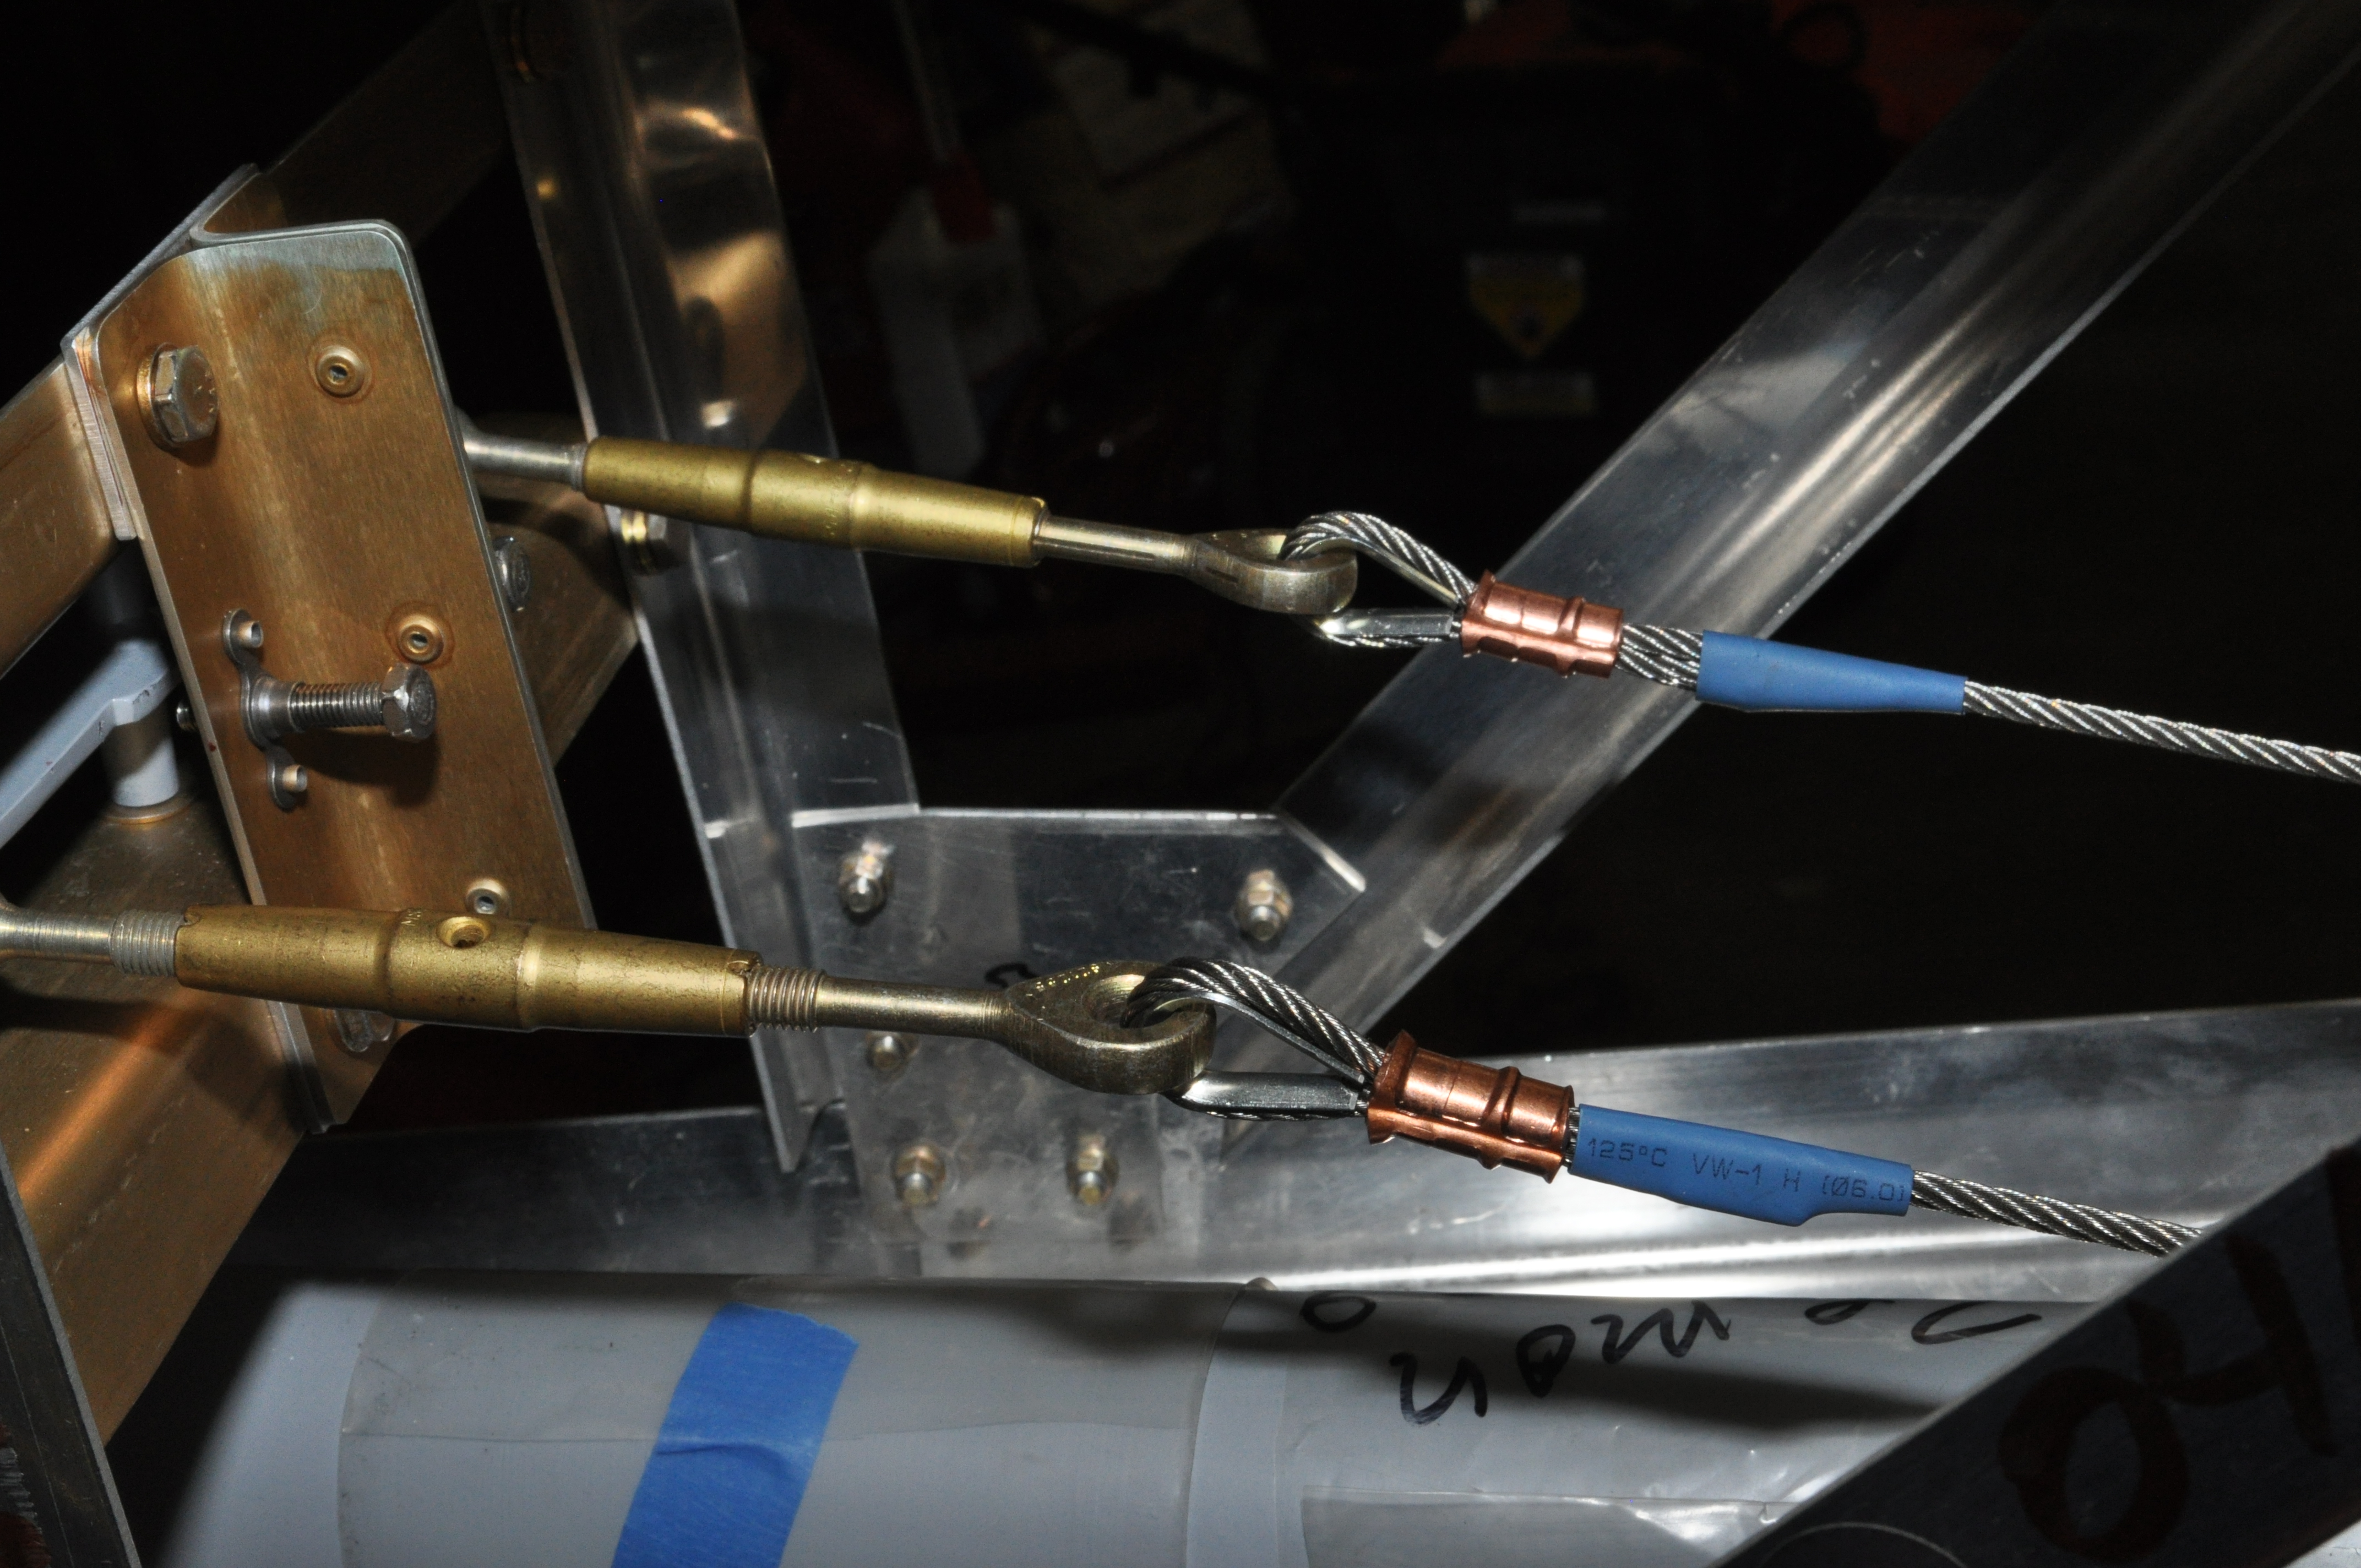
There is a push-pull tube which connects the bell crank to the rudder but that tube is at the welding shop so photos of it installed will have to wait a bit.
With the rudder cables complete, I fabricated a support braces for the rear aileron pulleys.
These were custom fit parts. Essentially, “just make them fit,” whatever length that happens to be in my particular plane. After making so many parts with precise dimensions, it was kind of nice to do something simple.
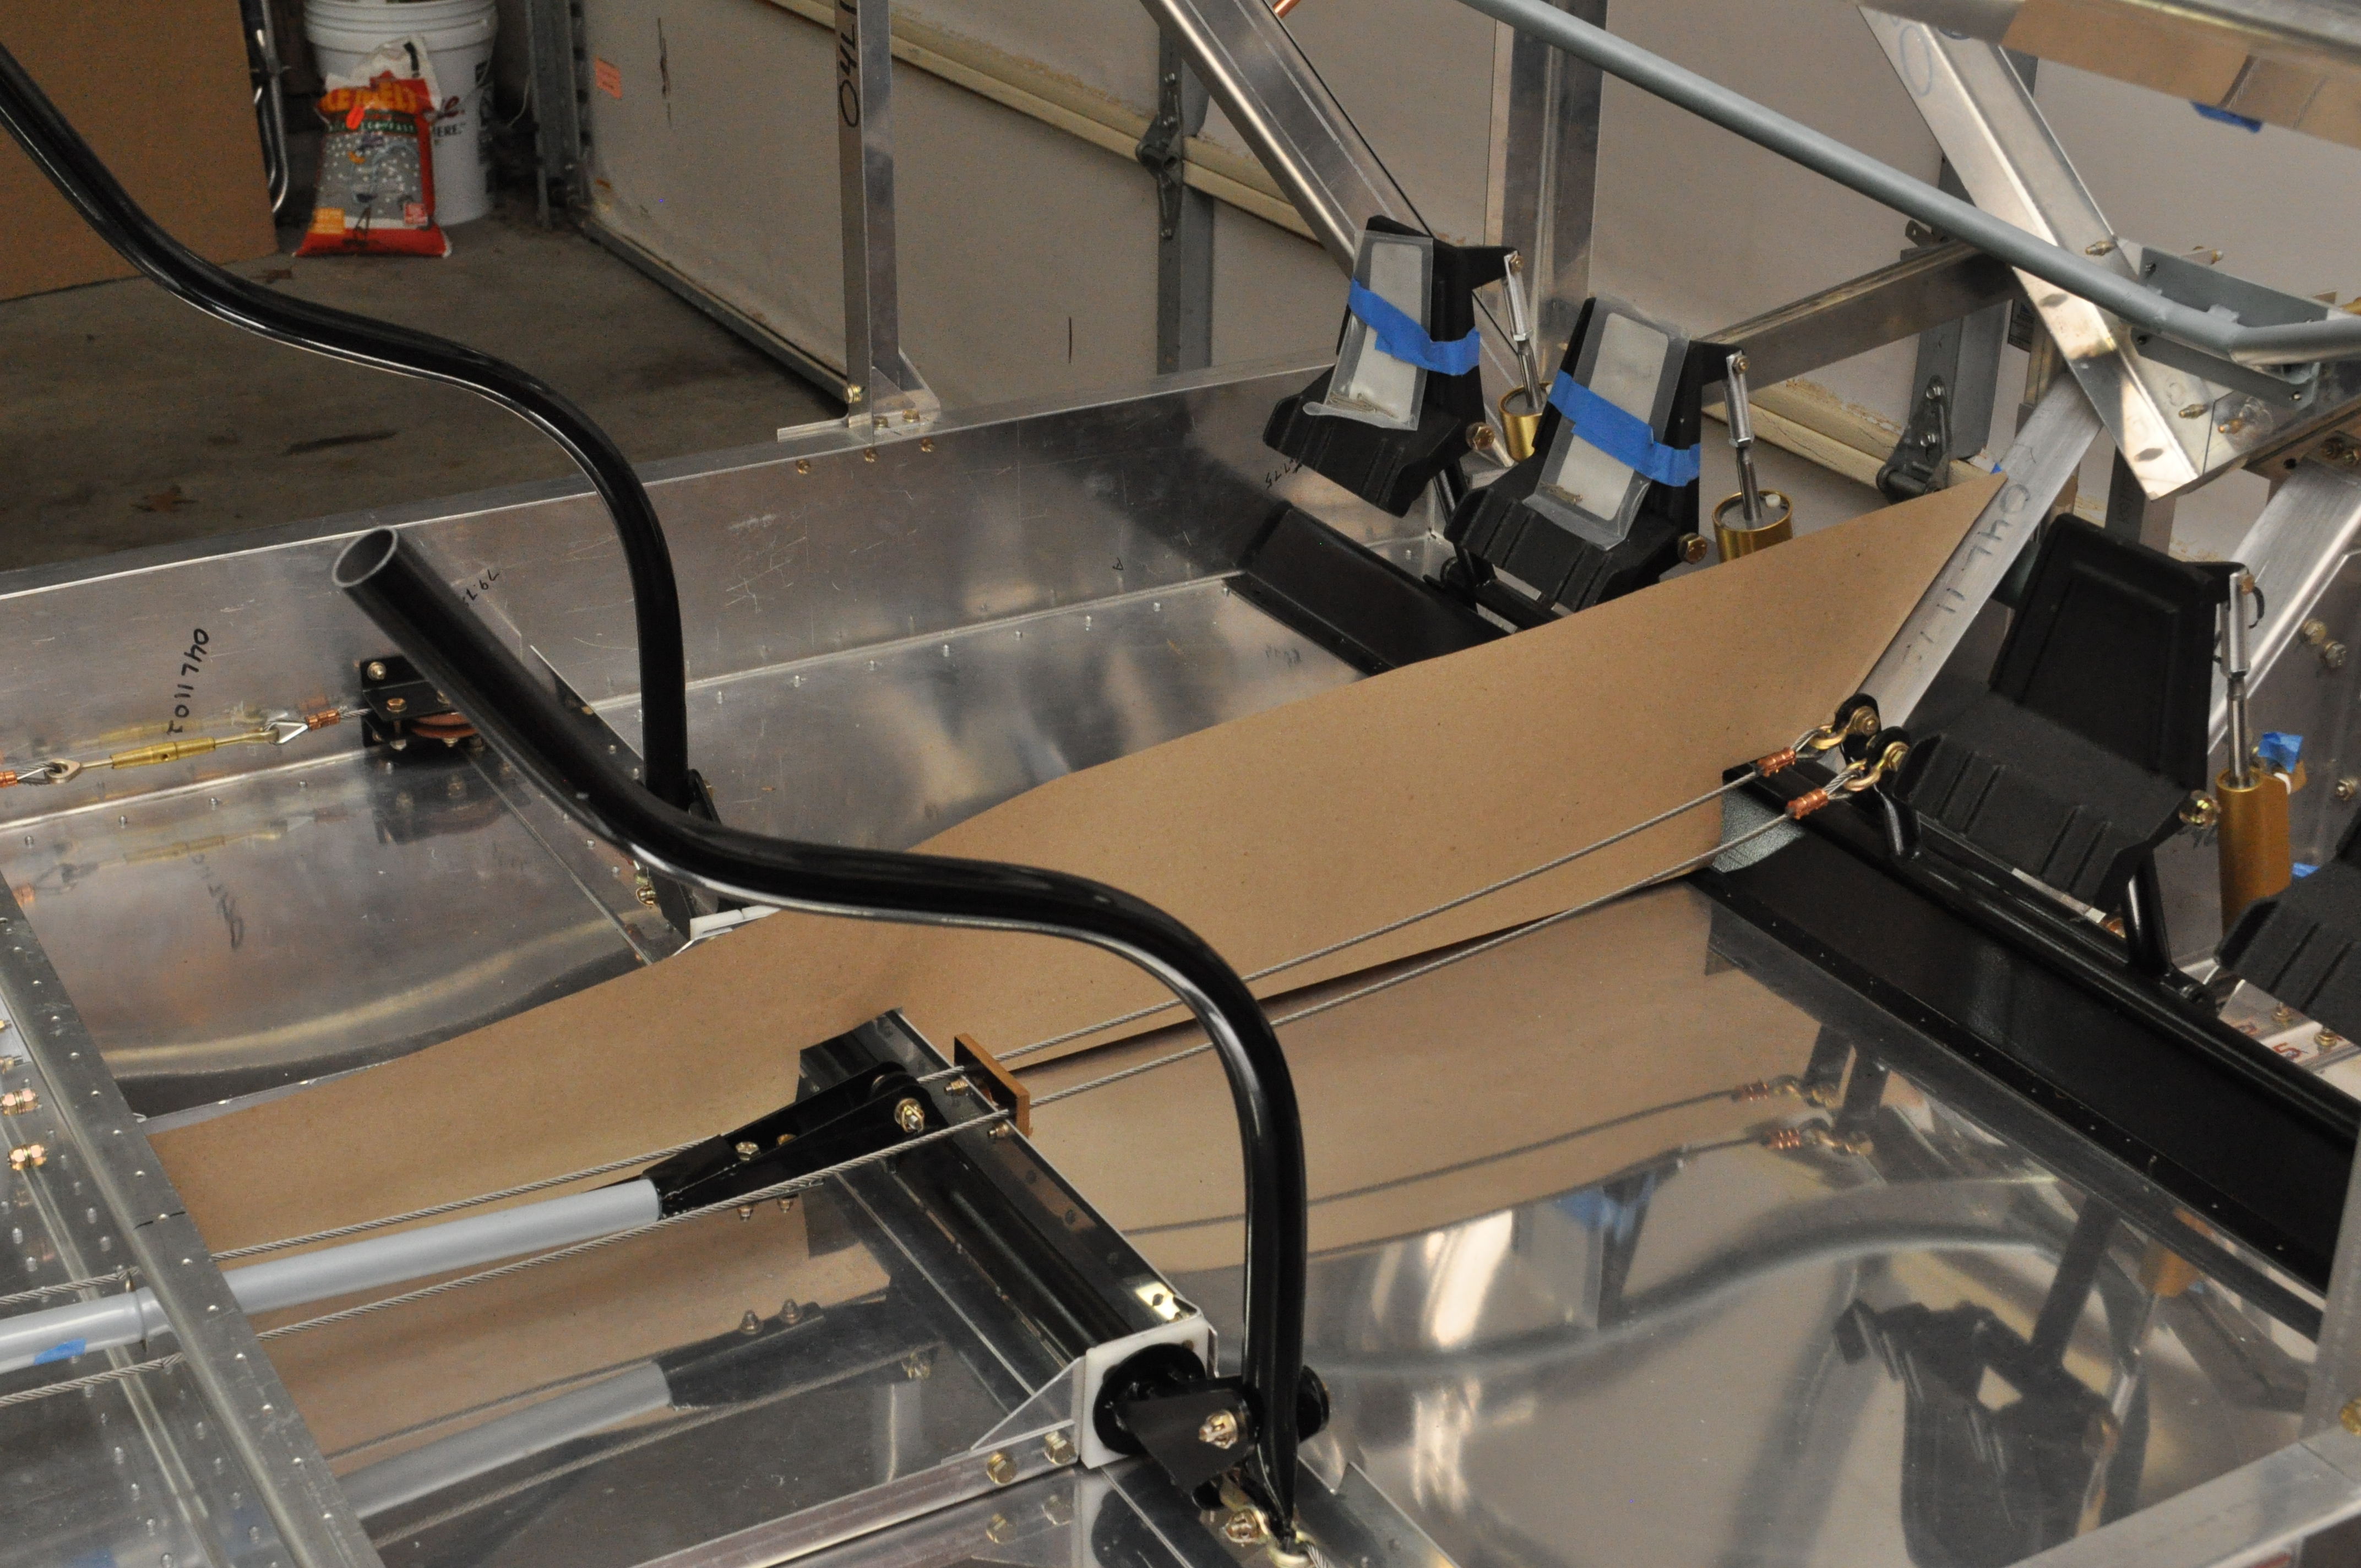
For a little while, that is it for hooking up controls. Now I get to do some sheet metal fabrication There is a tunnel which runs down the middle of the cabin floor. The tunnel contains and protects the stabilator push-pull tube, the rudder cables, the stabilator trim cable, the brake lines, and any electrical wires which have to run aft.
First step in fabricating the tunnel was to mock up the front, left side out of heavy brown paper.
Next, I will make a poster board mock up from the paper shape. Finally, I will transfer the shape from the poster board to aluminum.

Hi Art, Great job and wonderful documentation on your progress. Looking at your posts, I have to wonder how much space you have in the shop – a 1 car garage? Looking to start my own 4C here in the next short bit and the space question keeps me up at night.
Chris,
I am using 1/2 of a 2-car garage. My wife’s Fiat 500 is in the other half, along with one of my two workbenches, the lawnmower, the gardening tools, and everything else we can cram in there. The wings and horizontal tail are built and in the basement. One of these days, the Fiat will have to go outside but so far I have been able to keep it in pretty much all of the time.
— Art Z.