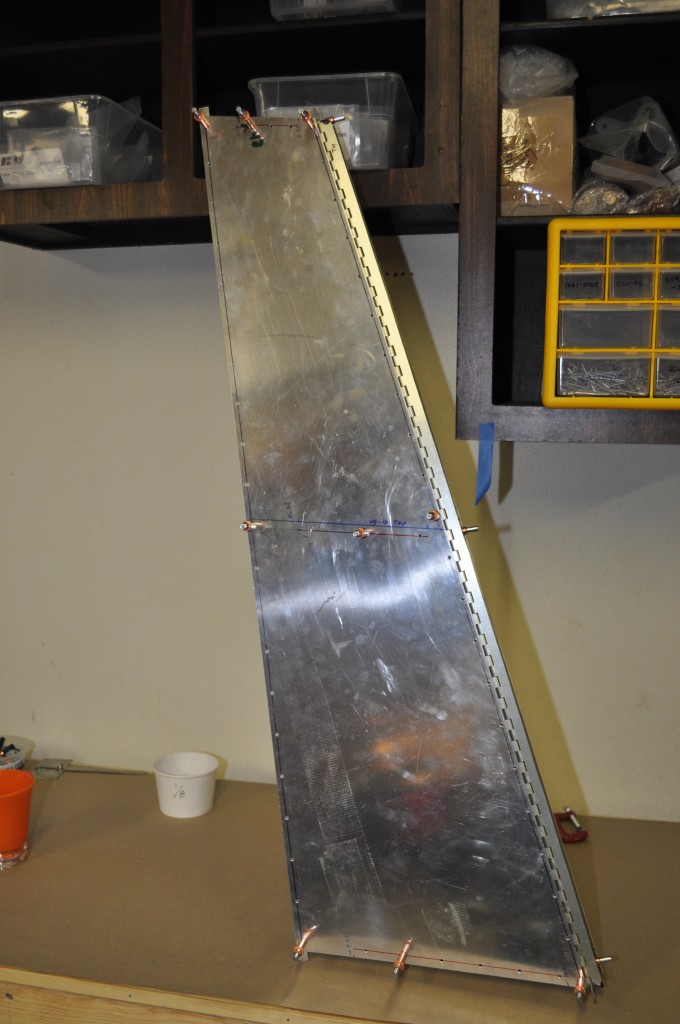
I have finished the rudder of my Bede BD-4C! Well, almost finished the rudder. It still needs the counterbalance on the top and the weldment on the bottom. And it needs to actually be riveted together. But, other than those trivialities, the rudder is done. The two skins are trimmed to size. The piano hinge is trimmed to length. The three ribs fit. All of the rivet holes have been drilled in all of the parts and everything has been deburred.
Getting to this point was a full weekend’s work.
I started from the happy point of realizing that my newly designed ribs did, indeed, fit properly. Installing the top and bottom ribs would be easy, since I could reach them which the rudder skins were “closed” up. The middle rib would be the challenge so I decided to install that one first.
I began by taping the rib into position in the middle of the inside of the rudder.

I then drilled holes through the flange on the end of the rib and the VS-17 spar (which is along the edge of the rudder skin, farthest away in the photo above) and clecoed the rib to the spar.
With the rib held in place in the middle of the rudder by the cleco and the tape, I carefully drew a line on the outside of the rudder skins along the top of the rib.

Knowing the length and width of the flanges on the rib, I was able to measure down from the line on the outside of the skin and drill through the skin to where the rib would be. Next, I drew a line down the middle of the rib’s flange and positioned the rib so that the line showed through the holes in the skin. I then drilled through the rib and, voila, it fit. The red line on the skin in the photo below is in the middle of the flange, which is under the skin.

I repeated the process through the skin on the other side of the rudder and, even though I could not see the rib, everything worked perfectly.
With the middle rib held in place with clecos, and more clecos holding the trailing edge together and the leading edges of the skins to the VS-17 spar, the rudder was pretty rigid. Inserting the top VS-15 and bottom VS-9 ribs was easy compared to the middle rib.

The final steps were to trim everything to size, enlarge the holes to 1/8″, and debur all of the edges and holes.
I have more pictures, with captions, over on my photo gallery so click to see the rest of the rudder assembly photos.
Next task: installing the floor.
